Steps to integrate Amazon SQS with Plerion
1
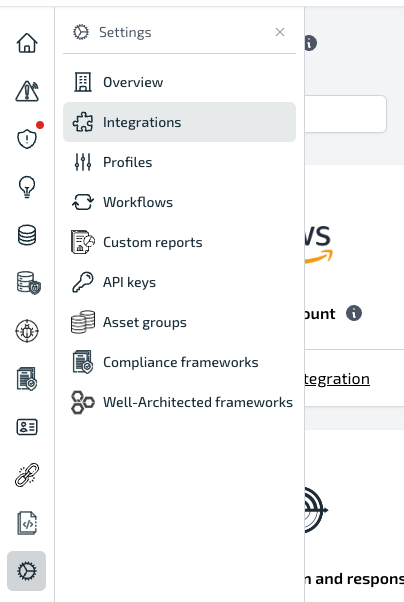
On the Plerion dashboard, go to Settings > Integrations
2
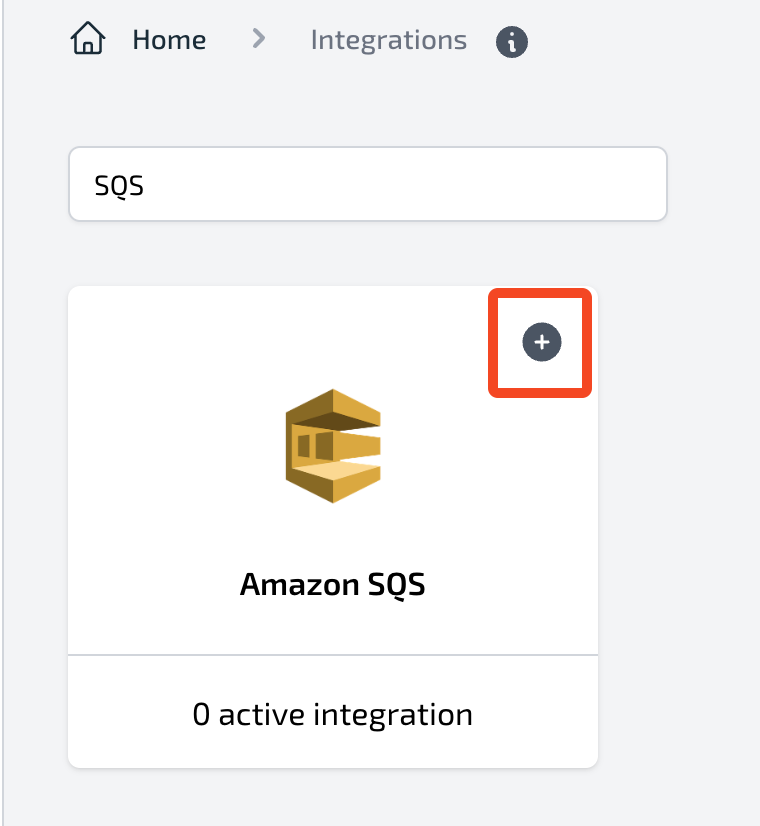
Find Amazon SQS and click the + button
3
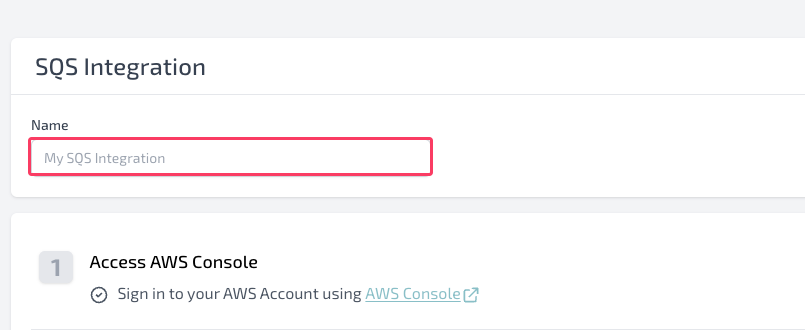
On the Connect Amazon SQS page, enter a name for your integration
4
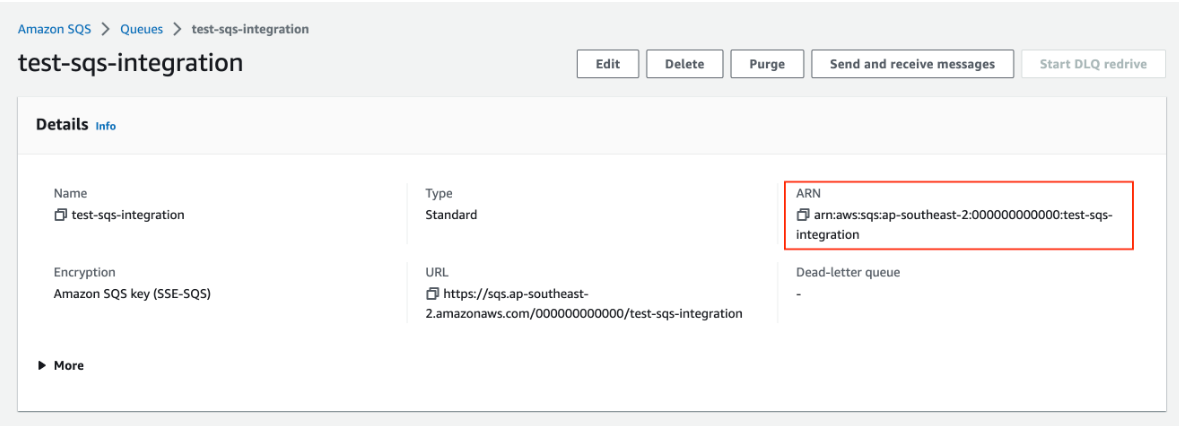
Create your Amazon SQS queue in AWS
Sign in to the AWS console, open Amazon SQS in your preferred region, and create a new queue.
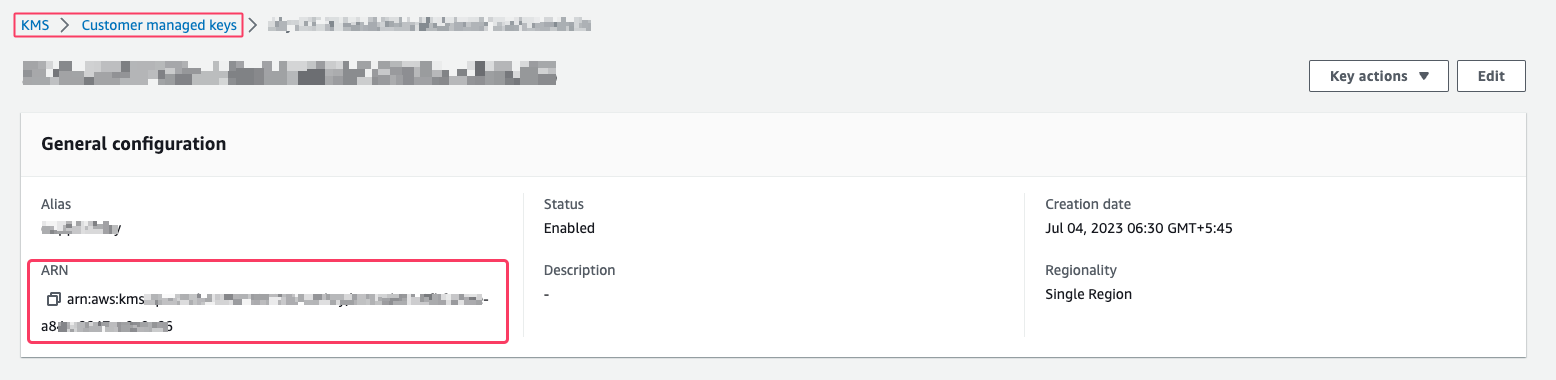
Optionally, configure encryption using your AWS KMS customer-managed keys (CMKs).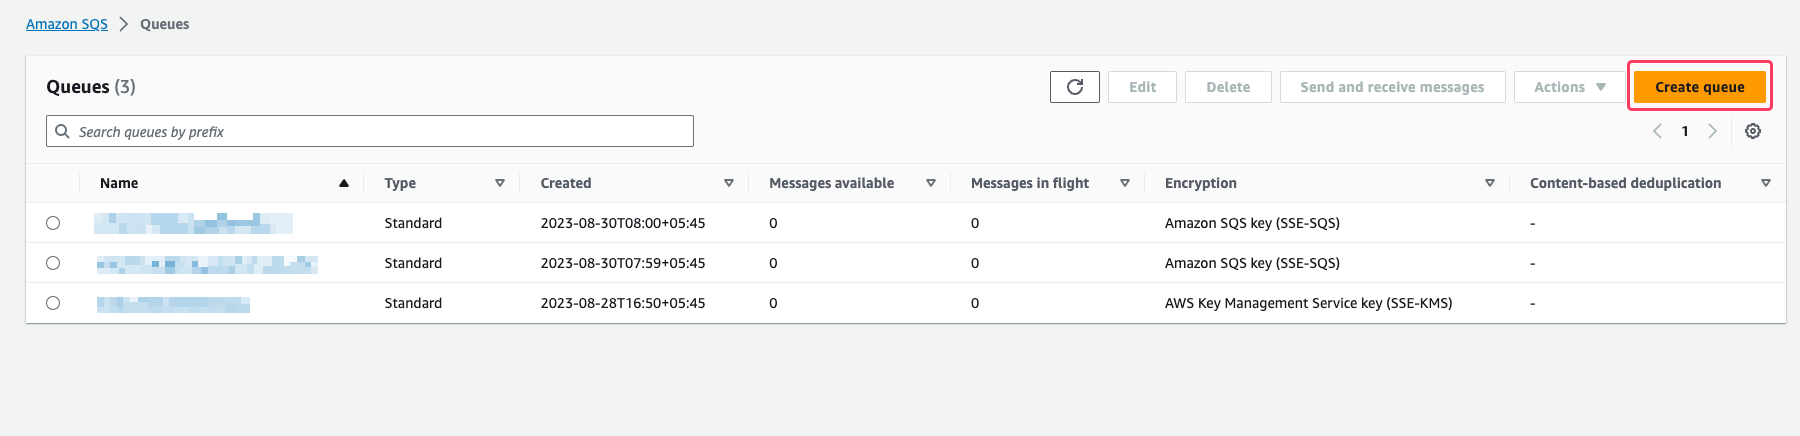
Optionally, configure encryption using your AWS KMS customer-managed keys (CMKs).
5
Copy your Amazon SQS ARN and AWS KMS ARN (if used)
6
Paste the ARNs into Plerion
Back in Plerion, paste your Amazon SQS ARN and (if configured) your AWS KMS ARN.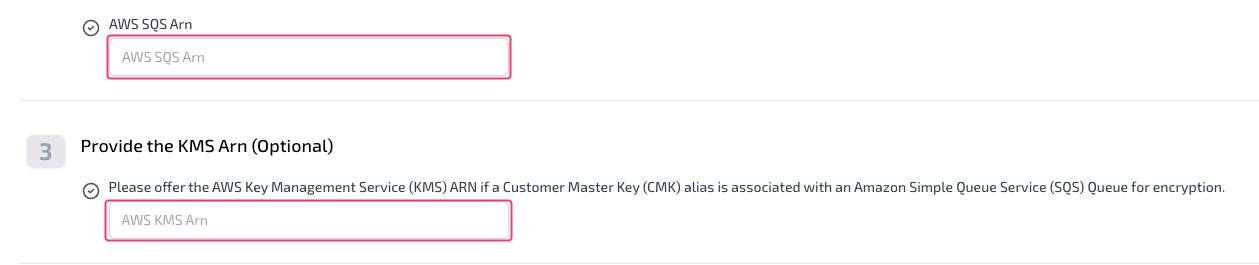
7
Generate and paste the Plerion Access Role ARN
Click
Copy the generated Plerion Access Role ARN and paste it into Plerion.
Launch Stack to create the access role in AWS.Copy the generated Plerion Access Role ARN and paste it into Plerion.
8
Test your Amazon SQS integration
Click
Send test message in Plerion. If successful, a test alert will appear in your Amazon SQS queue.9
Finalize the setup
Click 
Add to complete the integration.Checking messages in Amazon SQS
1
Open your Amazon SQS console
Select the queue you connected to Plerion.
2
Poll for messages
Choose 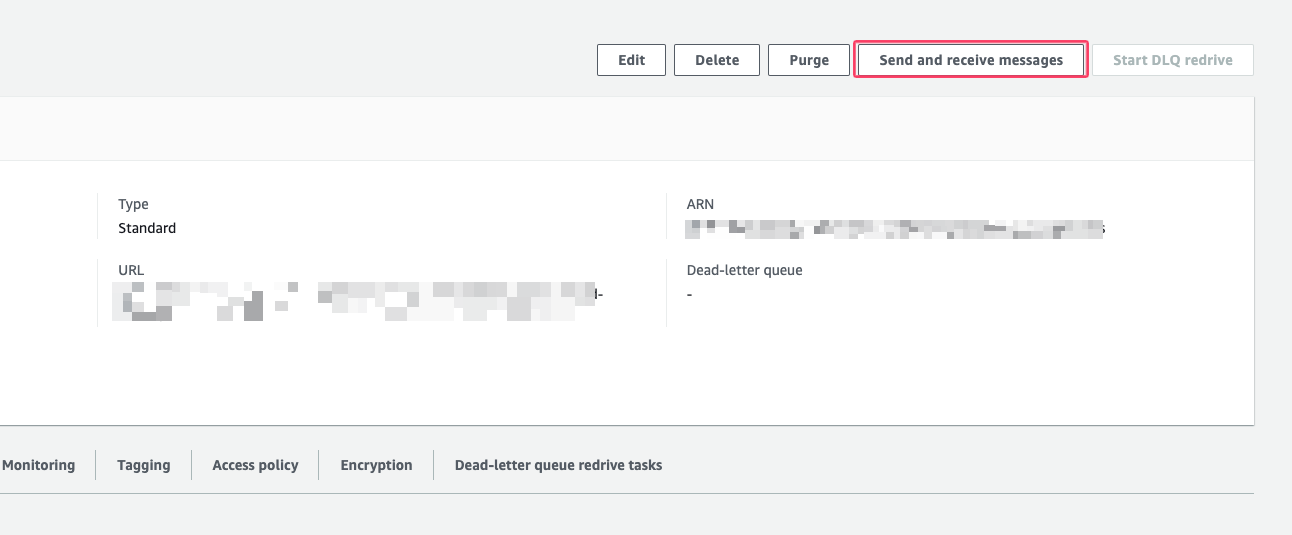
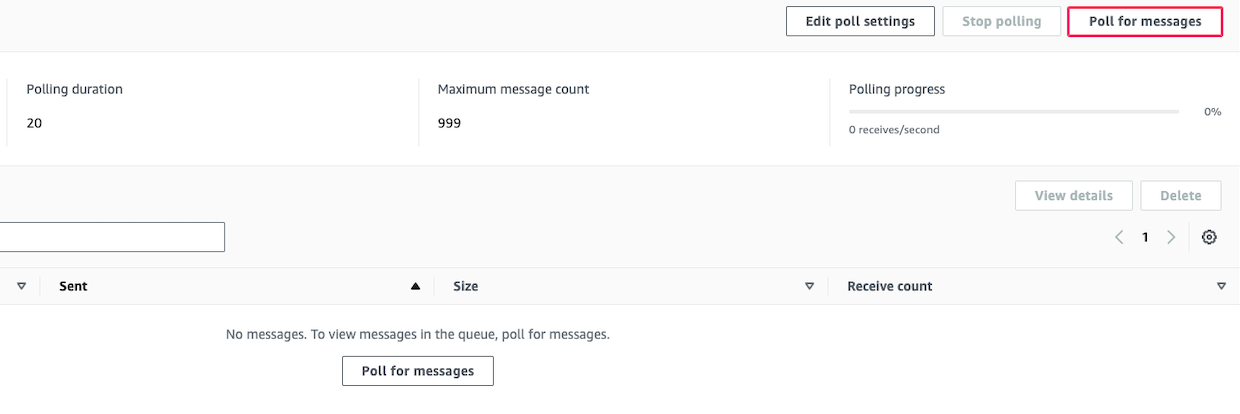
Send and receive messages, then select Poll for messages. If the integration test was successful, the test message from Plerion will appear.