
If your organization is already connected, open its detail page, go to Capabilities and click
Edit. The Capabilities panel has the same settings as steps 3 and 4 below. Save it, then run the access command from Update Plerion access as in step 5. If you’re connecting the organization for the first time, follow the steps from the top.Steps to turn on workload scanning
1
Go to Settings > Integrations
On the Plerion dashboard, go to 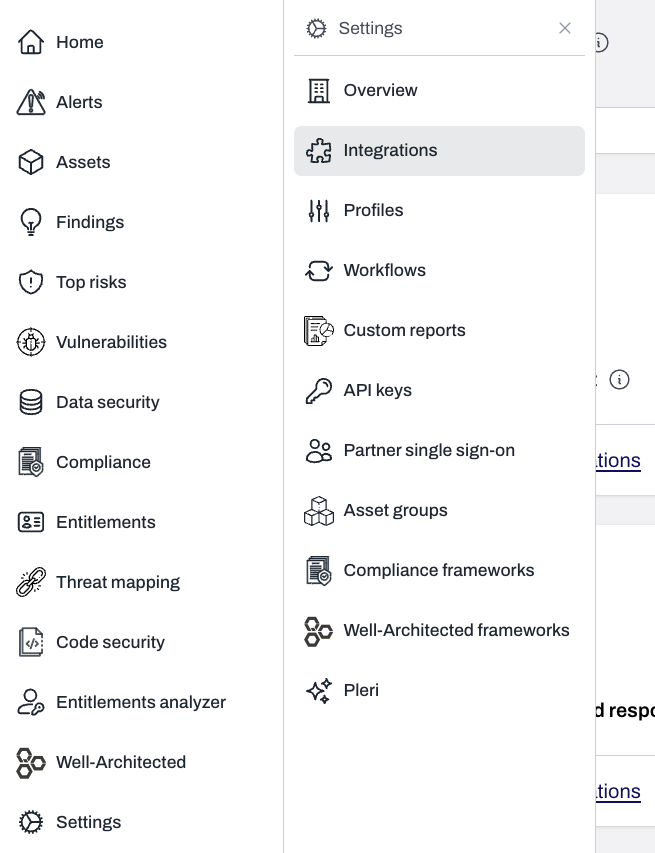
Settings > Integrations.2
Open or add the GCP organization integration
Open your existing GCP organization integration, or find GCP, click
+, and choose GCP organization to start a new one. See Steps to connect a GCP organization for the base integration.3
Select capabilities
- Misconfigurations and compliance and Identities and permissions are always on.
- Turn on Workload scanning. The Configure workload scanning step appears.
- Click
Next.
4
Configure workload scanning
- Workload scan types: Vulnerabilities and Software bill of materials (SBOM) are on by default. Turn on Sensitive data to report secrets found on disks, in images, and in source.
- Workloads: Compute Engine instances, Compute Engine managed instance groups, Compute Engine custom images, Cloud Run services, Cloud Functions (2nd gen), and Cloud Functions (1st gen) are all on for a new integration. Turn off any you don’t want scanned. Each type is independent. See Coverage for what each one covers.
- Billing account ID: required. Enter the billing account the scanning project will be linked to, in the form
012345-6789AB-CDEF01. The field links to the Google Cloud billing console and shows thegcloud billing accounts listcommand. - Networking: choose how scanner VMs reach the internet.
- Ephemeral external IP (default): each scanner VM gets a temporary public IP for outbound traffic and releases it when the scan finishes. A firewall rule blocks all inbound traffic. No standing cost.
- Cloud NAT: required if your organization enforces
constraints/compute.vmExternalIpAccess. Cloud NAT stays provisioned in each region you select below and is billed whether or not a scan is running.
- Workload regions (optional): limit scanning to specific regions. Leave it empty to scan every region a workload is found in. With Cloud NAT, select at least one region. NAT is provisioned only in the regions listed here.
- Click
Next.
5
Grant Plerion access
Use the Script or Terraform tab. Plerion adds the workload scanning options to the command for you.Registration completes in the background. For a new integration, the wizard moves on to choosing projects once Plerion detects the organization. For an existing integration, you’re done in Plerion.
- Script
- Terraform
- Open Google Cloud Shell as an Organization Admin who also holds Billing Account User on the billing account.
- Paste and run the generated command. It now includes
--enable-workload-scanning,--billing-account <id>,--workload-types <types>, and, if set,--workload-regions <r1,r2,...>and--nat. - Before creating anything, the script confirms it can read the billing account. In Ephemeral external IP mode, it also confirms the organization policy doesn’t deny external IPs. Either failure stops the script with a message saying what to change.
- The script creates the scanning project, links billing, enables its APIs, and creates its network and scanner service accounts. It grants the roles in Access and permissions to the tenant service account, the service account onboarding created for Plerion in your Plerion service project. Its last line is
Scanning project: <id>. Keep that ID.
6
Check the setup
On the integration’s detail page, go to Capabilities >
Edit. The Scan project setup checklist at the bottom of the panel shows Verified when every check passes, or Needs attention with the failing check and reason:- Workload scanning configured
- Scanning project labeled
- Billing account linked
- Plerion scanning network present
- Scanner service account exists
- Tenant service account role bound
- Cloud Run API enabled (when Cloud Run services or Cloud Functions (2nd gen) is on)
- Source scanner service account exists (when Cloud Functions (1st gen) is on)
7
Wait for the first scan, or start one
Workload scanning runs after each project’s posture scan completes, so the first workload findings arrive within one scan interval, up to 24 hours on the default daily schedule. To start sooner, open a project under the organization and click
Scan now. That runs a posture scan of the project, and the workload scan follows it.8
Find your results
Open a project under the organization integration. With workload scanning on, its page has three tabs:
- Scans: every scan of the project, posture and workload.
- Workload scans: each workload scan run with its status (in progress, completed, failed, or timed out), the assets covered, timings, and a message for any asset that couldn’t be scanned.
- Scanners: the scanner VMs and jobs Plerion ran for the project.