What Plerion sends to Drata
Controls
Plerion creates a new control for each compliance framework you select. Each control is mapped to the relevant requirements of the framework.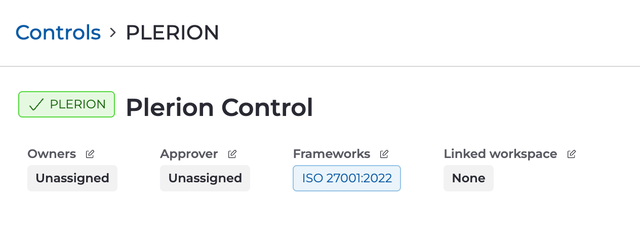
Evidence
Plerion generates an Excel Spreadsheet (.xlsx) report containing Plerion findings relevant to the framework requirements across your chosen cloud accounts. For example, for the ISO 27001:2022 requirement A.5.15 Access control, Plerion includes S3 bucket Block Public Access findings in the spreadsheet. All evidence is reported against the PLERION control in Drata.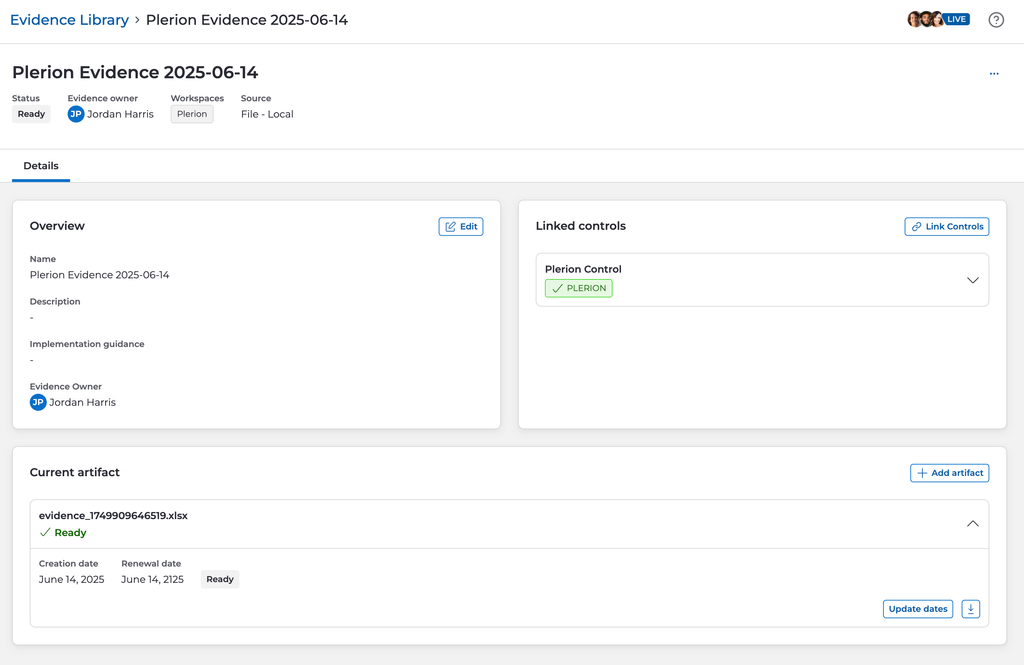
Evidence delivery schedule
Plerion sends evidence to Drata once per day, based on the most recent scans of your selected cloud accounts.Steps to integrate Drata with Plerion
Plerion uses a Drata API key to send evidence. You will first need to create an API key in Drata, then connect it in Plerion and finally set up a workflow.Create a Drata API key
1
Go to Settings in Drata
2
Select API Keys on the Settings page
3
Click on the Create API Key button
4
Enter API key details
- Name: Plerion
- Expiration date: Set an expiration date for your API key
- Allowed IP addresses: Leave empty
- Scope: Plerion needs the following permissions:
- Read and write access to Controls
- Read and write access to Evidence Library
- Read access to Frameworks
- Read access to Workspaces
- Read access to Users
5
Copy and store the API key
Copy the generated API key and keep it safe. You will need it for the next step to integrate Plerion with Drata.
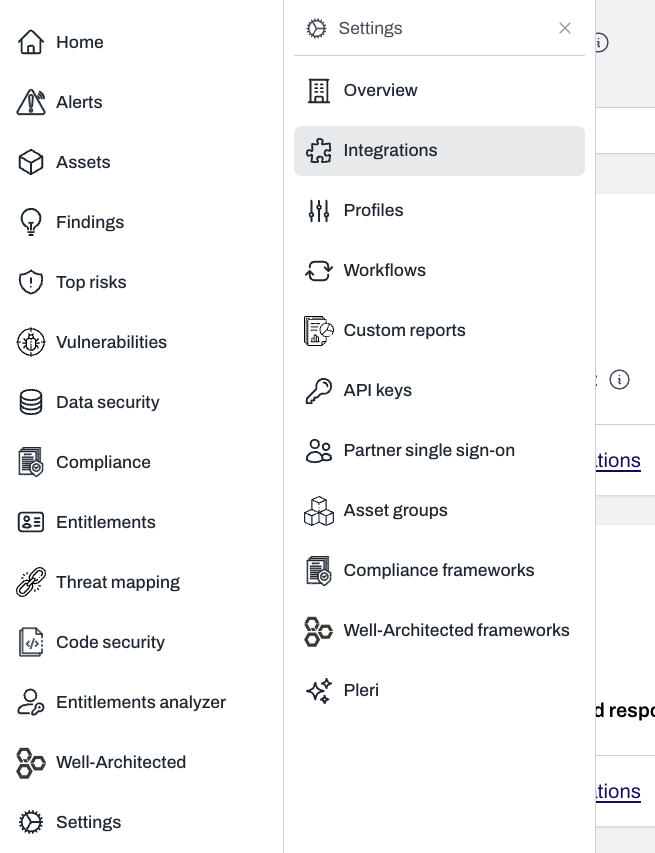
Create a Drata integration on Plerion
1
On the Plerion dashboard, go to Settings > Integrations
2
Find ClickUp and click the + button
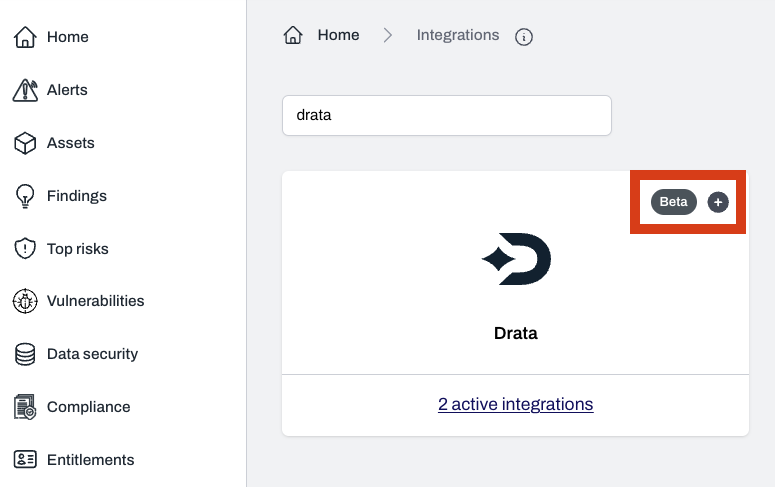
3
Enter integration details
Provide a name for your Drata instance, paste the API key you generated in the previous step, and click
Add to connect.Create a workflow on Plerion
Once you have added your Drata instance, you will need to set up the corresponding workflow.1
Go to Settings > Workflows and click Add a new workflow
2
Enter workflow details
Enter a workflow name and ensure the Enabled toggle is turned on.
3
Add workflow conditions
Under Conditions, click
Add conditions > Add findings conditions.For Drata workflows, only the Integration dropdown needs to be completed. Other fields such as Provider, Detection, Asset group, Resource type, or Severity level are not supported and can be left blank.
4
Add workflow actions
Under Actions, click
Add action and select your connected Drata instance. Choose your workspace and the relevant framework.5
Save the workflow
Click 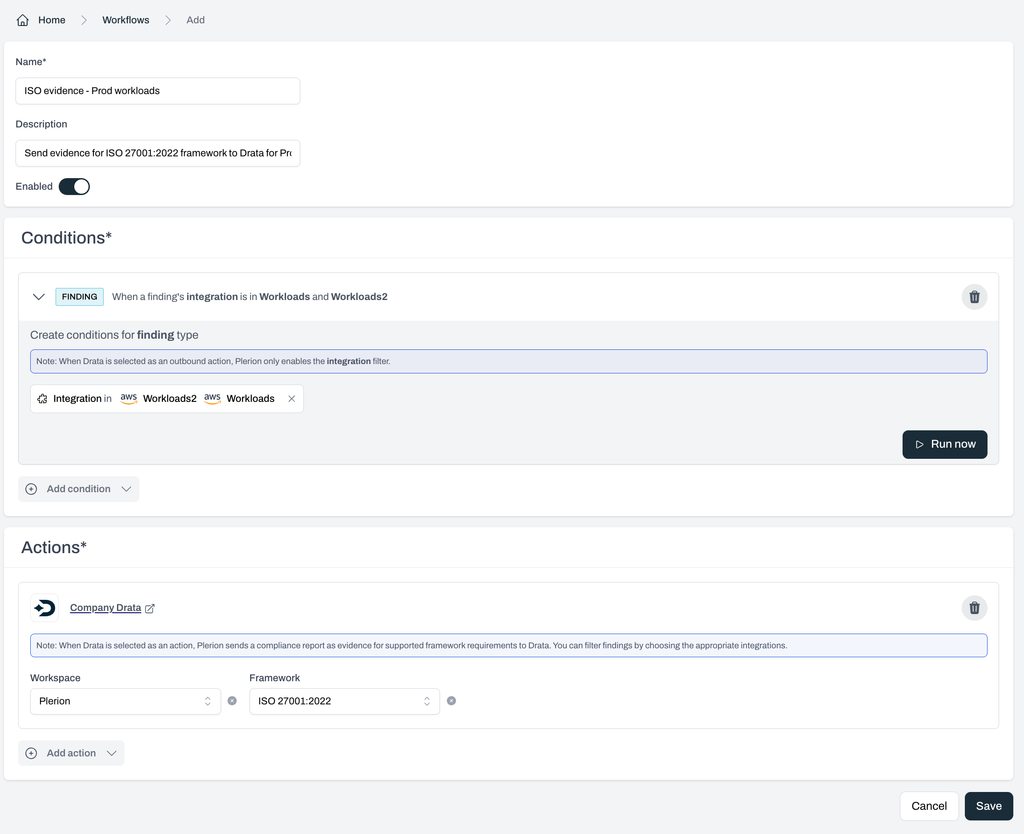
Save to finish setting up your workflow.This integration is currently in beta, and we’d love your feedback! Let us know how it’s working for you and what additional frameworks you’d like to see integrated with Drata.