Steps to integrate Jira Security with Plerion
1
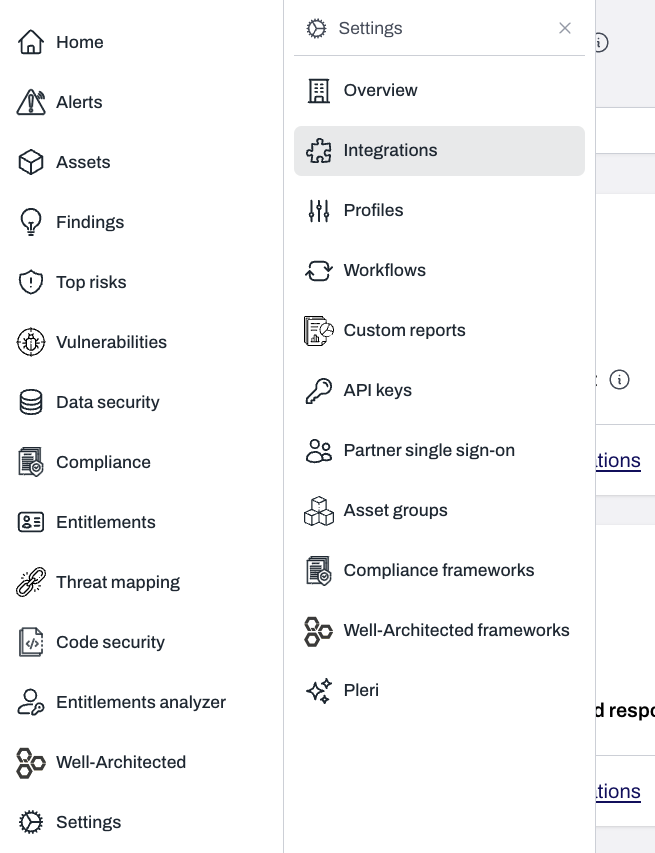
On the Plerion dashboard, go to Settings > Integrations
2
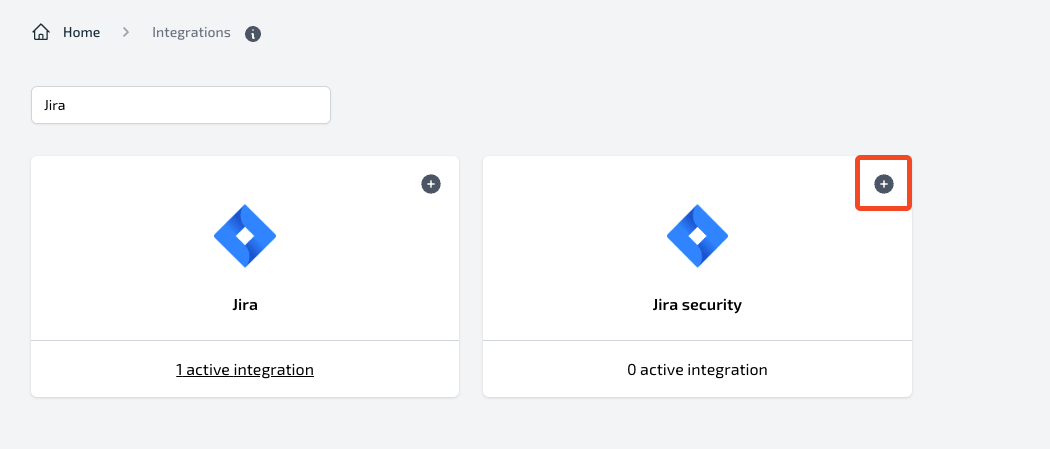
Find Jira Security and click the + button
3
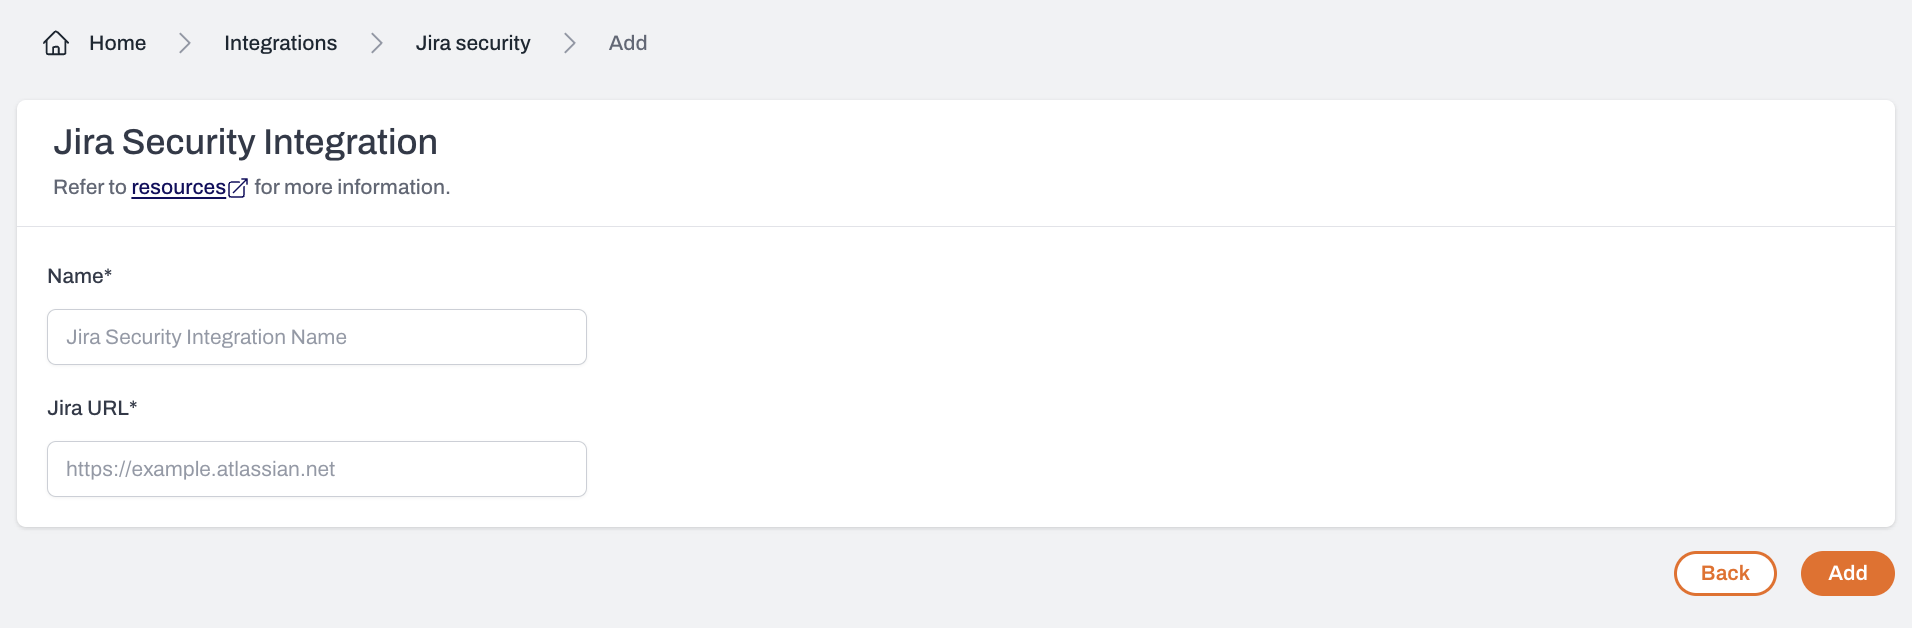
On the Connect Jira Security page, enter a name and Jira URL
4
Copy the integration token from the integration detail page
You will need this token when configuring the Plerion Security App in Jira.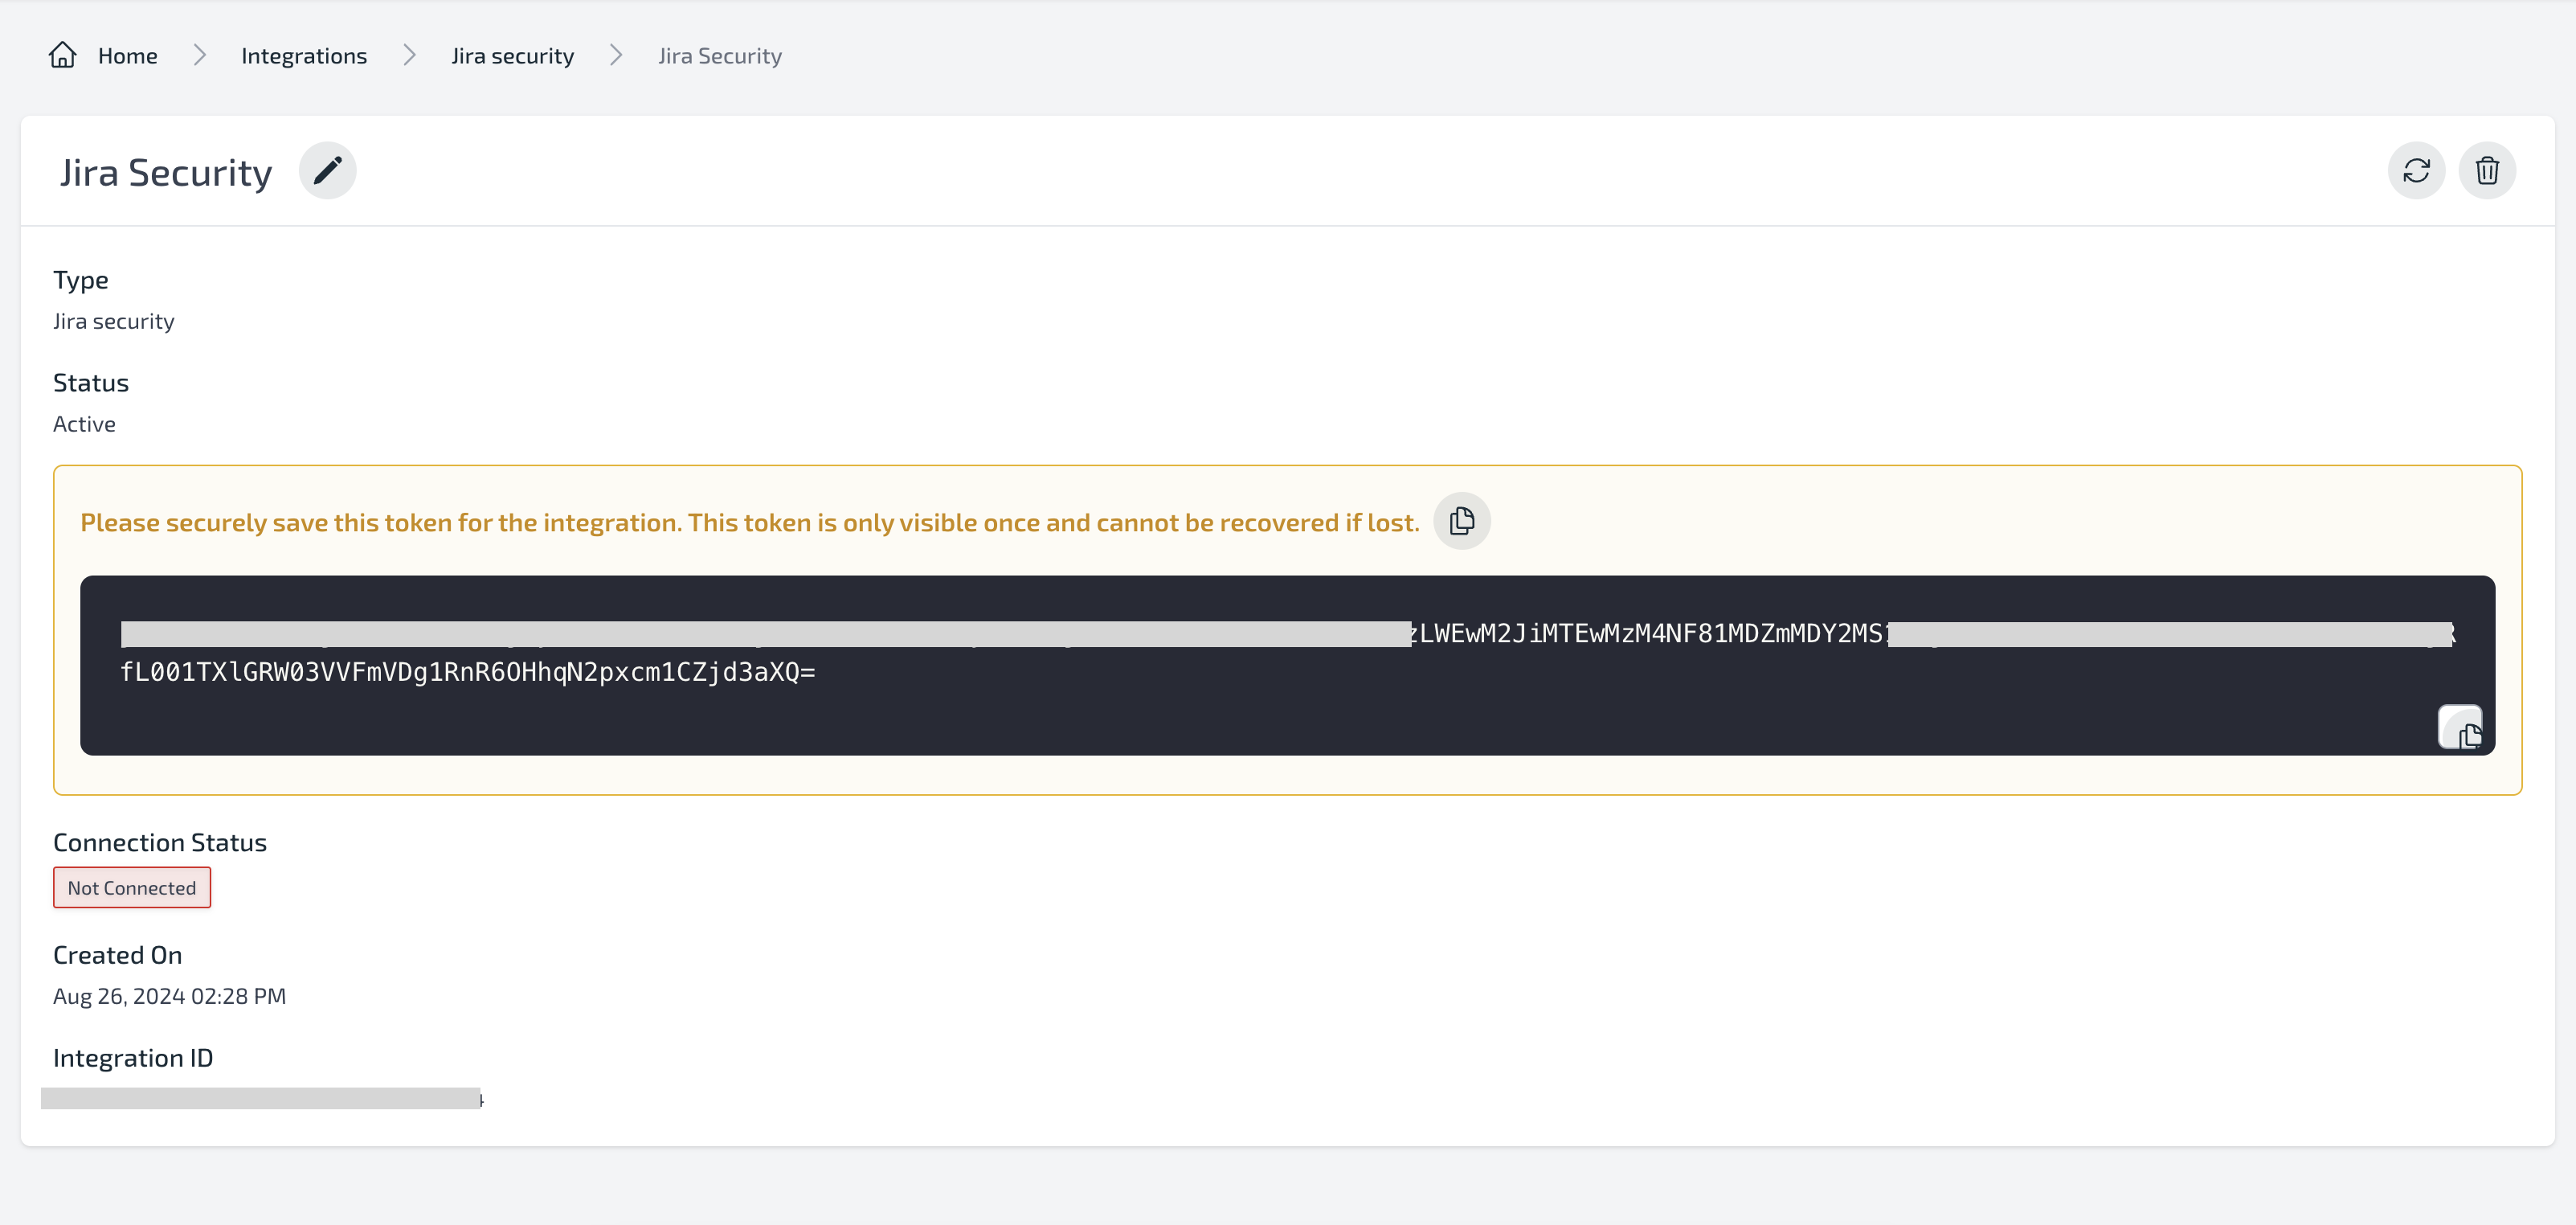
5
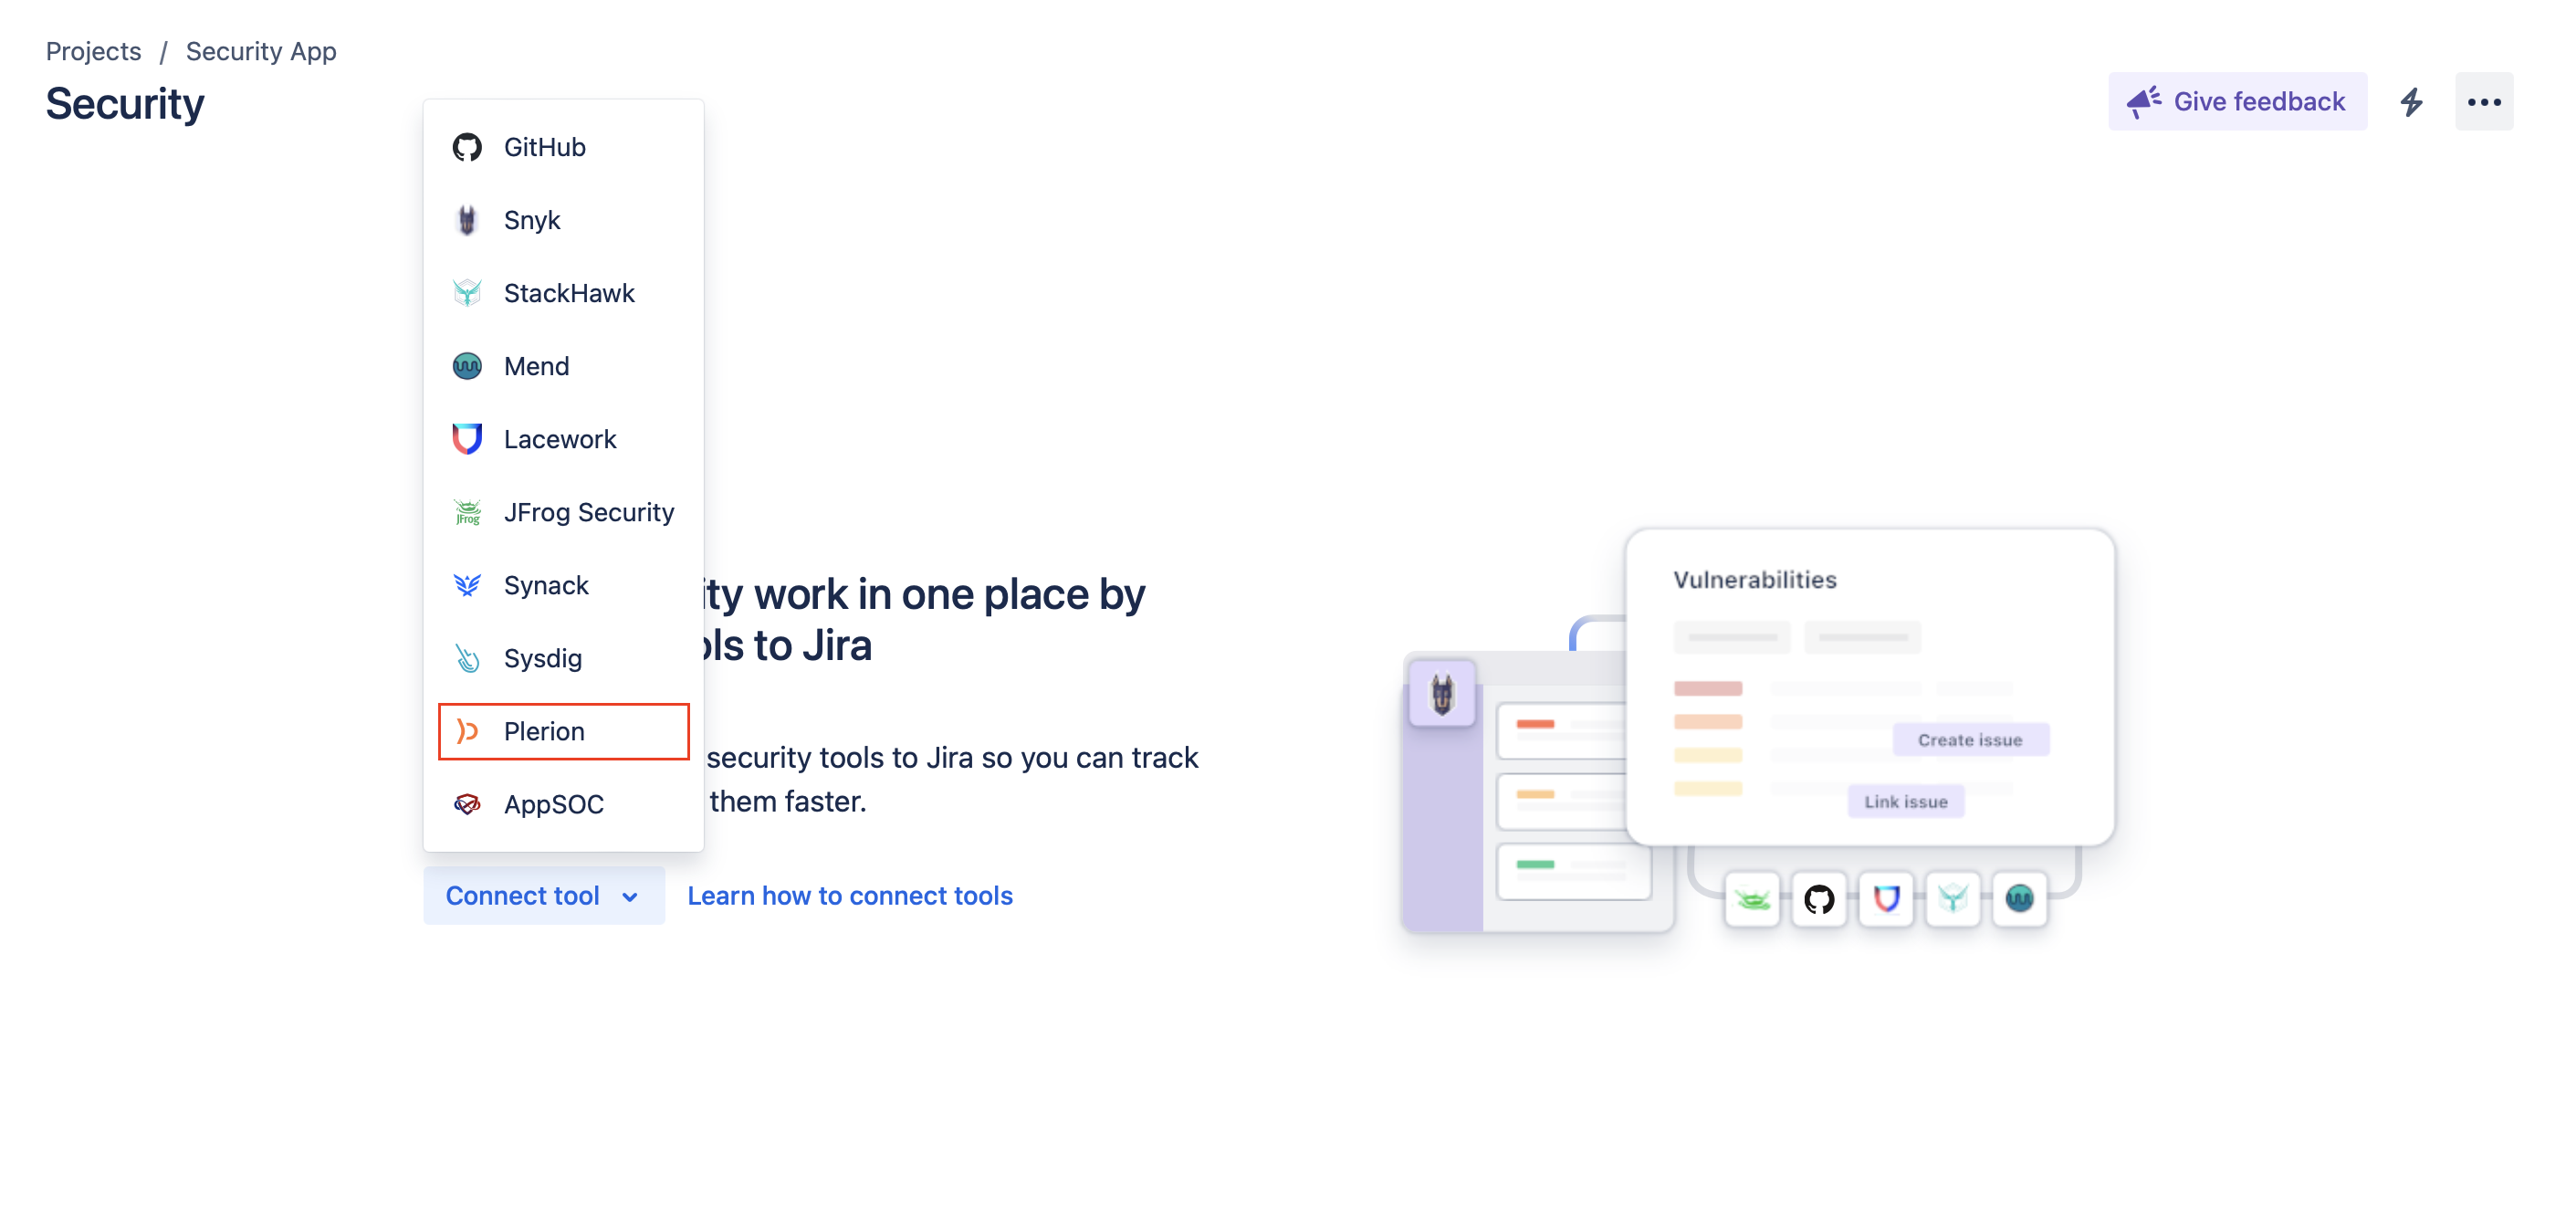
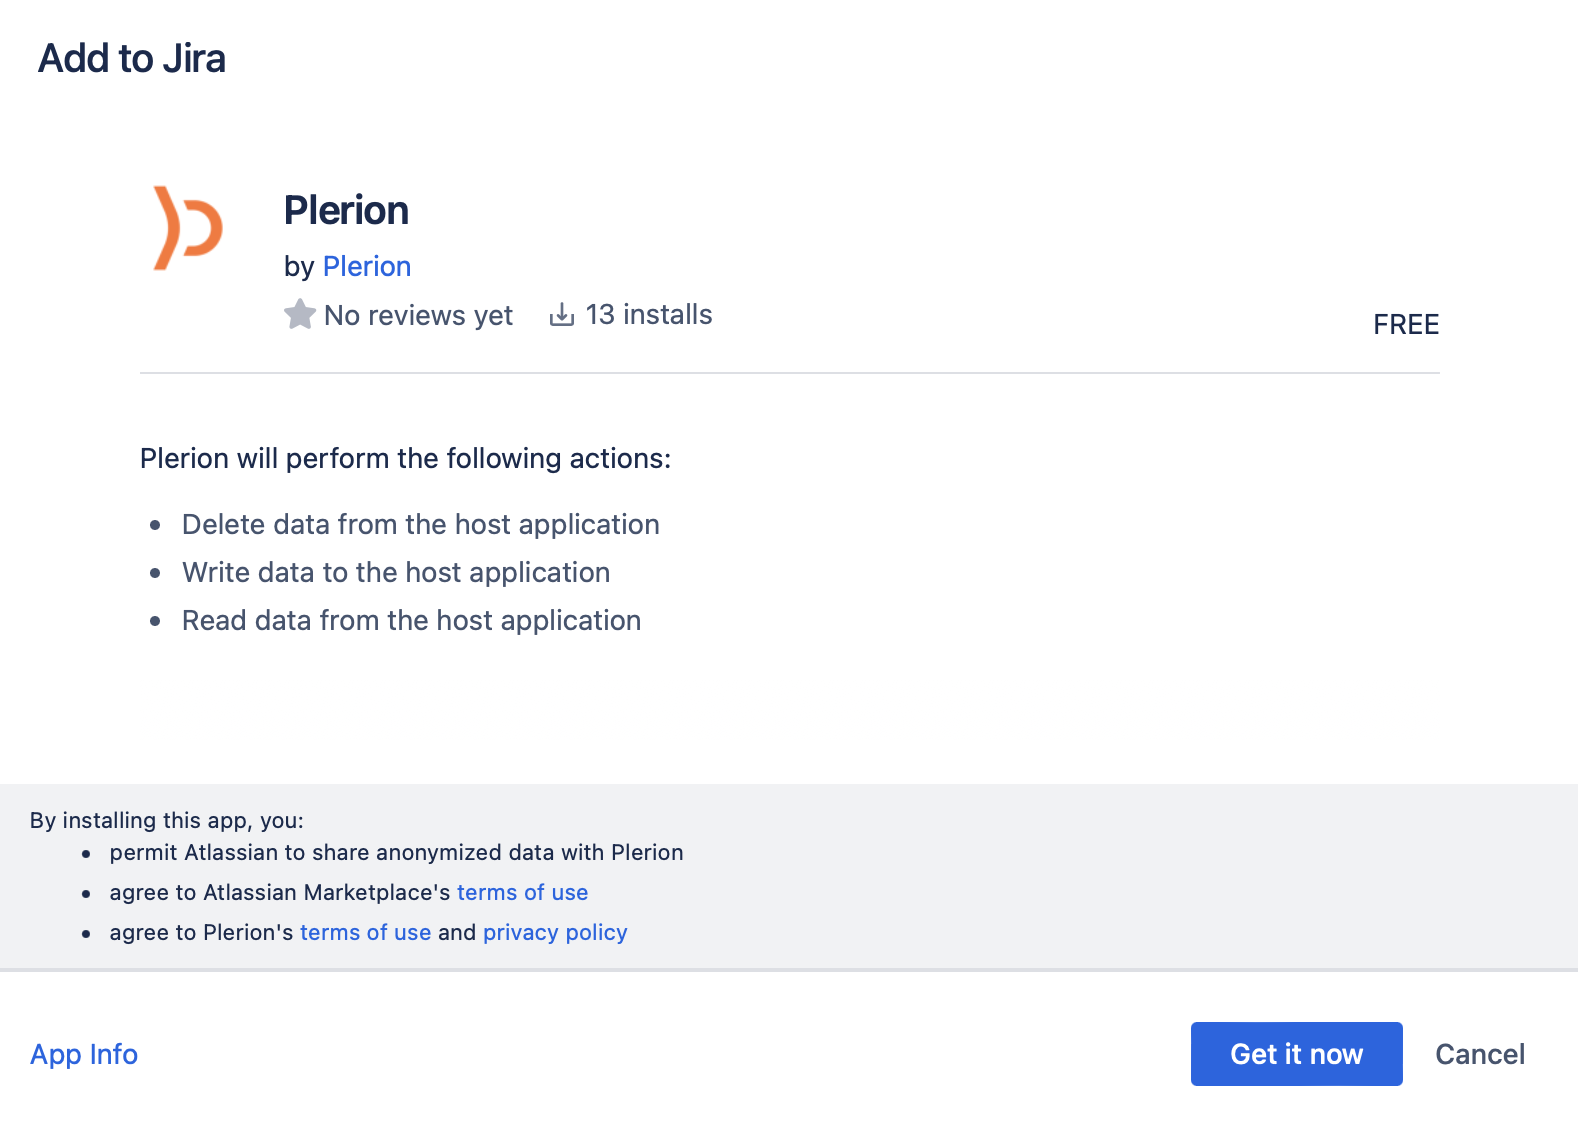
Find and install the Plerion Security App on your Jira Security page
6
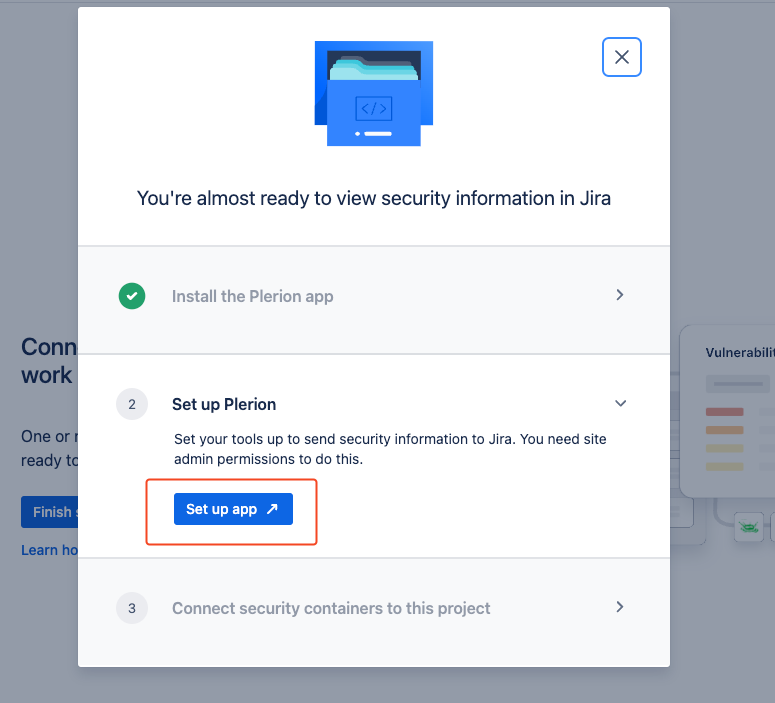
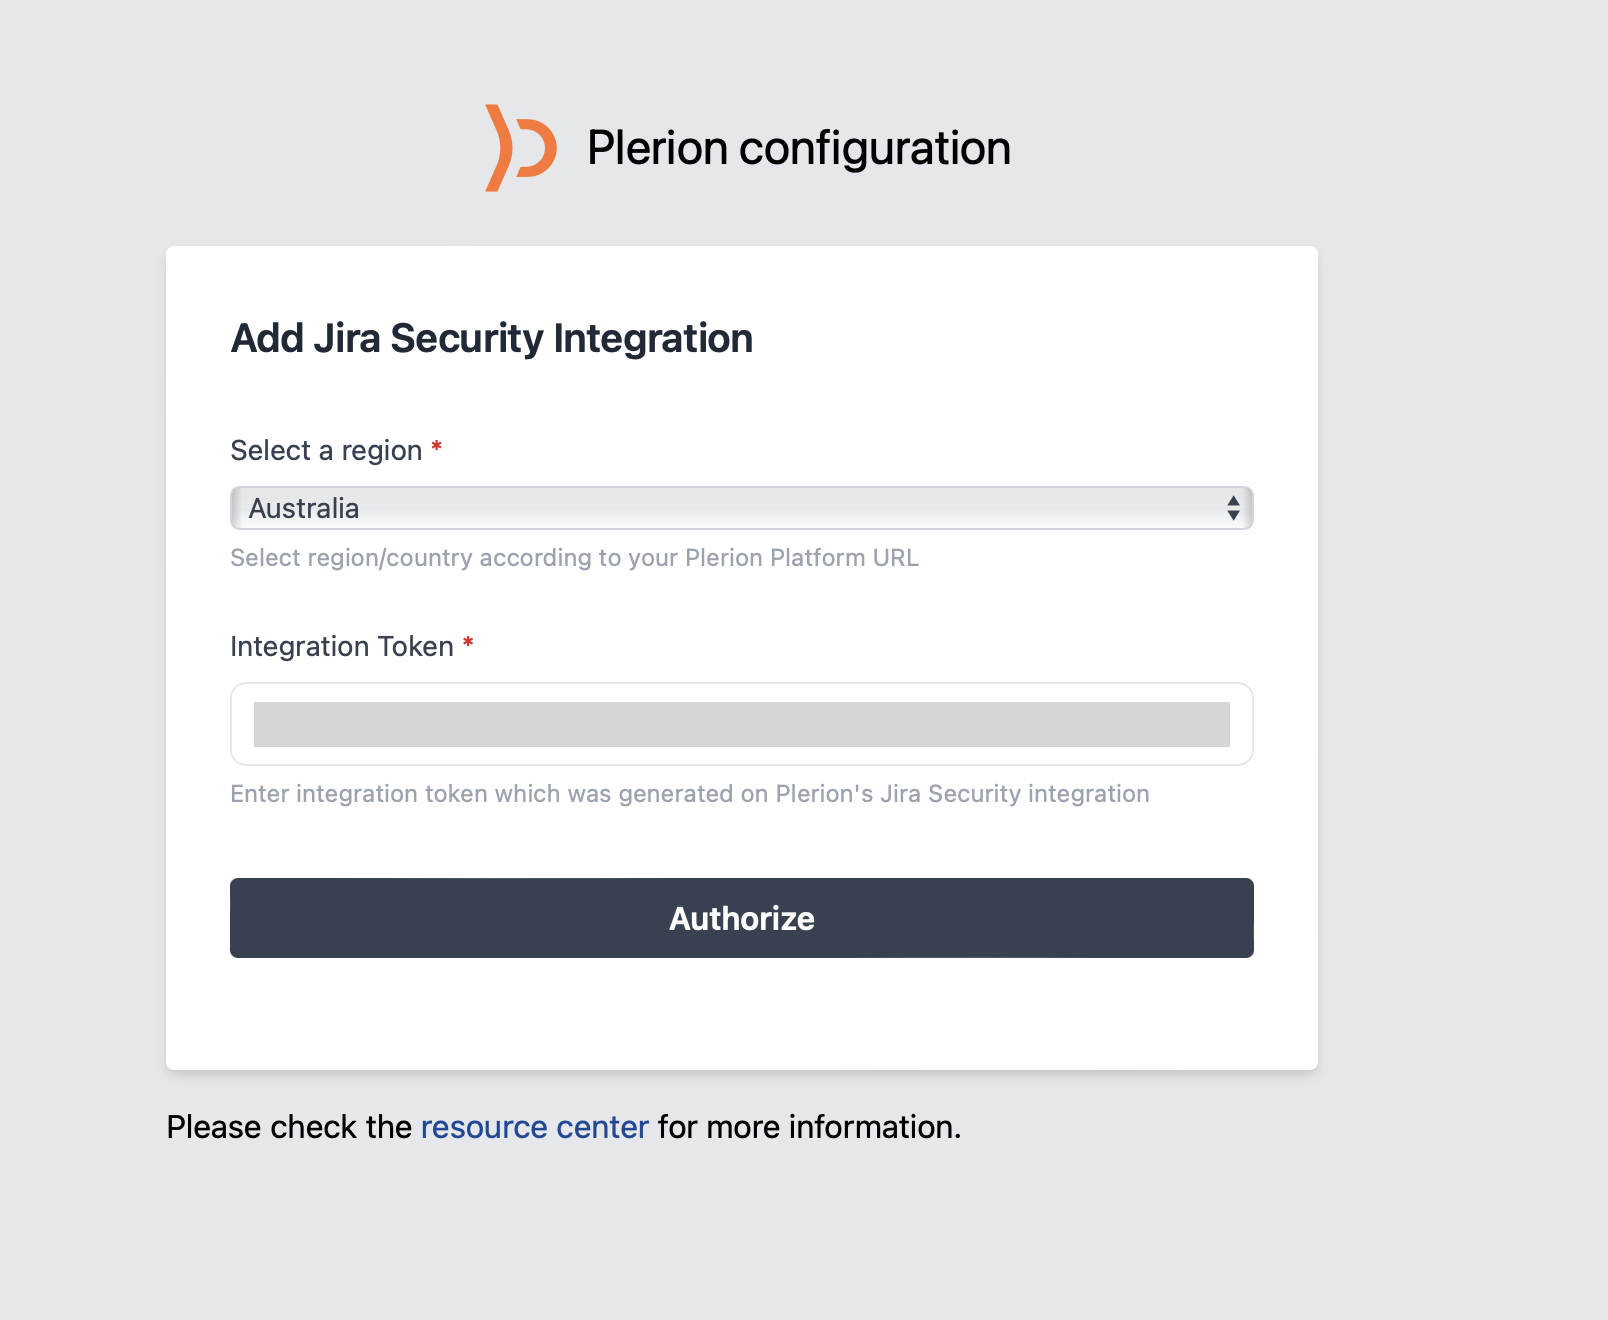
Configure the Plerion Security App
- Select the region matching your Plerion Platform URL
- Enter the integration token generated in Plerion\
7
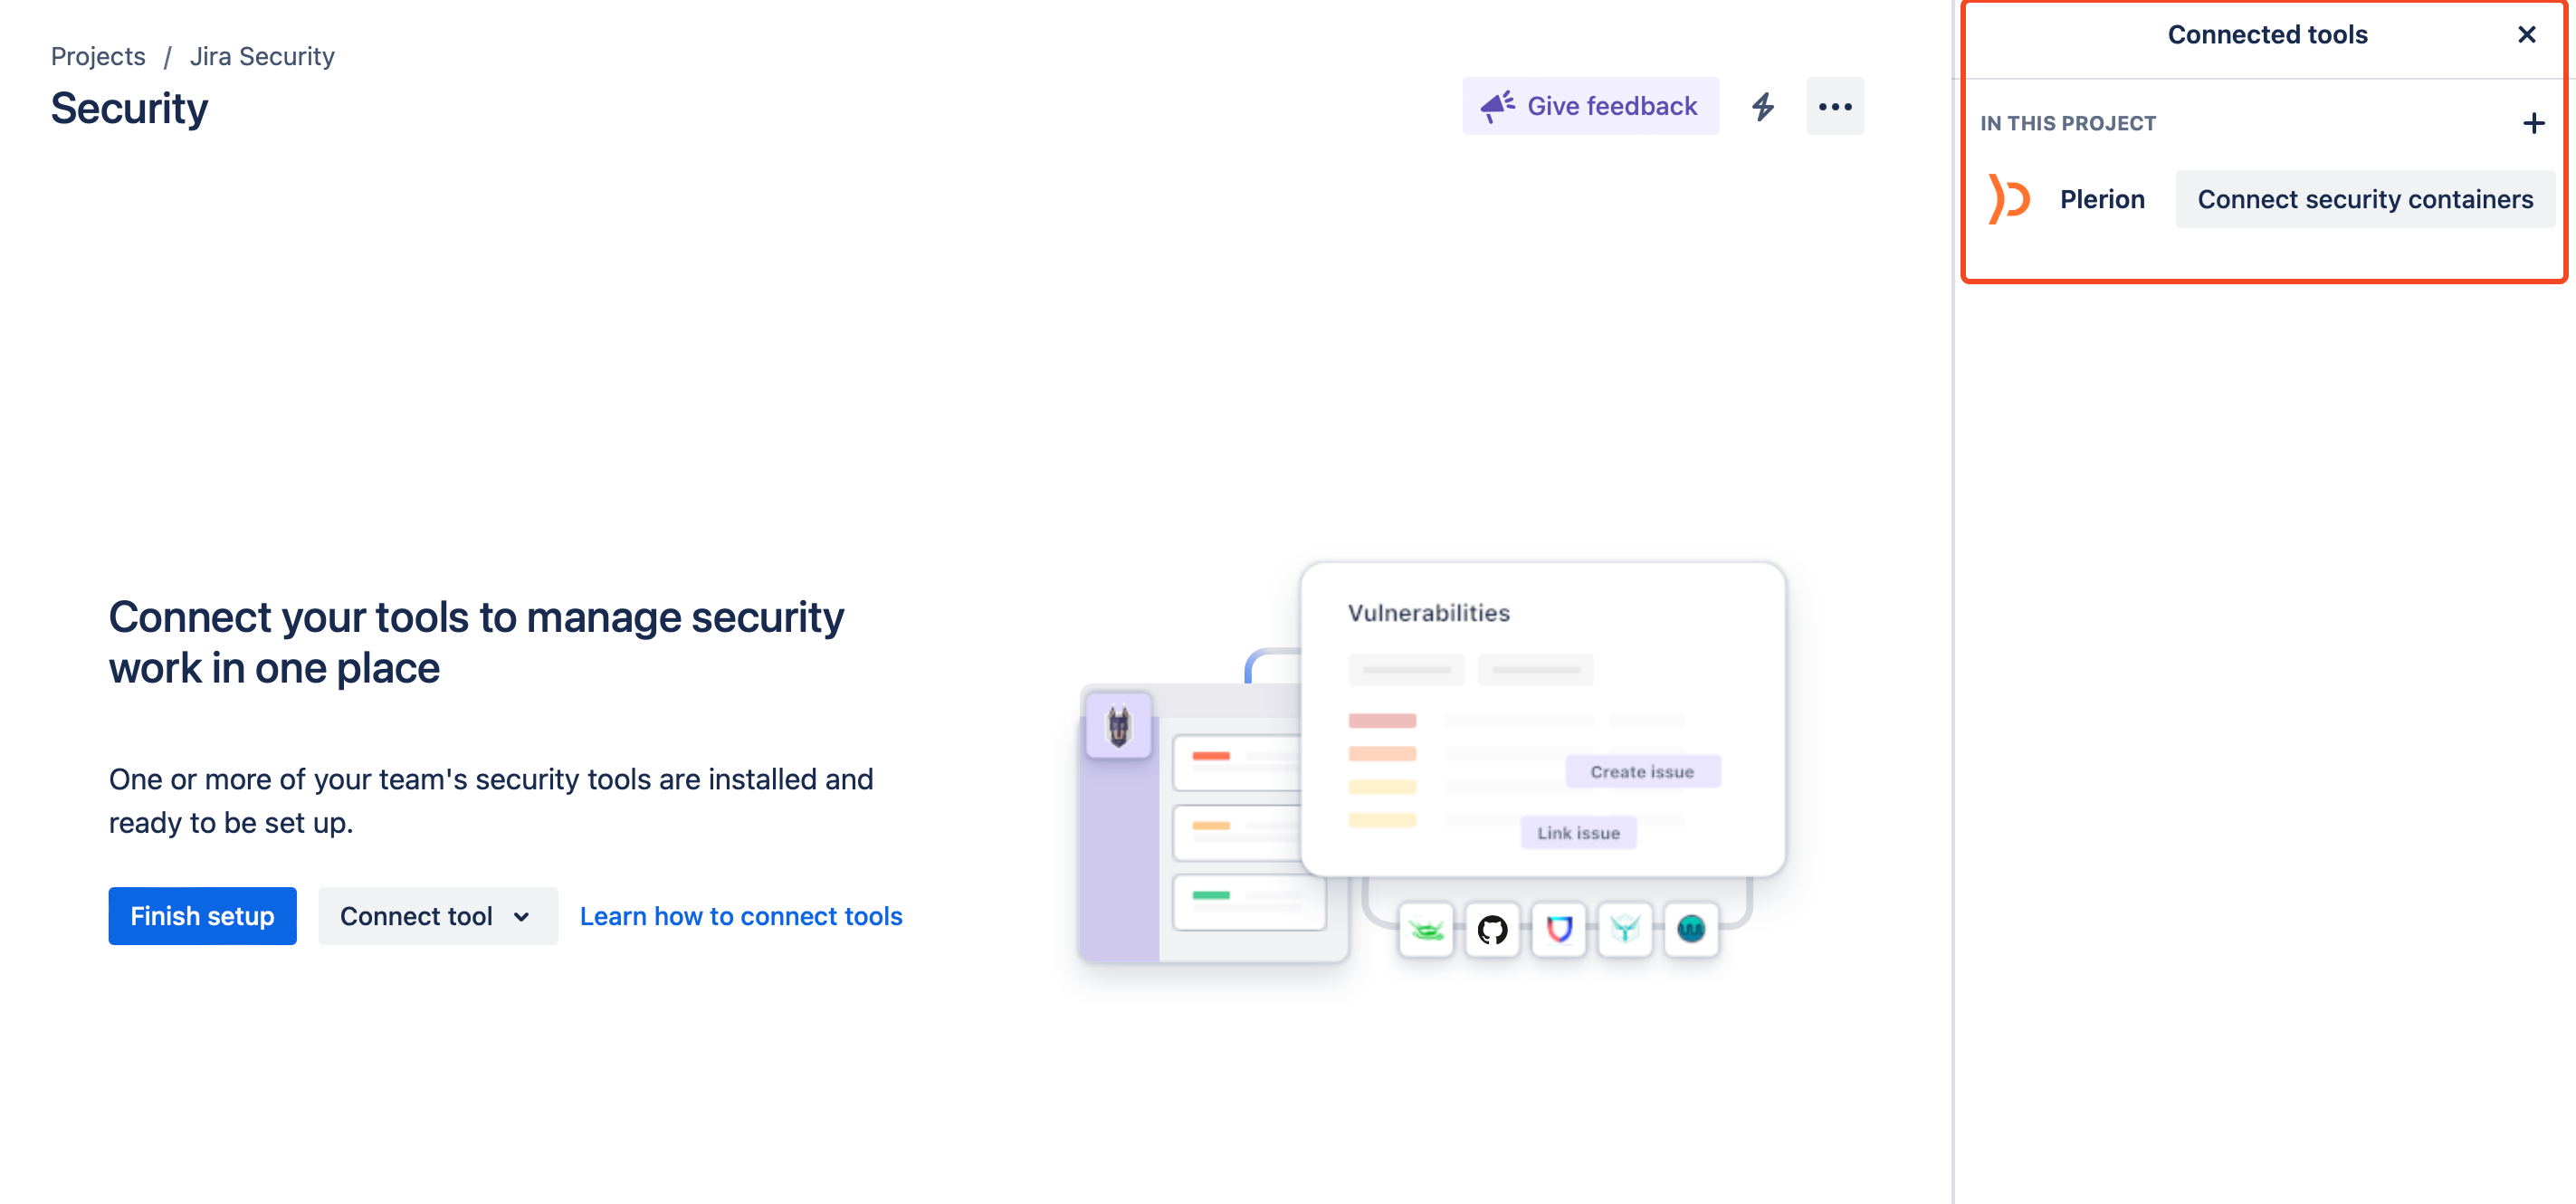
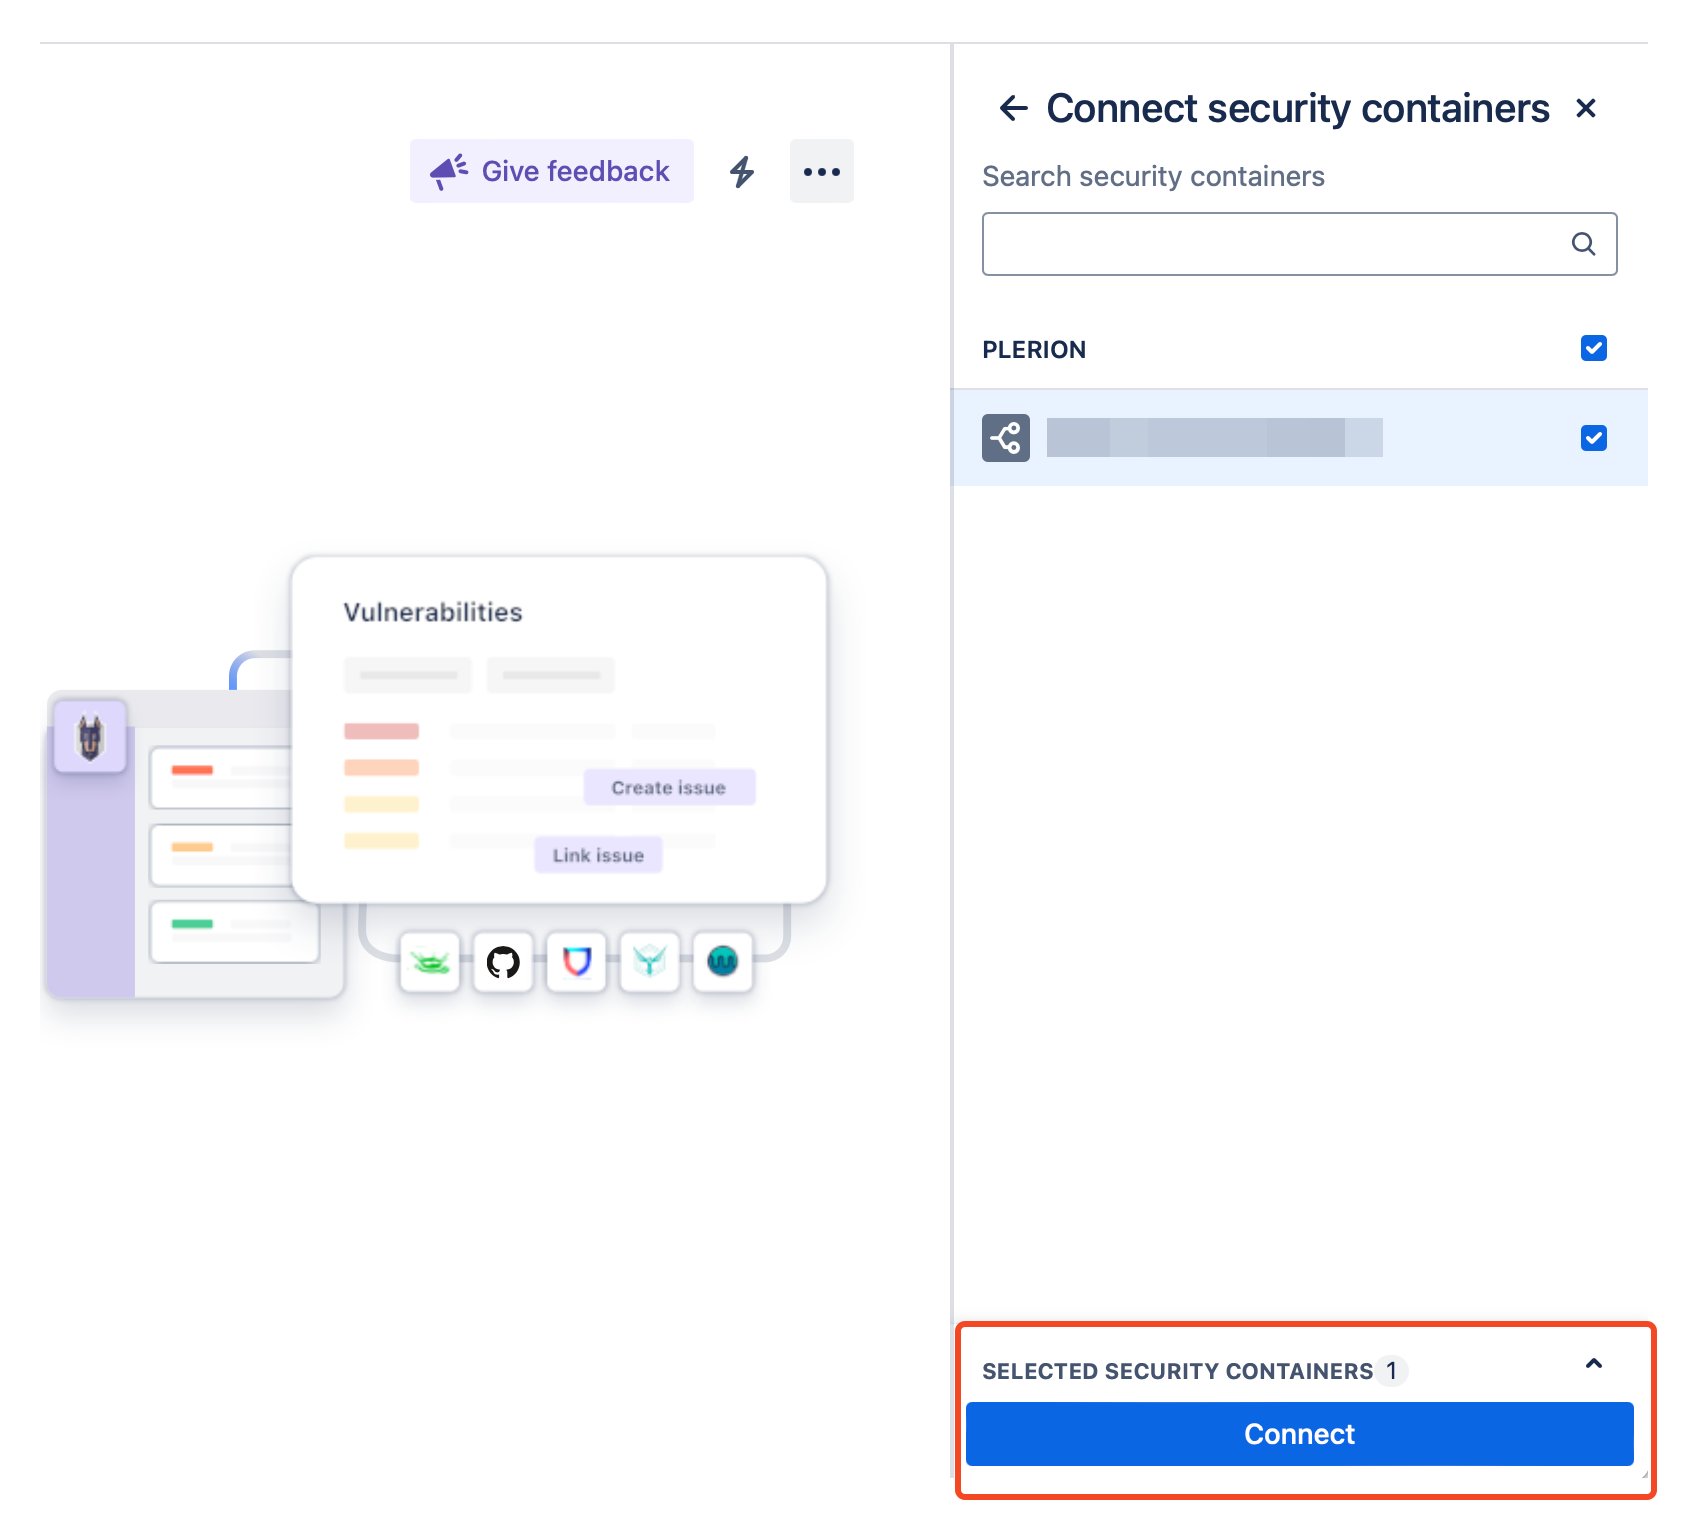
Connect a security container
- In Jira Security, go to the Security page
- Click
Finish Setup, thenConnect security containeron the right side - Select the container to connect
\
8
Verify the connected container
Once connected, the container will appear in Jira Security with an empty vulnerability list.\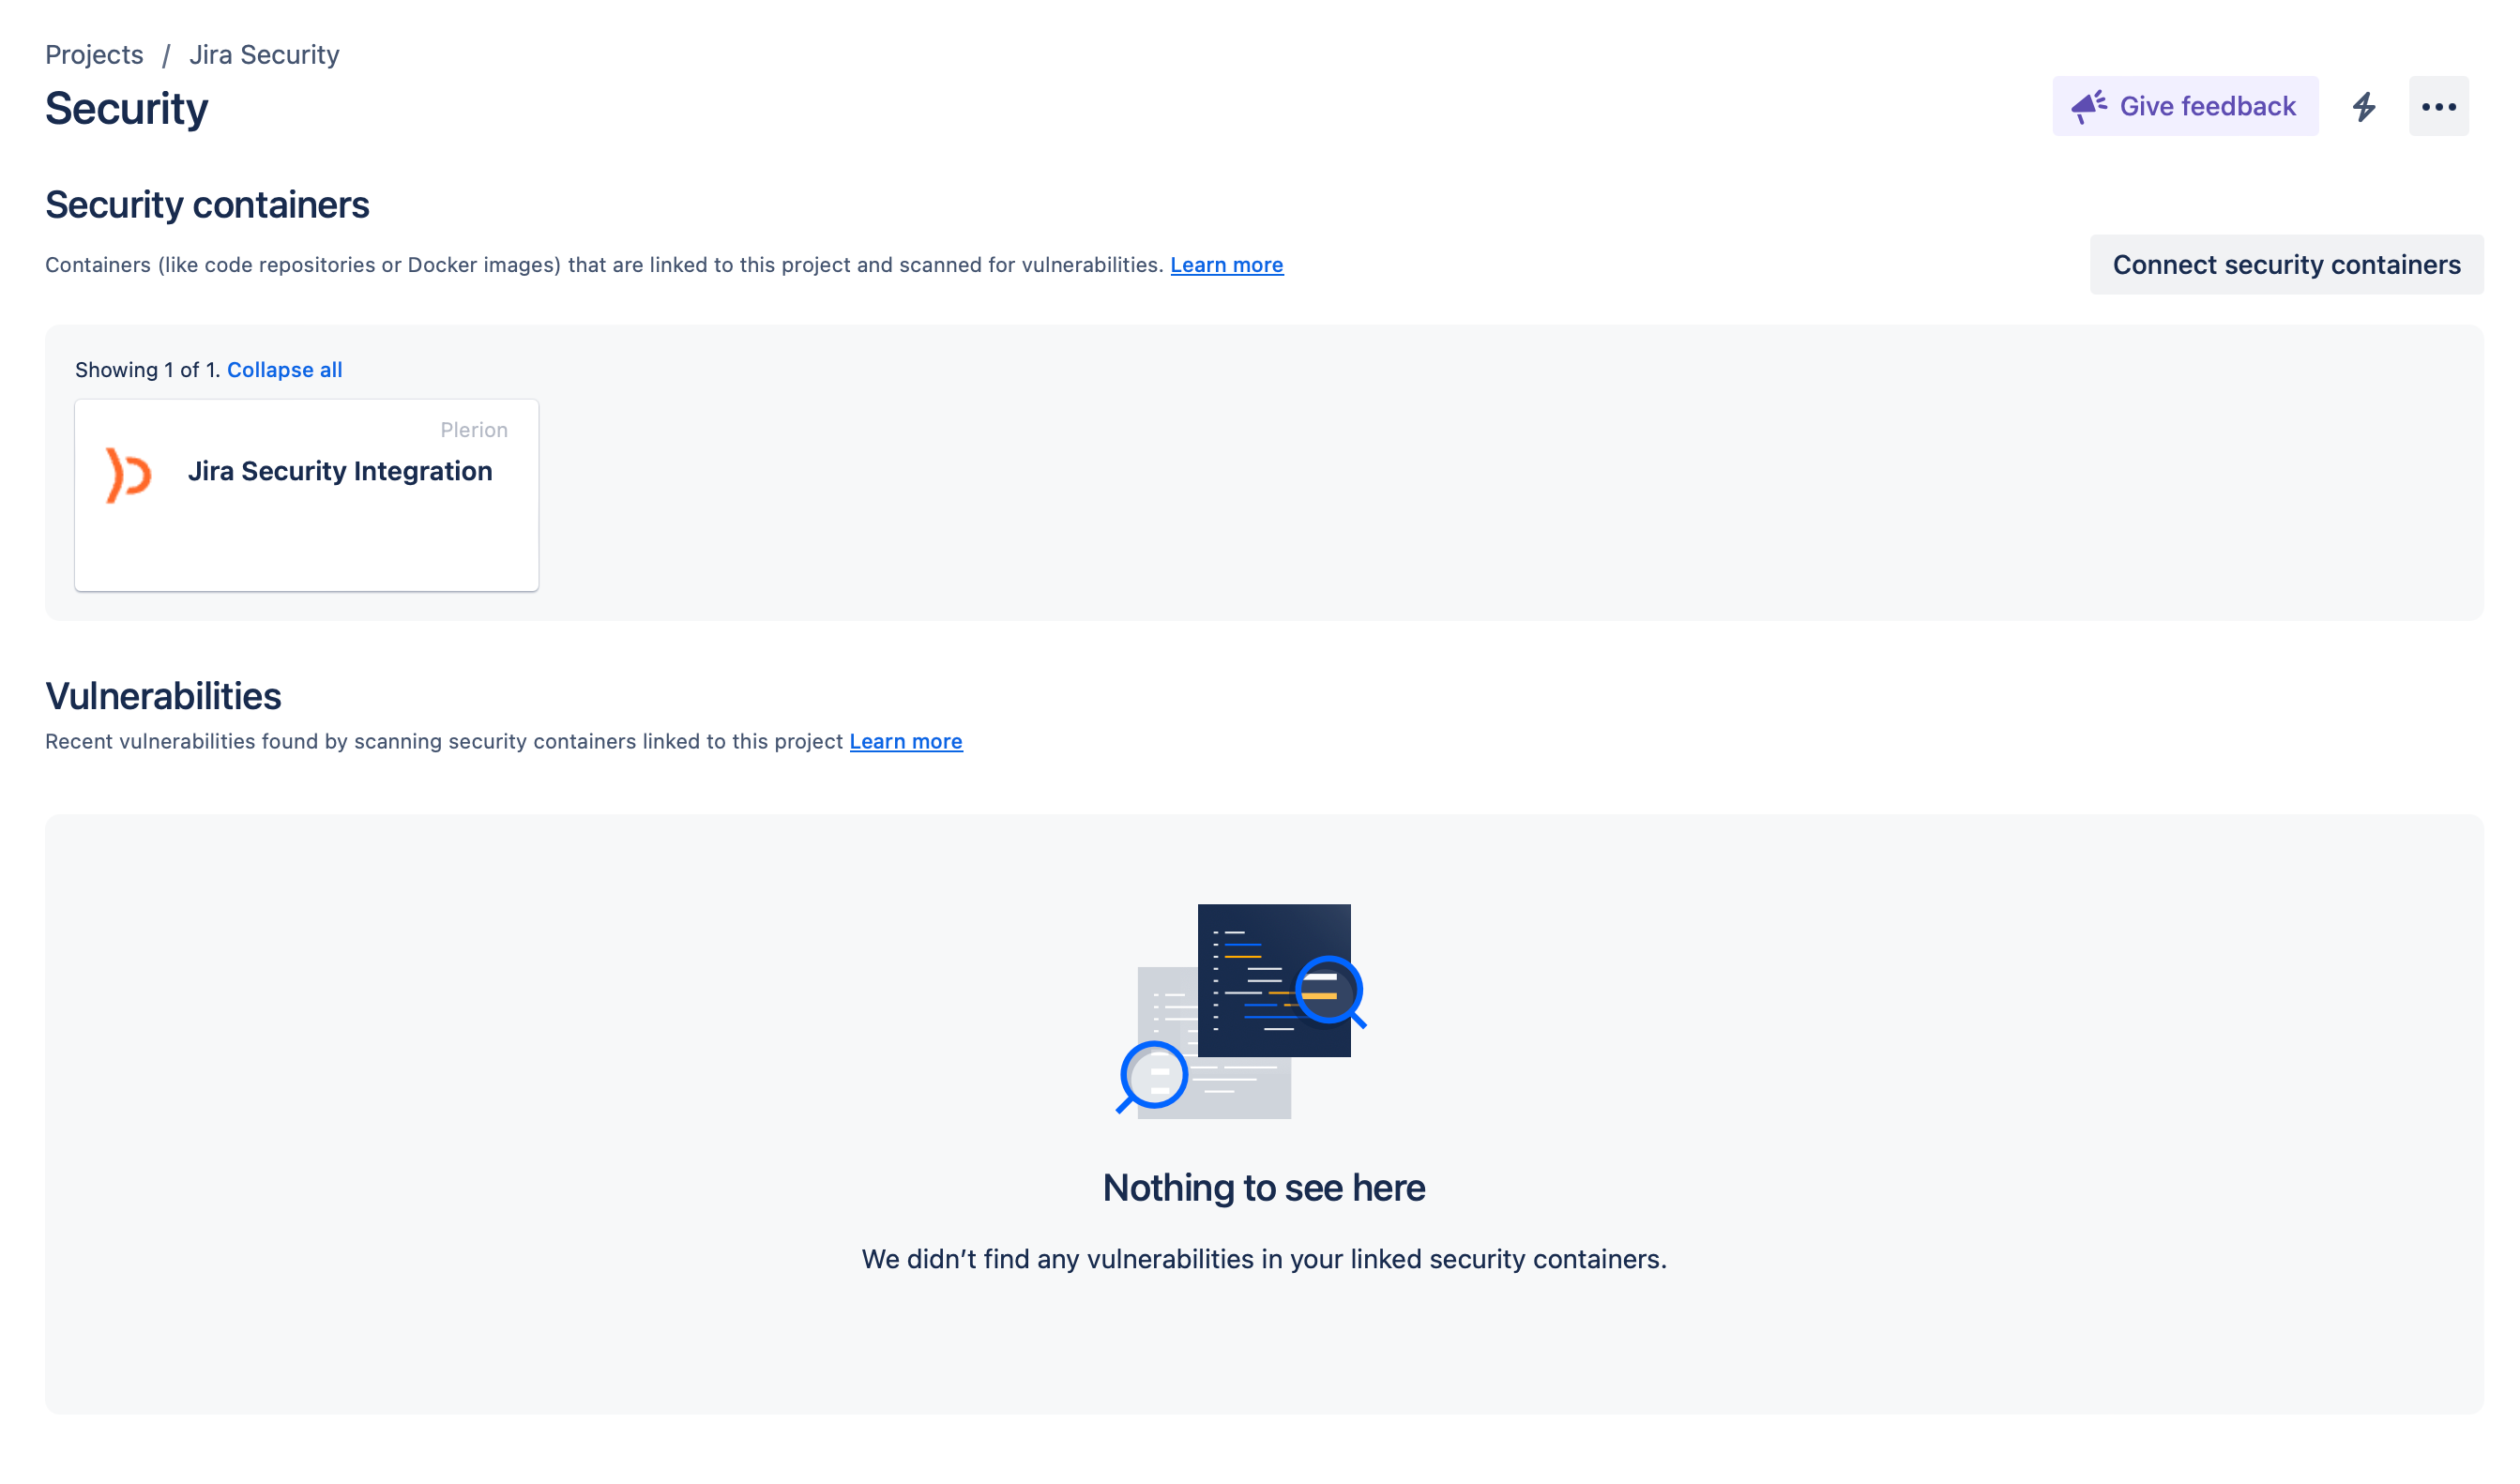
9
Test your Jira Security integration
On the Jira Security integration page in Plerion, verify that it shows
Click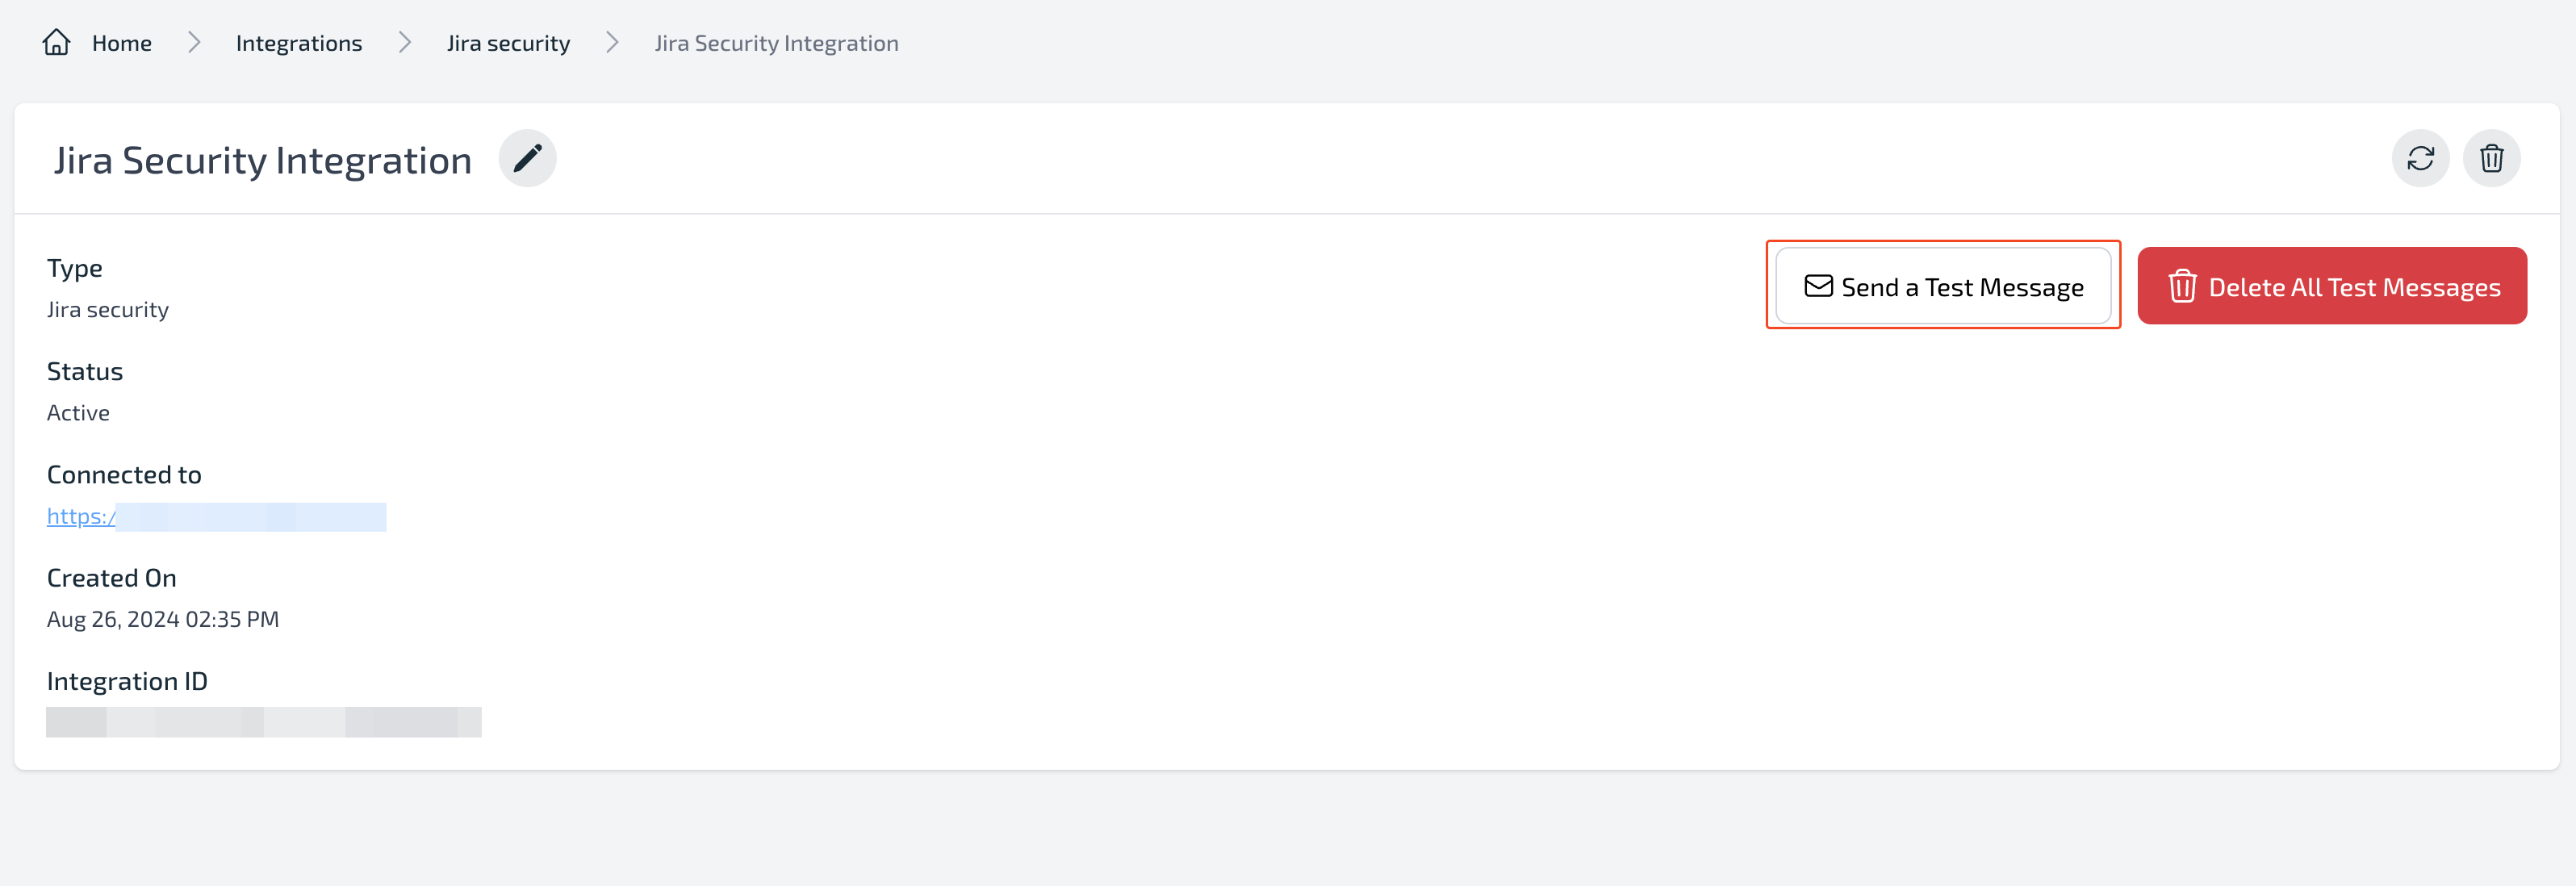
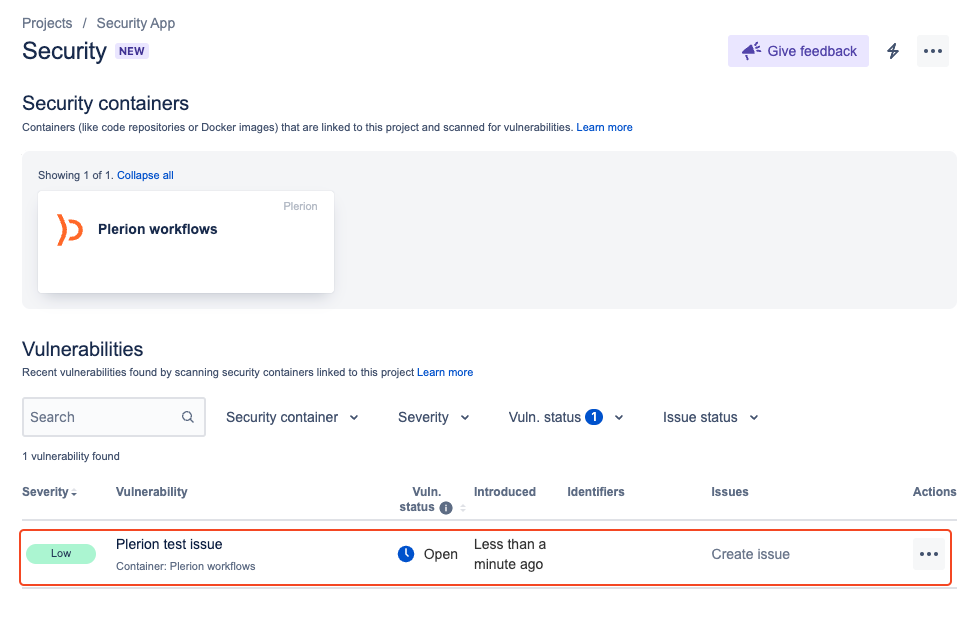
Connected to your Jira URL.Click
Send a Test Message in Plerion to push a test vulnerability. Then check the Jira security page to confirm it appears.Disconnect the integration
1
In Jira, go to the top navigation bar and click Plerion
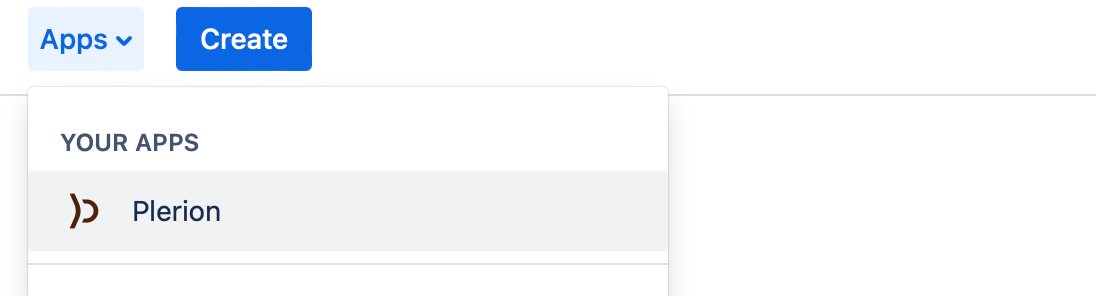
2
Click Disconnect to remove the integration
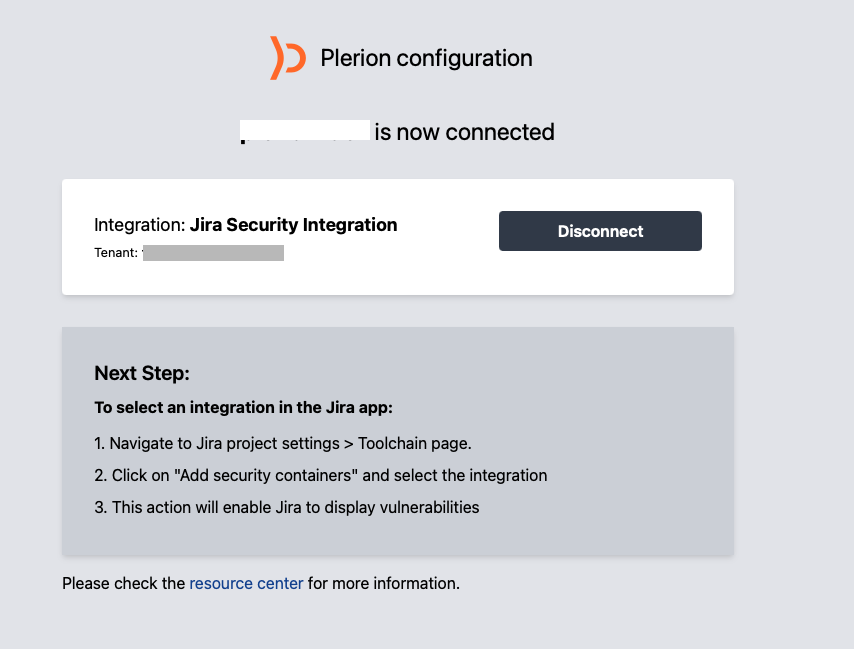
Uninstall the app
1
Go to Manage Apps in Jira
2
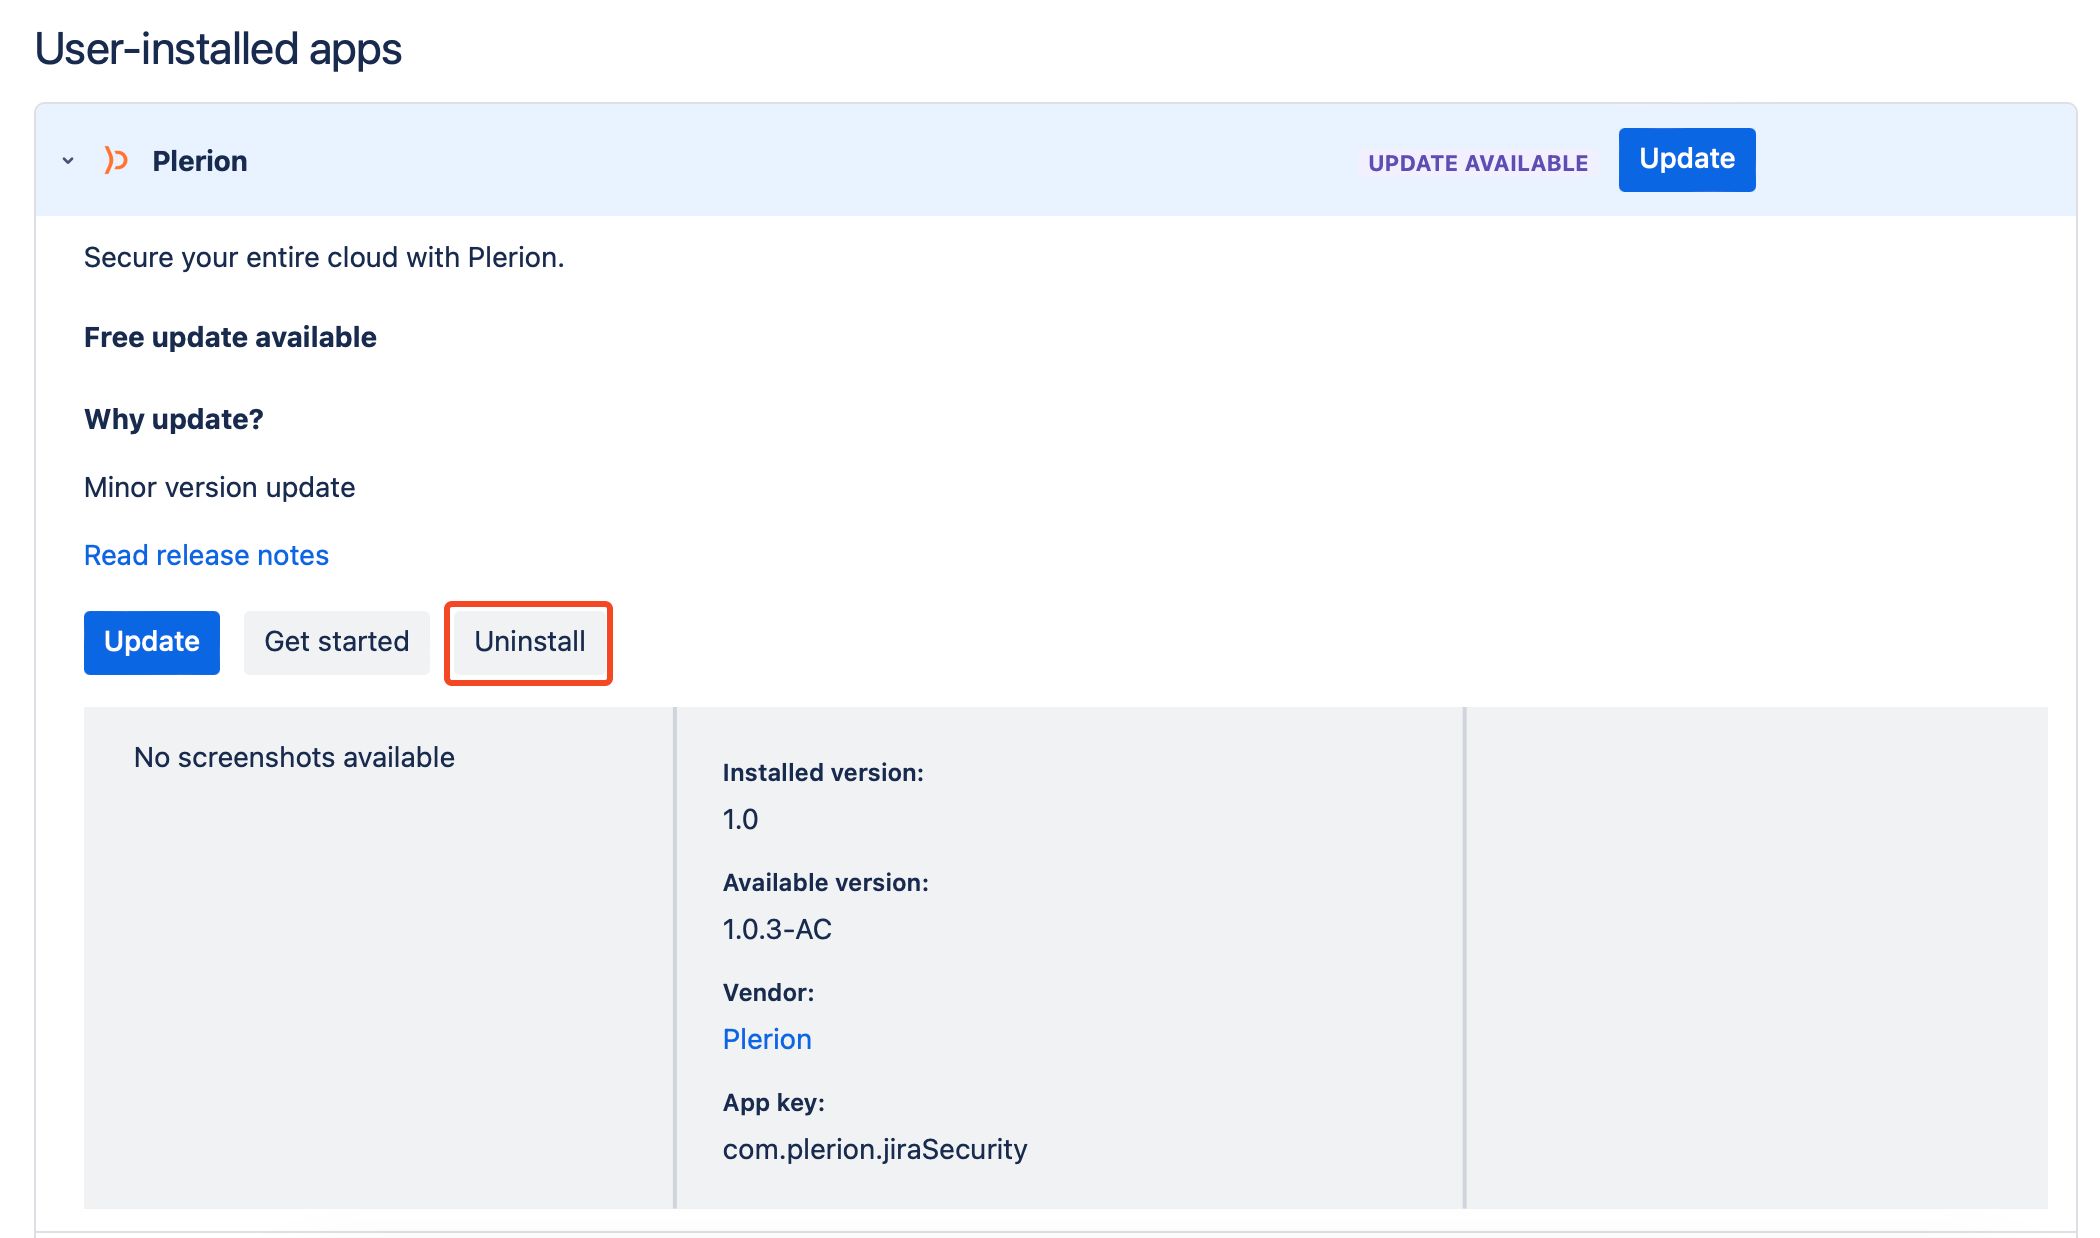
Find the Plerion Security App and click Uninstall