Steps to integrate ServiceNow with Plerion
1
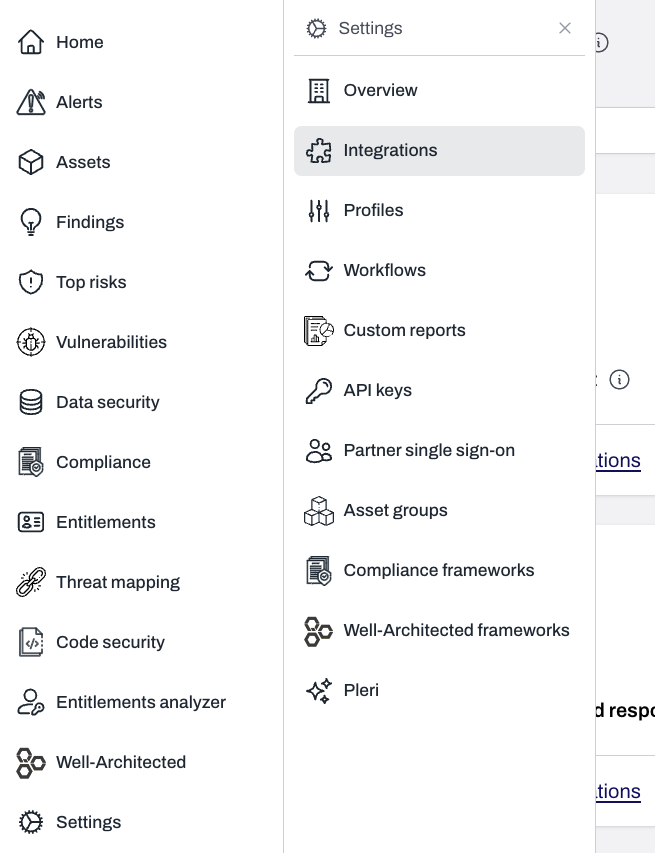
On the Plerion dashboard, go to Settings > Integrations
2
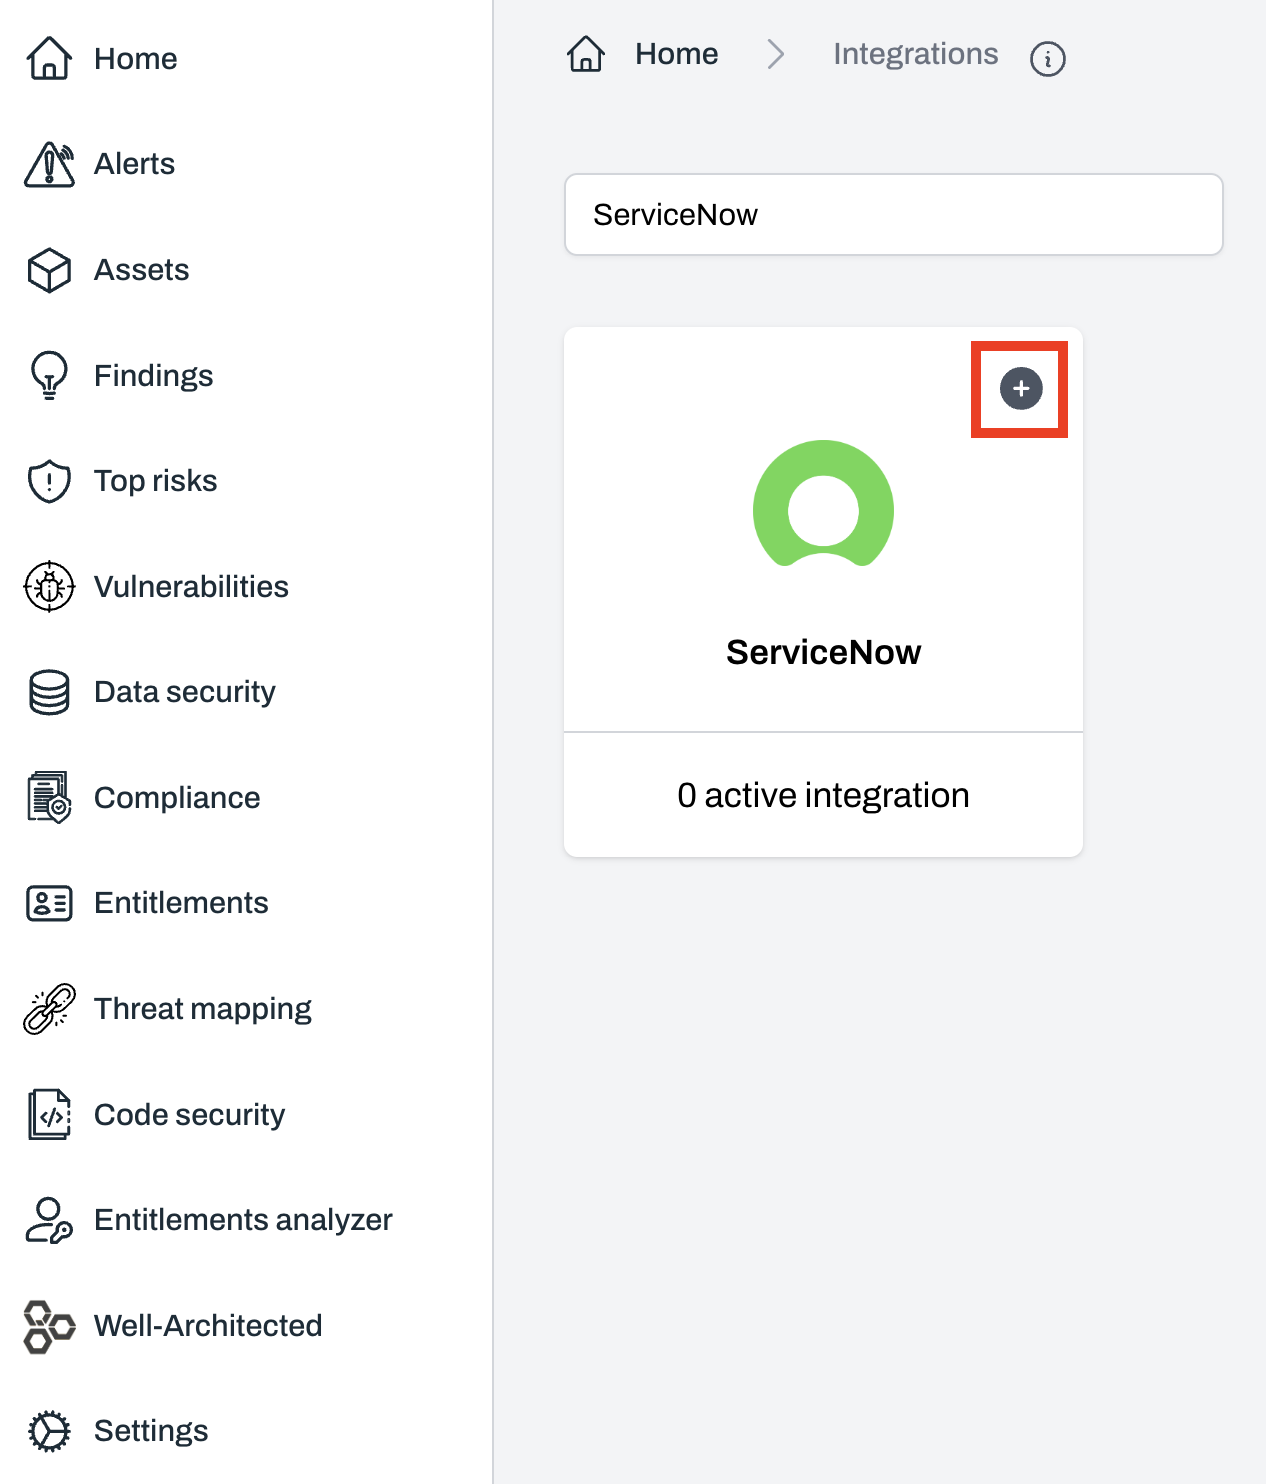
Find ServiceNow and click the + button
3
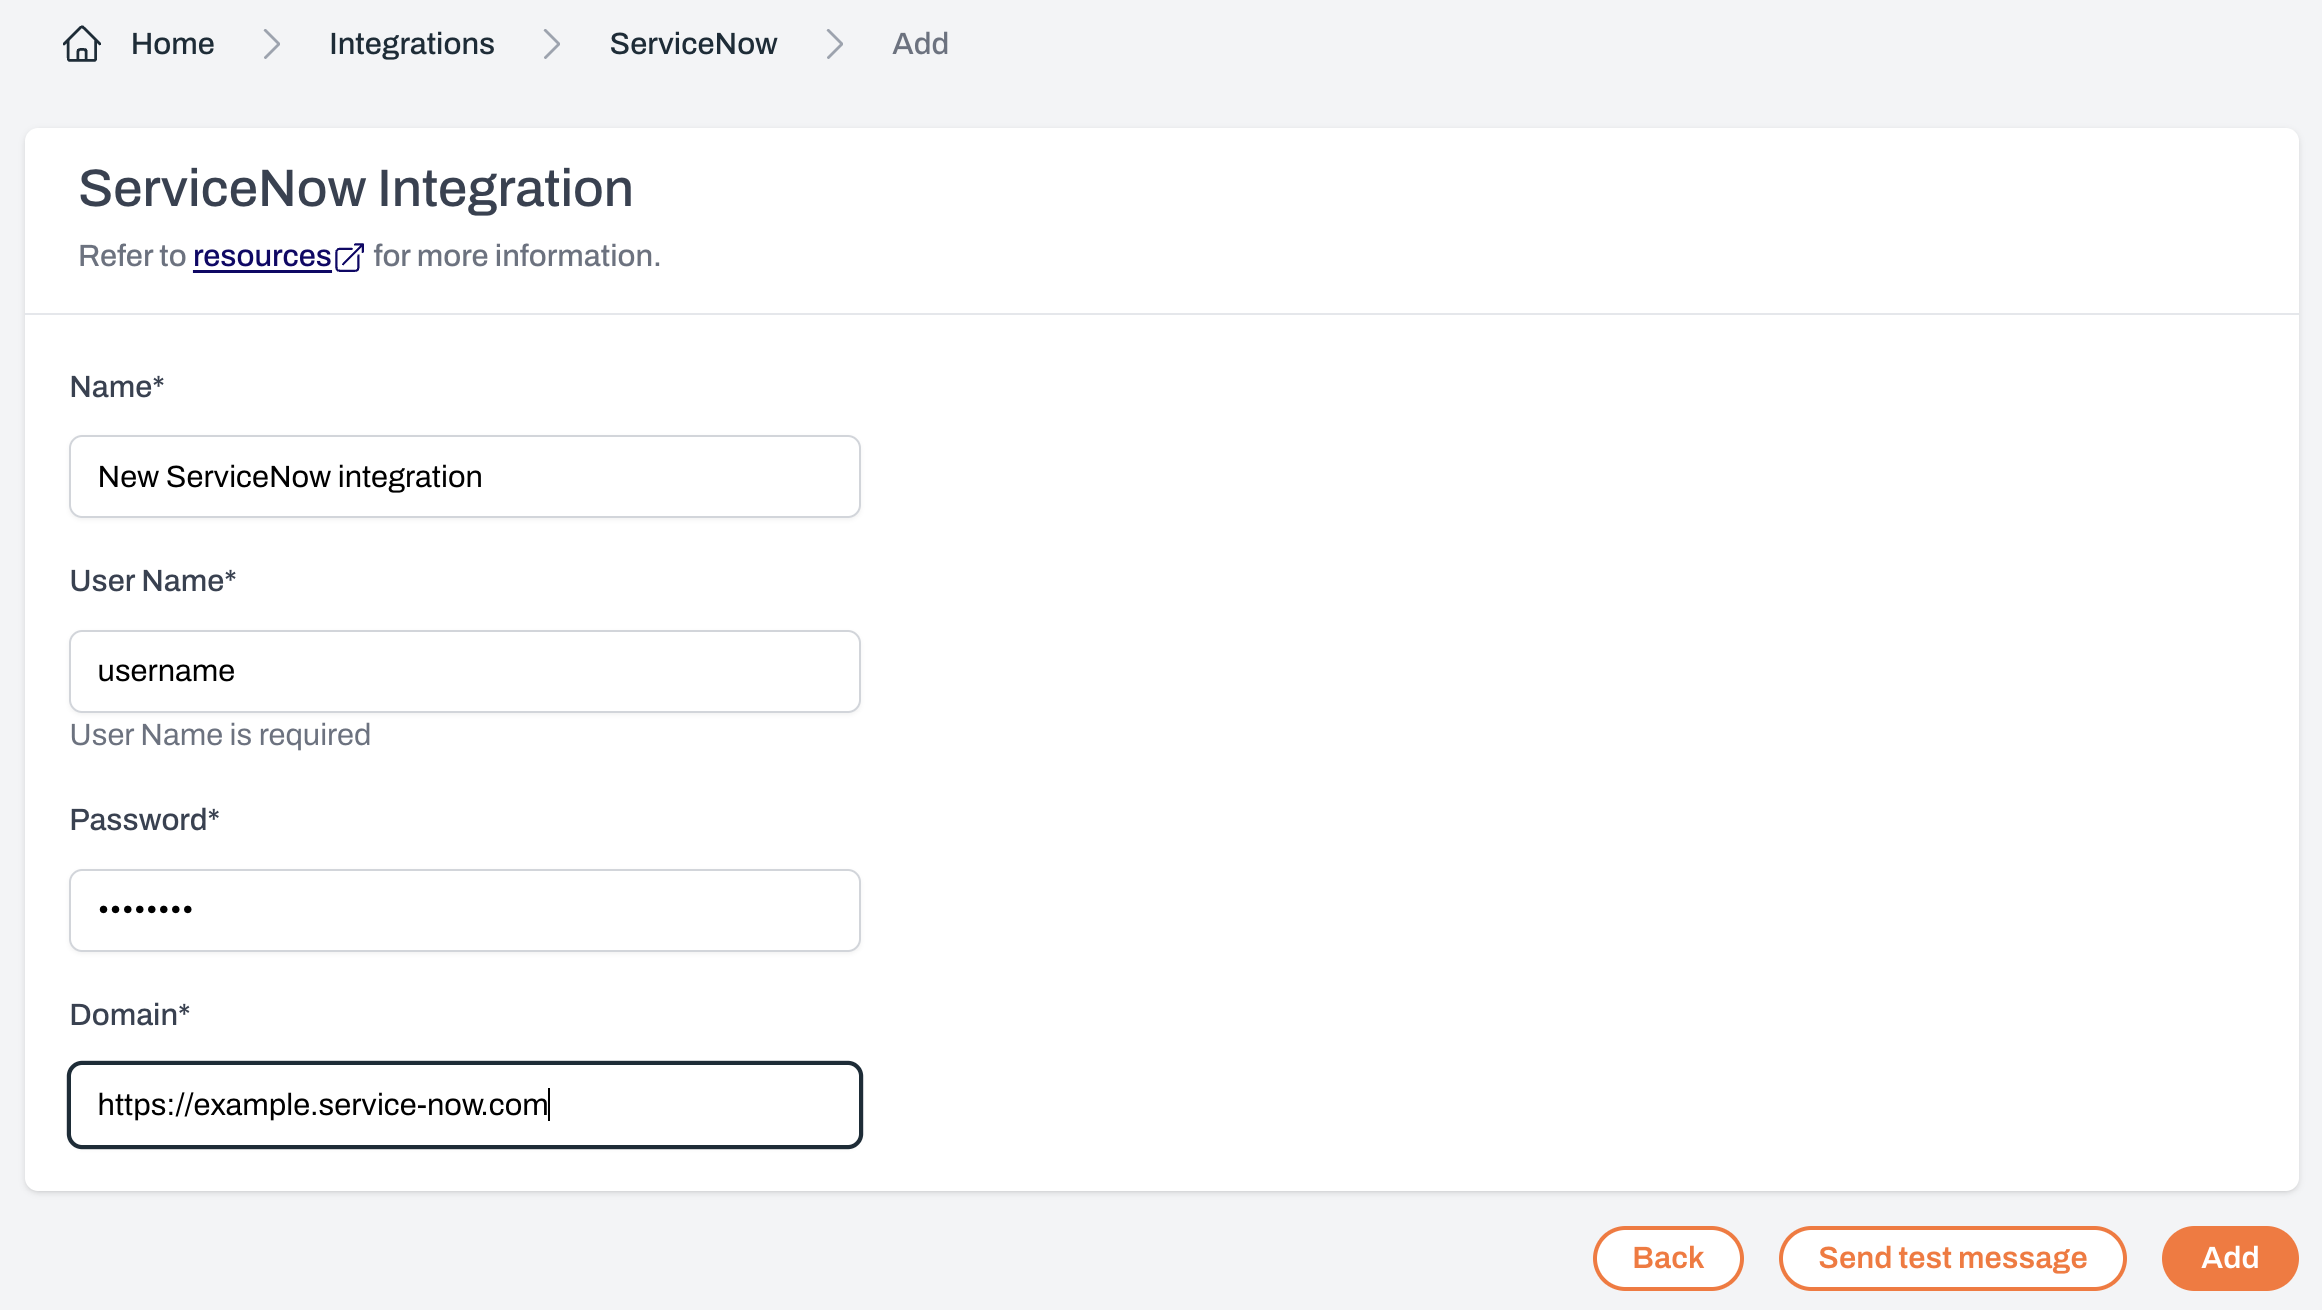
On the Connect ServiceNow page, enter your integration details
- User Name: Your ServiceNow username
- Password: Your ServiceNow password
- Domain: Your ServiceNow instance URL (e.g.
https://example.servicenow.com)
4
Test your ServiceNow integration
After adding ServiceNow, you can send a test message to confirm the setup.
Click
Click
Send test message in Plerion.5
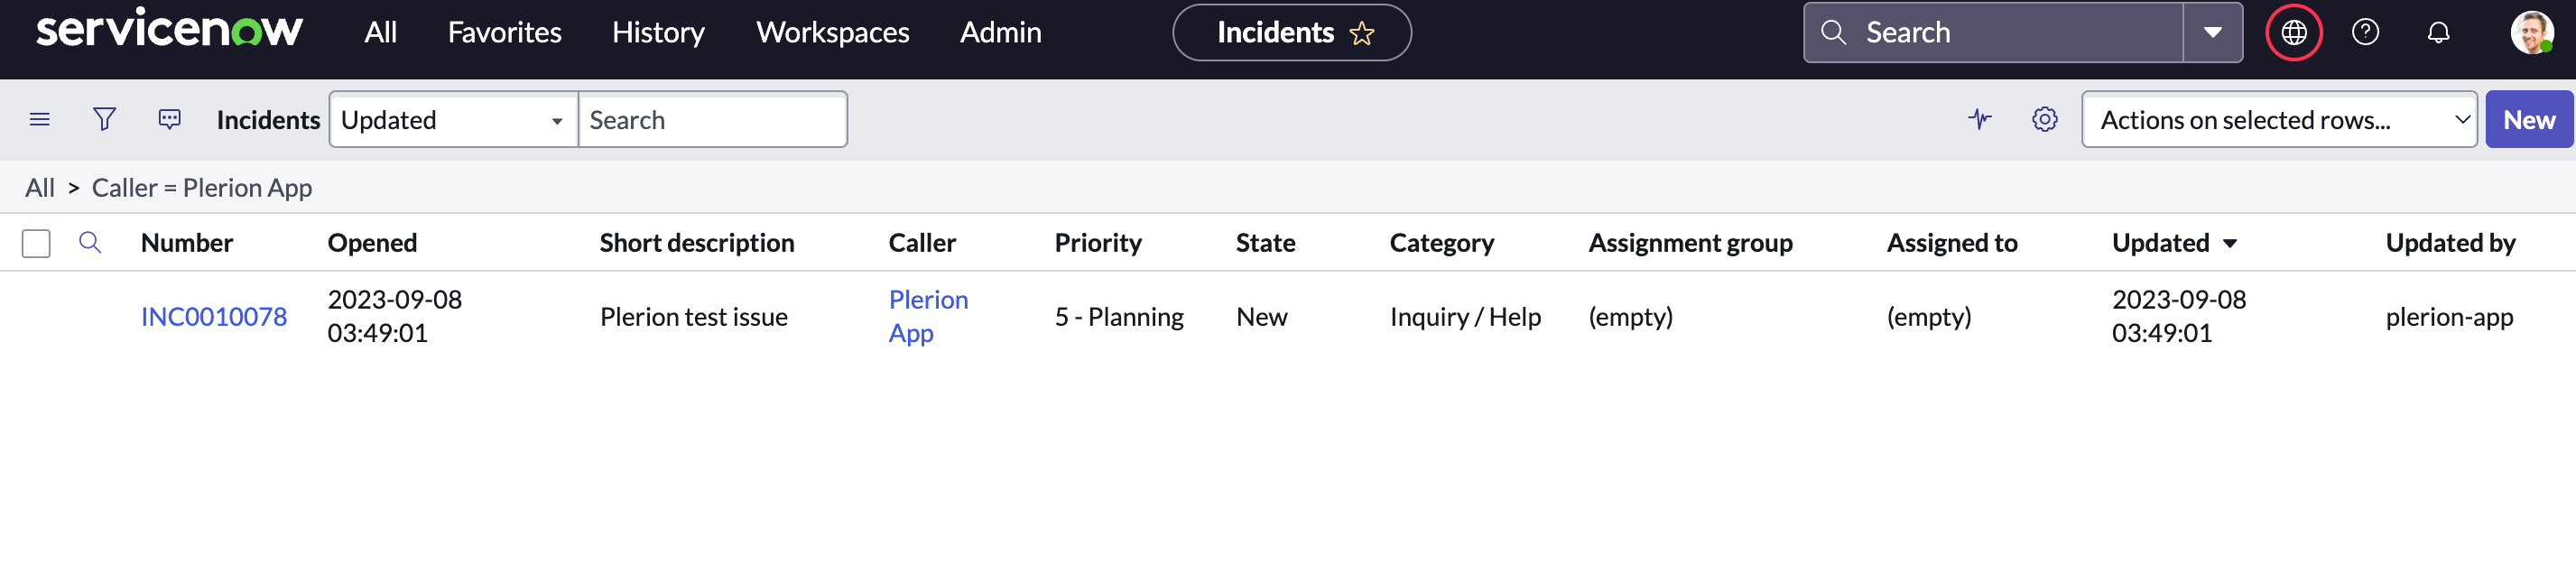
Review your test incident in ServiceNow
If the test is successful, a new incident will appear in your ServiceNow Incidents section.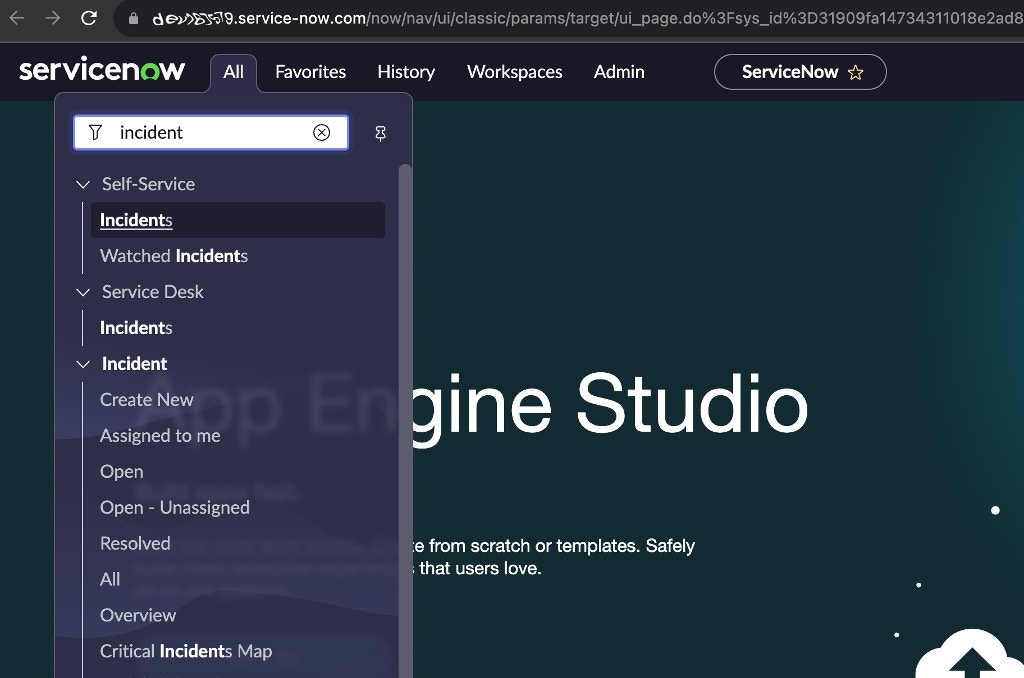
Obtaining ServiceNow credentials
1
Go to the ServiceNow website
2
Log in and open your profile
After logging in, click your profile image in the top-right corner.
3
Click 'Manage instance password'
This will allow you to generate or reset your credentials.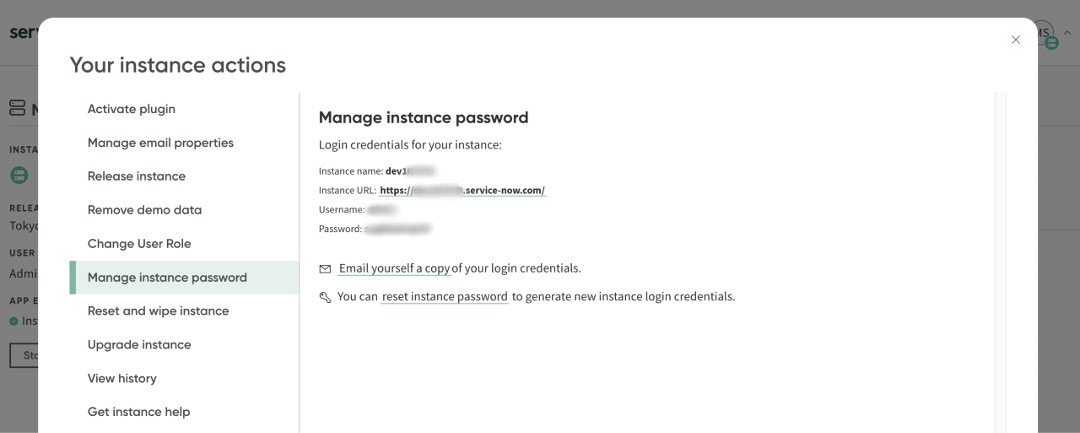
4
Use these credentials in Plerion
Enter the generated username and password when setting up your ServiceNow integration in Plerion.
Required roles and permissions
Plerion needs access to create, retrieve, and update fields in your ServiceNow incident table, and to read from the sys_user table to populate the caller column. Assign your ServiceNow user either of the following roles:itilitil_admin
- Read access to the
sys_usertable - Read and write access to the
incidenttable