Steps for adding a Jira integration
1
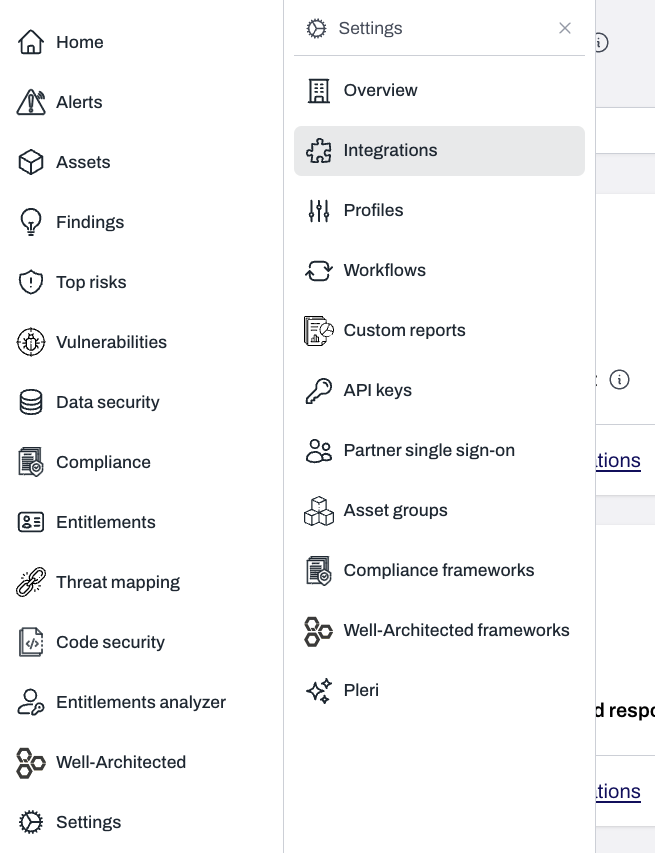
On the Plerion dashboard, go to Settings > Integrations
2
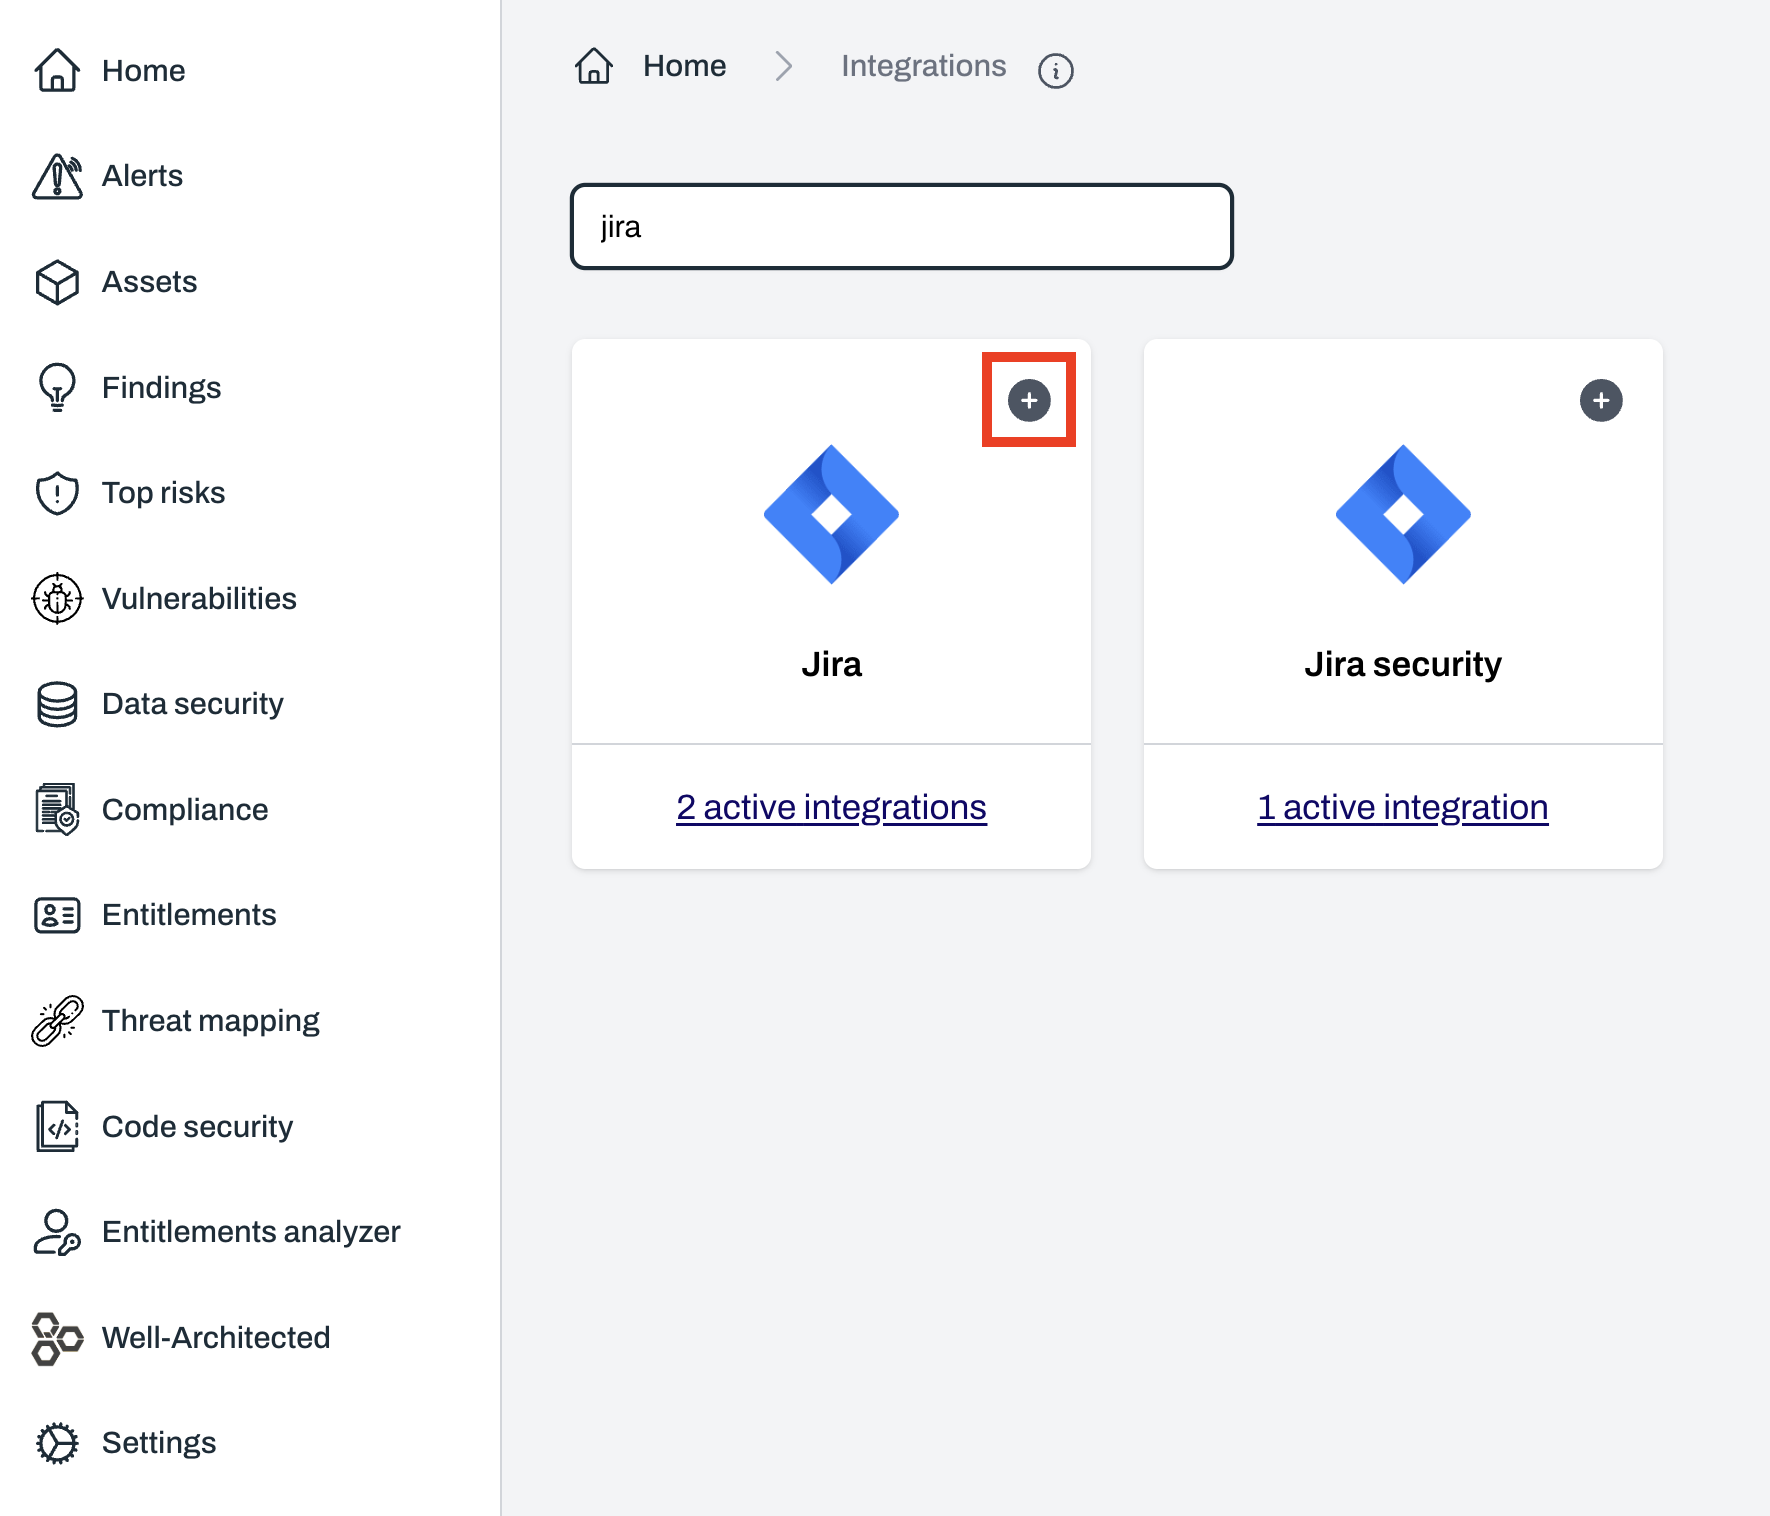
Find Jira and click the + button
3
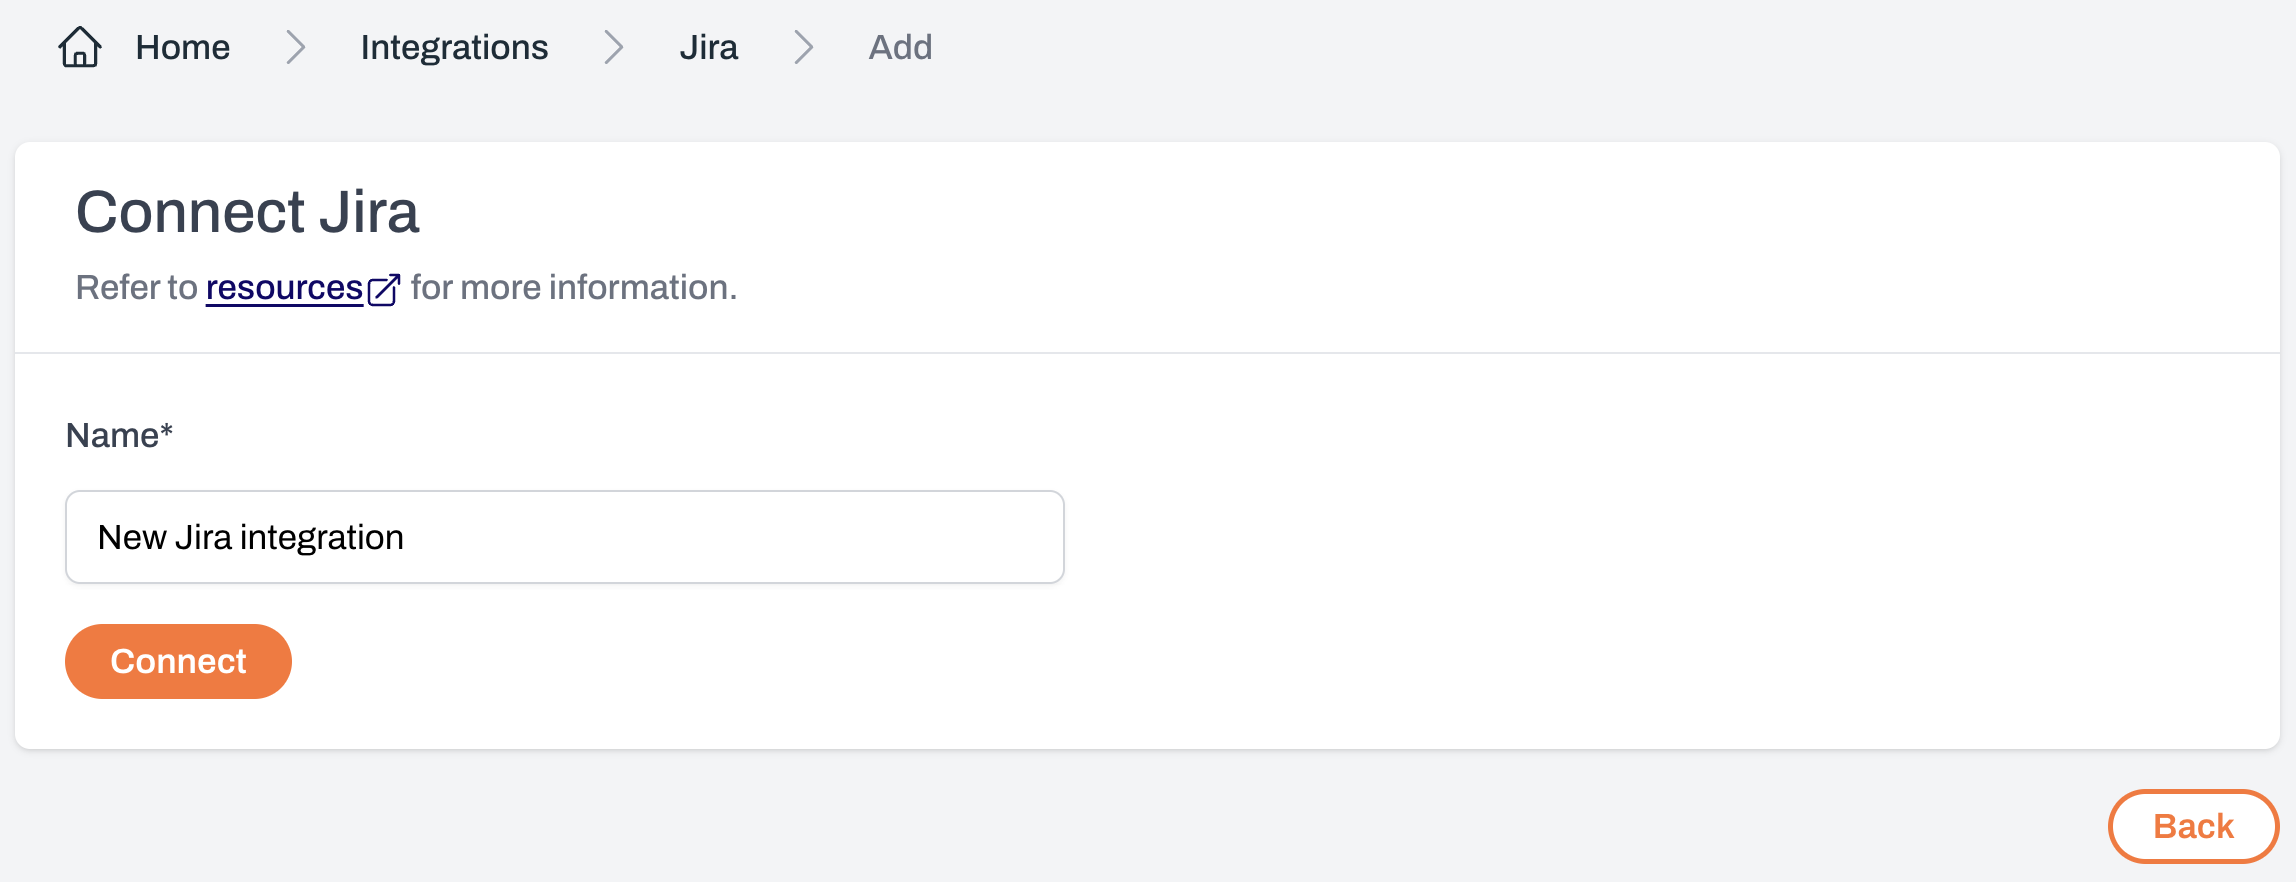
On the Connect Jira page, enter a name for your integration and select Connect Jira
4
A Jira OAuth pop-up will appear
Review the requested permissions and click 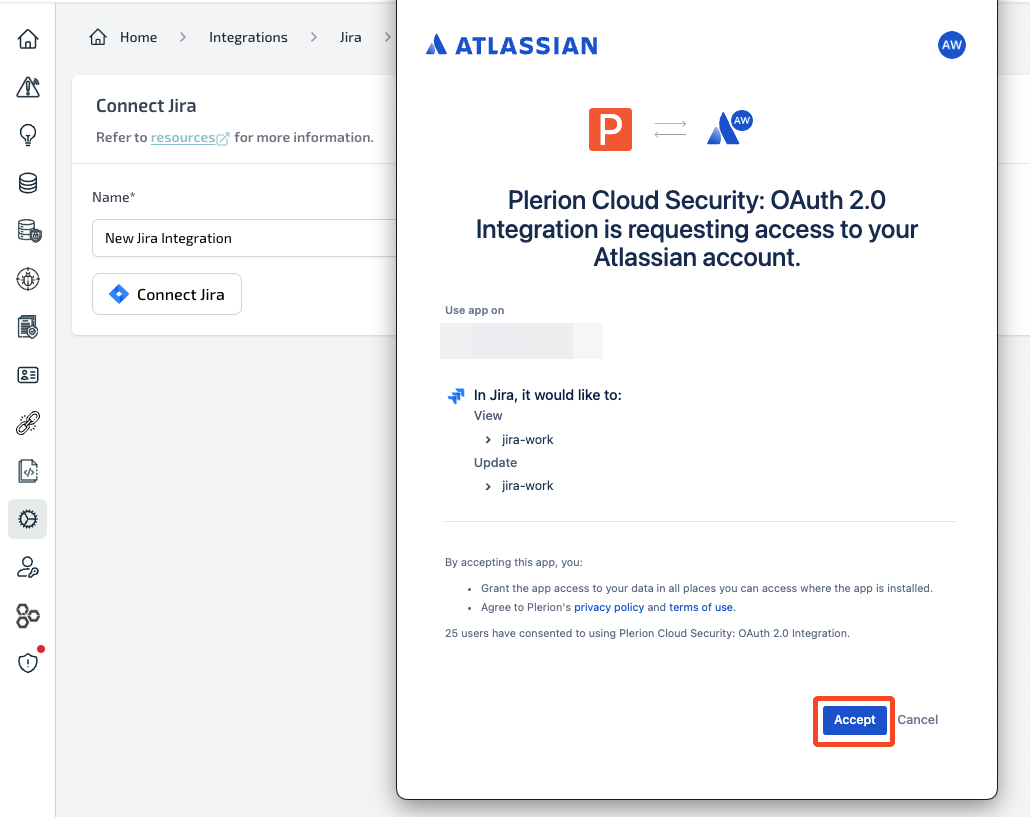
Accept to authorize the connection.5
Choose Jira instance (if applicable)
If you have access to multiple Jira instances, carefully select the correct one.
6
Test your Jira integration
After adding Jira, you can send a test issue to confirm the setup.
Choose the Jira project and issue type for the test issue.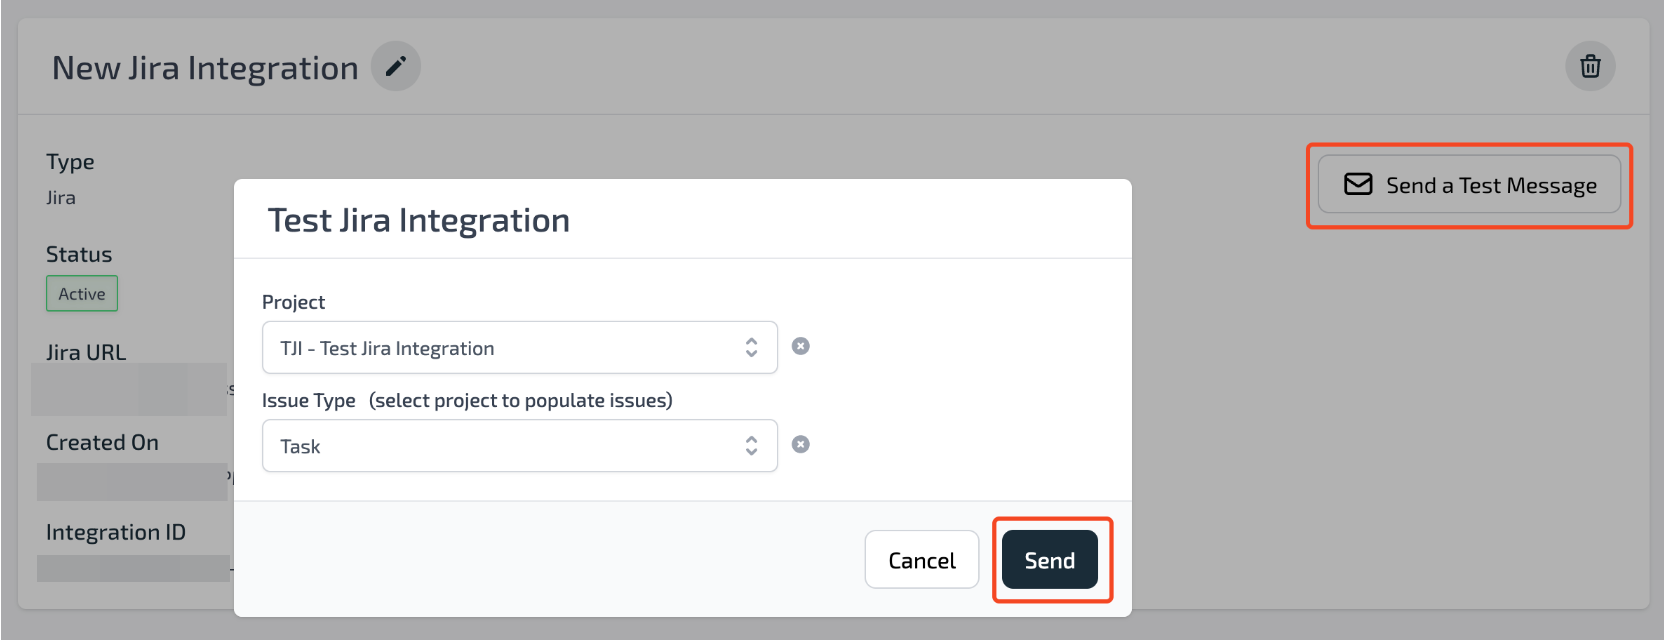
Choose the Jira project and issue type for the test issue.
7
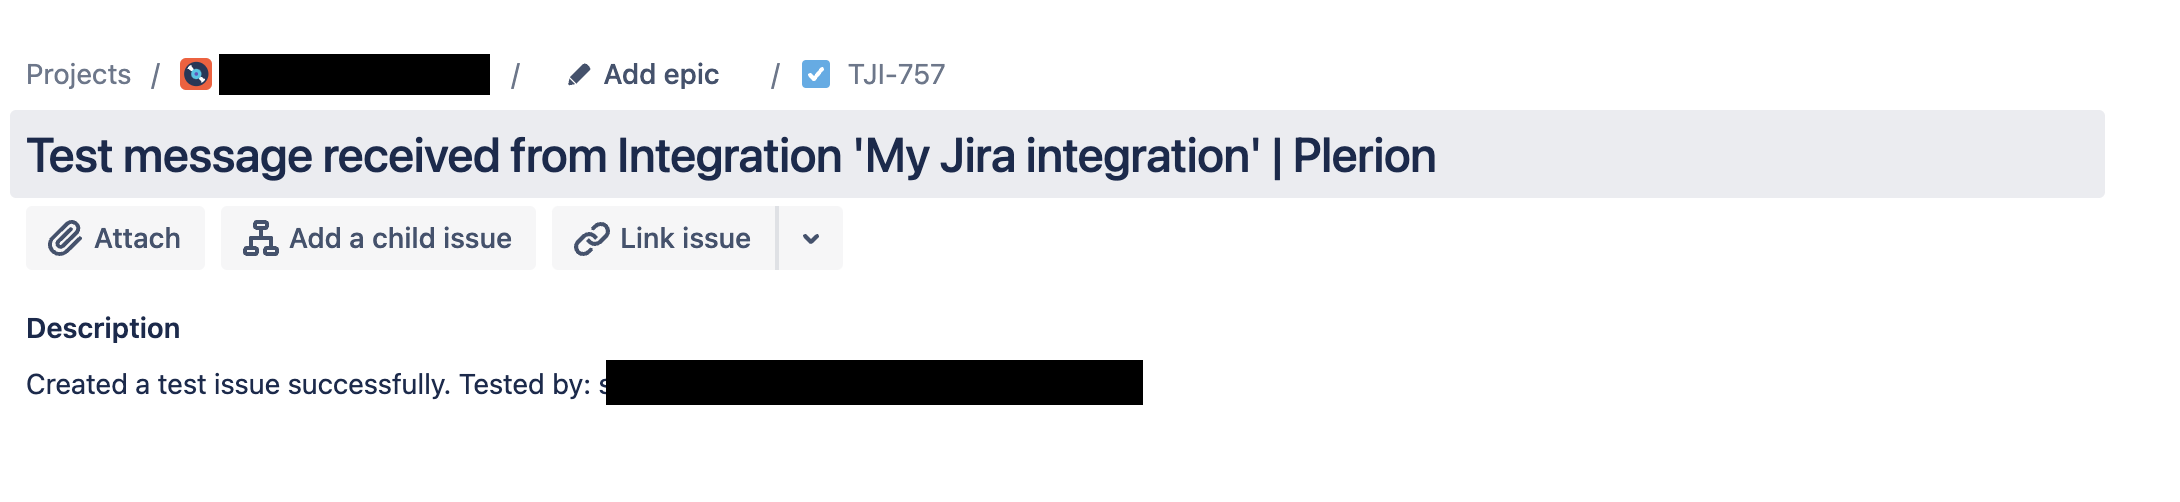
Review your test issue in Jira
If the test is successful, Plerion will display a link to the created Jira issue, as shown below.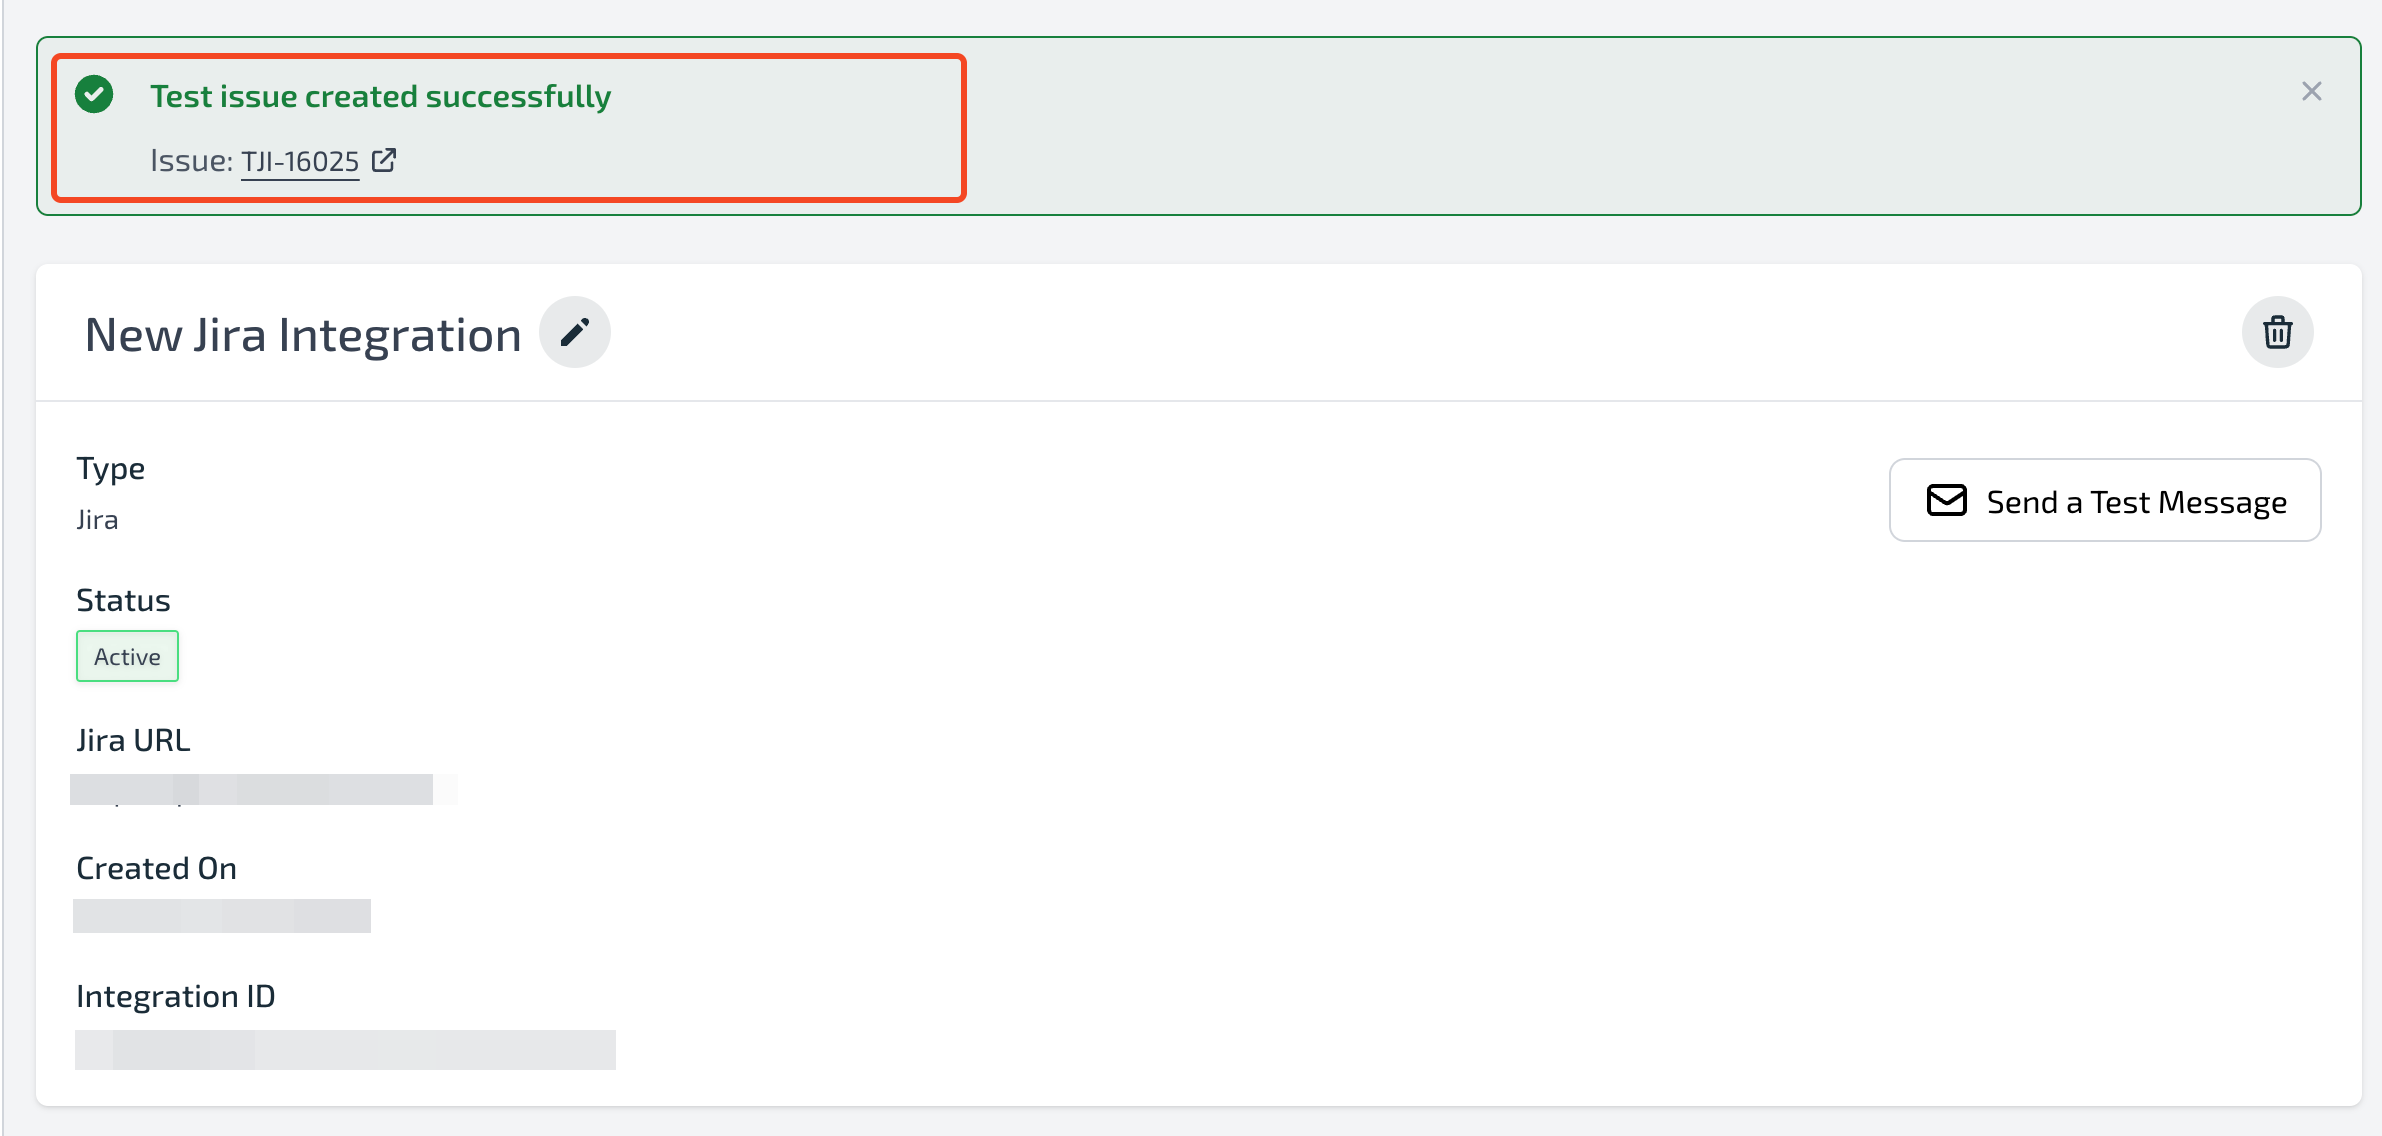
Create a workflow on Plerion
After adding the Jira integration, you must create a workflow for any alerts to be sent to Jira.1
Go to Settings > Workflows and click Add a new workflow
2
Enter workflow details
Enter a workflow name and ensure the Enabled toggle is turned on.
3
Add workflow conditions
- Under Conditions, you can build the workflow using any of the three available condition categories:
- Asset
- Findings
- Vulnerabilities
4
Add workflow actions
Under Actions, click
Add your Jira project, issue type and resolved status.
Add action and select your Jira integration.Add your Jira project, issue type and resolved status.
5
Save the workflow
Click
Save to finish setting up your workflow.