
- Setting up the permissions required to run Plerion infrastructure
- Installing the infrastructure in the regions where you want to run workload scans
Step 1: Set up permissions
1
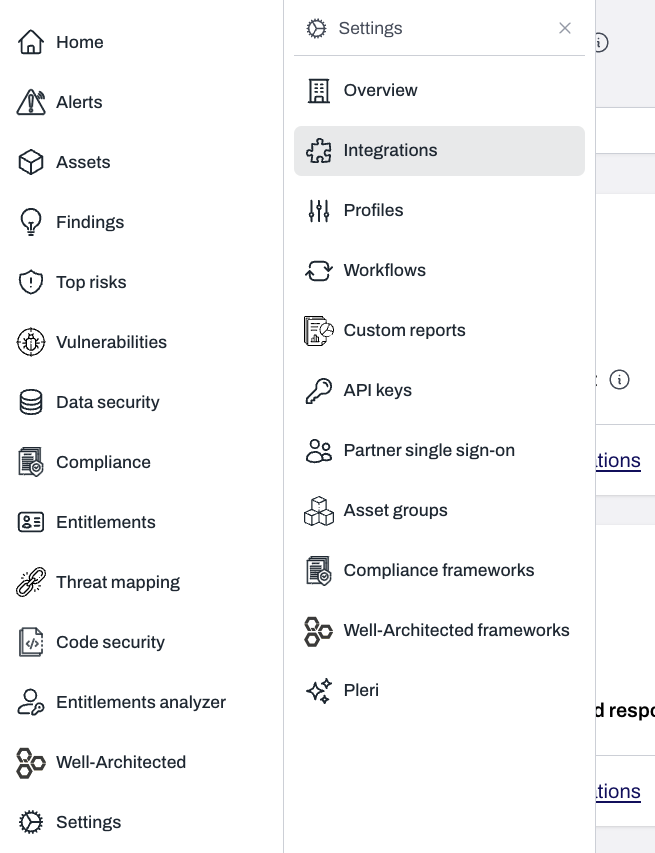
On the Plerion dashboard, go to Settings > Integrations
2
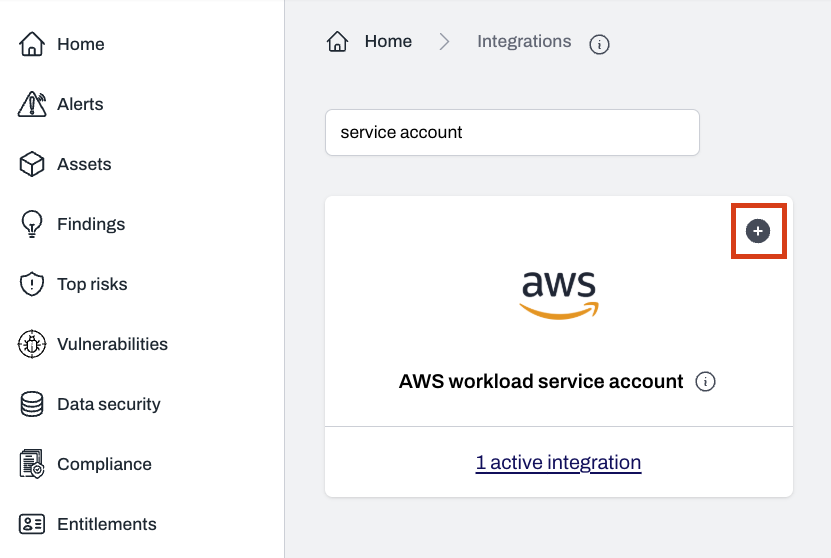
Find AWS workload service account and click the + button
3
Launch the CloudFormation stack
Click 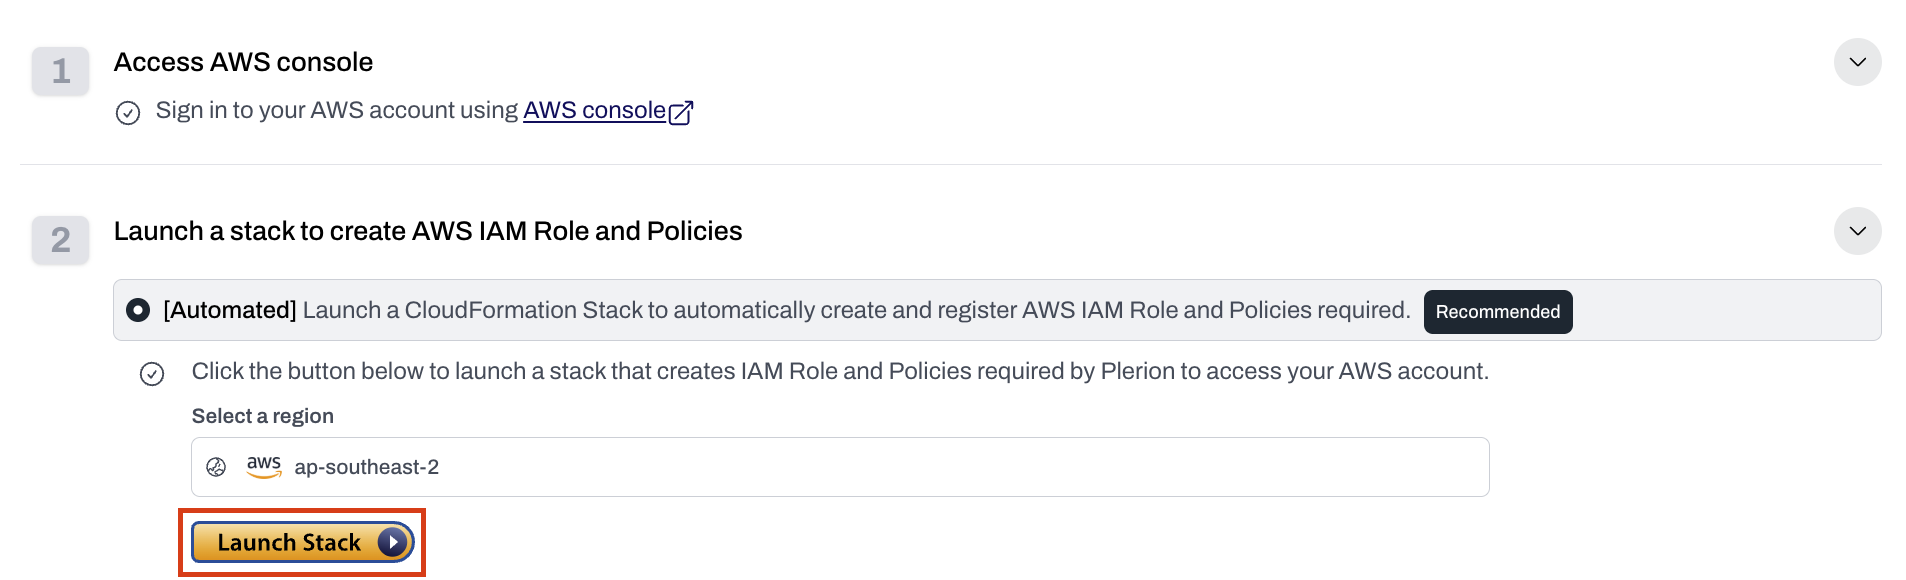
Launch stack to open the Quick create stack page in AWS CloudFormation.4
Confirm the service account is added
- After the CloudFormation stack completes, the service account will be created automatically.
- You will see it listed on the Service Accounts page in Plerion.
- If the account belongs to an AWS organization that is new to your tenant, Plerion holds it for approval instead of enabling it. See Service account approval.

5
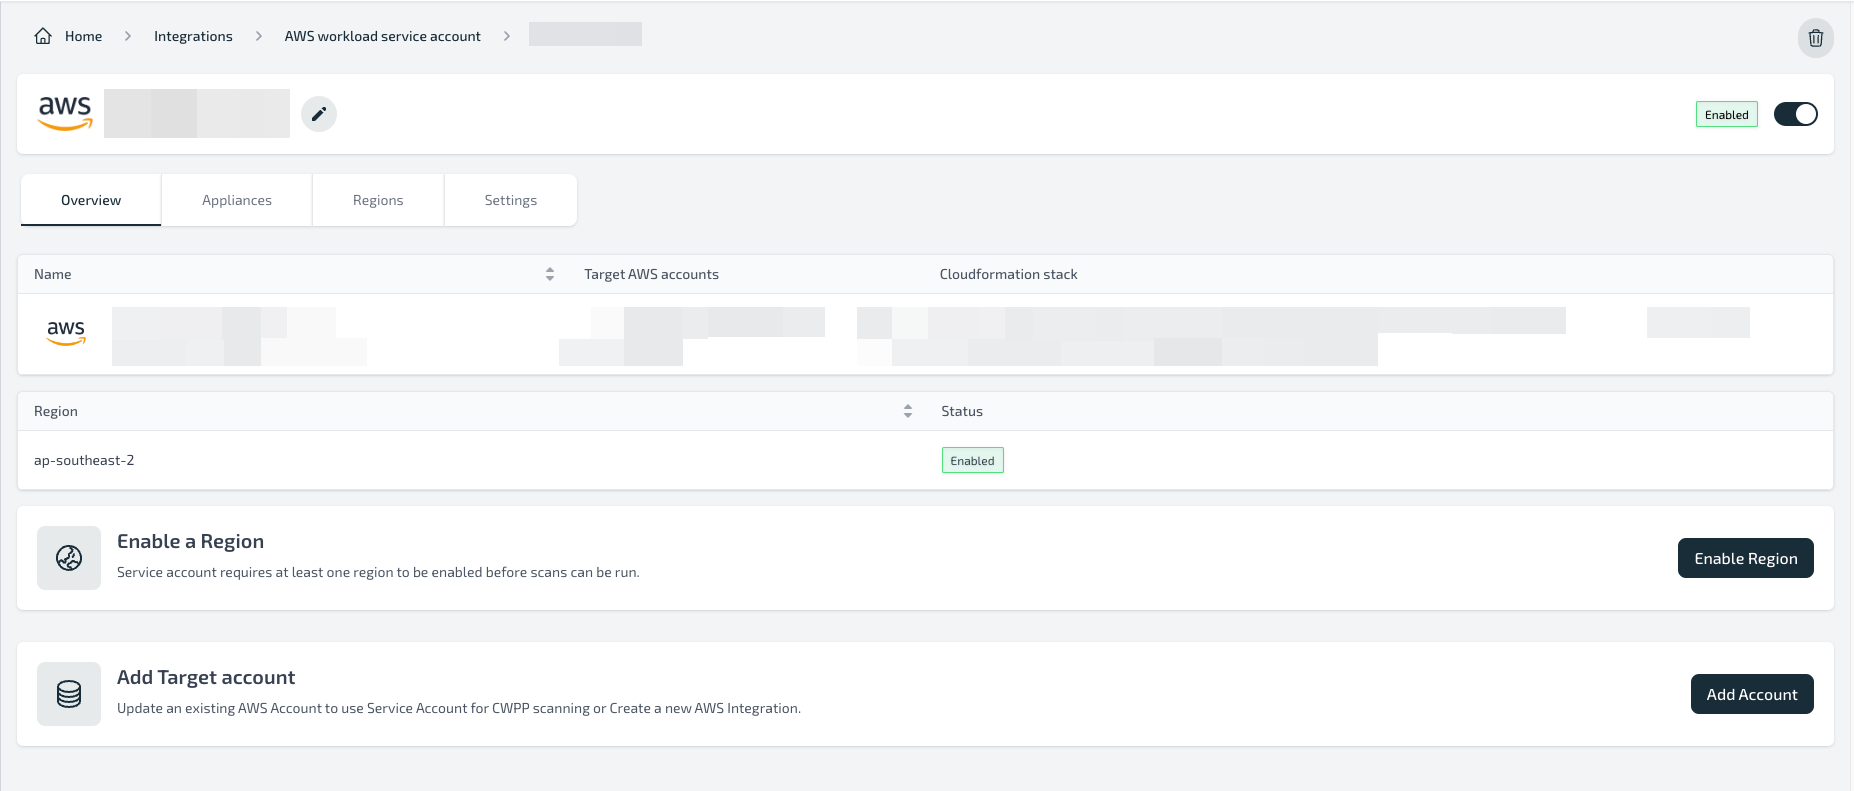
Open the service account details
6
Configure regions for deployment
- From the service account details page, configure the regions where you want to install the Plerion infrastructure.
- See Step 2: Install infrastructure in regions.
Limitations
- An AWS account can only be associated with one service account.
- Service accounts cannot be shared across tenants or organizations.
- A maximum of 5 service accounts can be created in a tenant. A service account that is awaiting approval counts toward this limit.
Resources created
Creating the CloudFormation stack will deploy:Troubleshooting
Error:PlerionInstanceProfileRole already exists in the stackCause: This indicates the AWS account is already being used as a service account in another Plerion organization.
Fix: Remove the existing service account and stack, or use a different AWS account. Error:
AWS account <account id> is already registered with Plerion by stack <stack id>. Update that stack, or delete it before launching another.Cause: Only the stack that registered a service account can change it. A second permission stack in the same account is refused.
Fix: Update the existing stack instead, or delete it and then launch the new one.
Service account approval
Plerion holds a new service account for approval when it belongs to an AWS organization that no account in your tenant belongs to. The same rule applies to AWS accounts. This confirms that the service account was added deliberately, because the stack can be launched by someone who is not a Plerion user. A service account is enabled as normal when:- It is the first account in your tenant.
- It belongs to the same AWS organization as an AWS account or service account you have already added.
- It belongs to a different AWS organization.
- It belongs to no AWS organization, and your tenant already contains accounts that do.
- Plerion cannot determine which AWS organization it belongs to.
While a service account is awaiting approval
The service account is listed underSettings > Integrations with a Pending approval label. Open it to see the account and, where Plerion could determine it, the AWS organization it belongs to.
While a service account is held:
- It is disabled and cannot be enabled.
Enable regionis disabled, and a region stack launched for the account fails withawaiting approval.Add accountis disabled, and the account cannot be selected when linking a target account. No AWS account is scanned through it.
Plerion does not send a notification when a service account is held, and a held service account does not expire.
Approve a service account
Any user with permission to modify service accounts can approve one, not only the user who launched the stack.1
Go to Settings > Integrations and open the service account
Service accounts waiting on a decision carry a Pending approval label.
2
Click Approve this service account
The service account becomes enabled. Continue with Step 2: Install infrastructure in regions.
Step 2: Install infrastructure in regions
1
On the service account dashboard, click Enable region
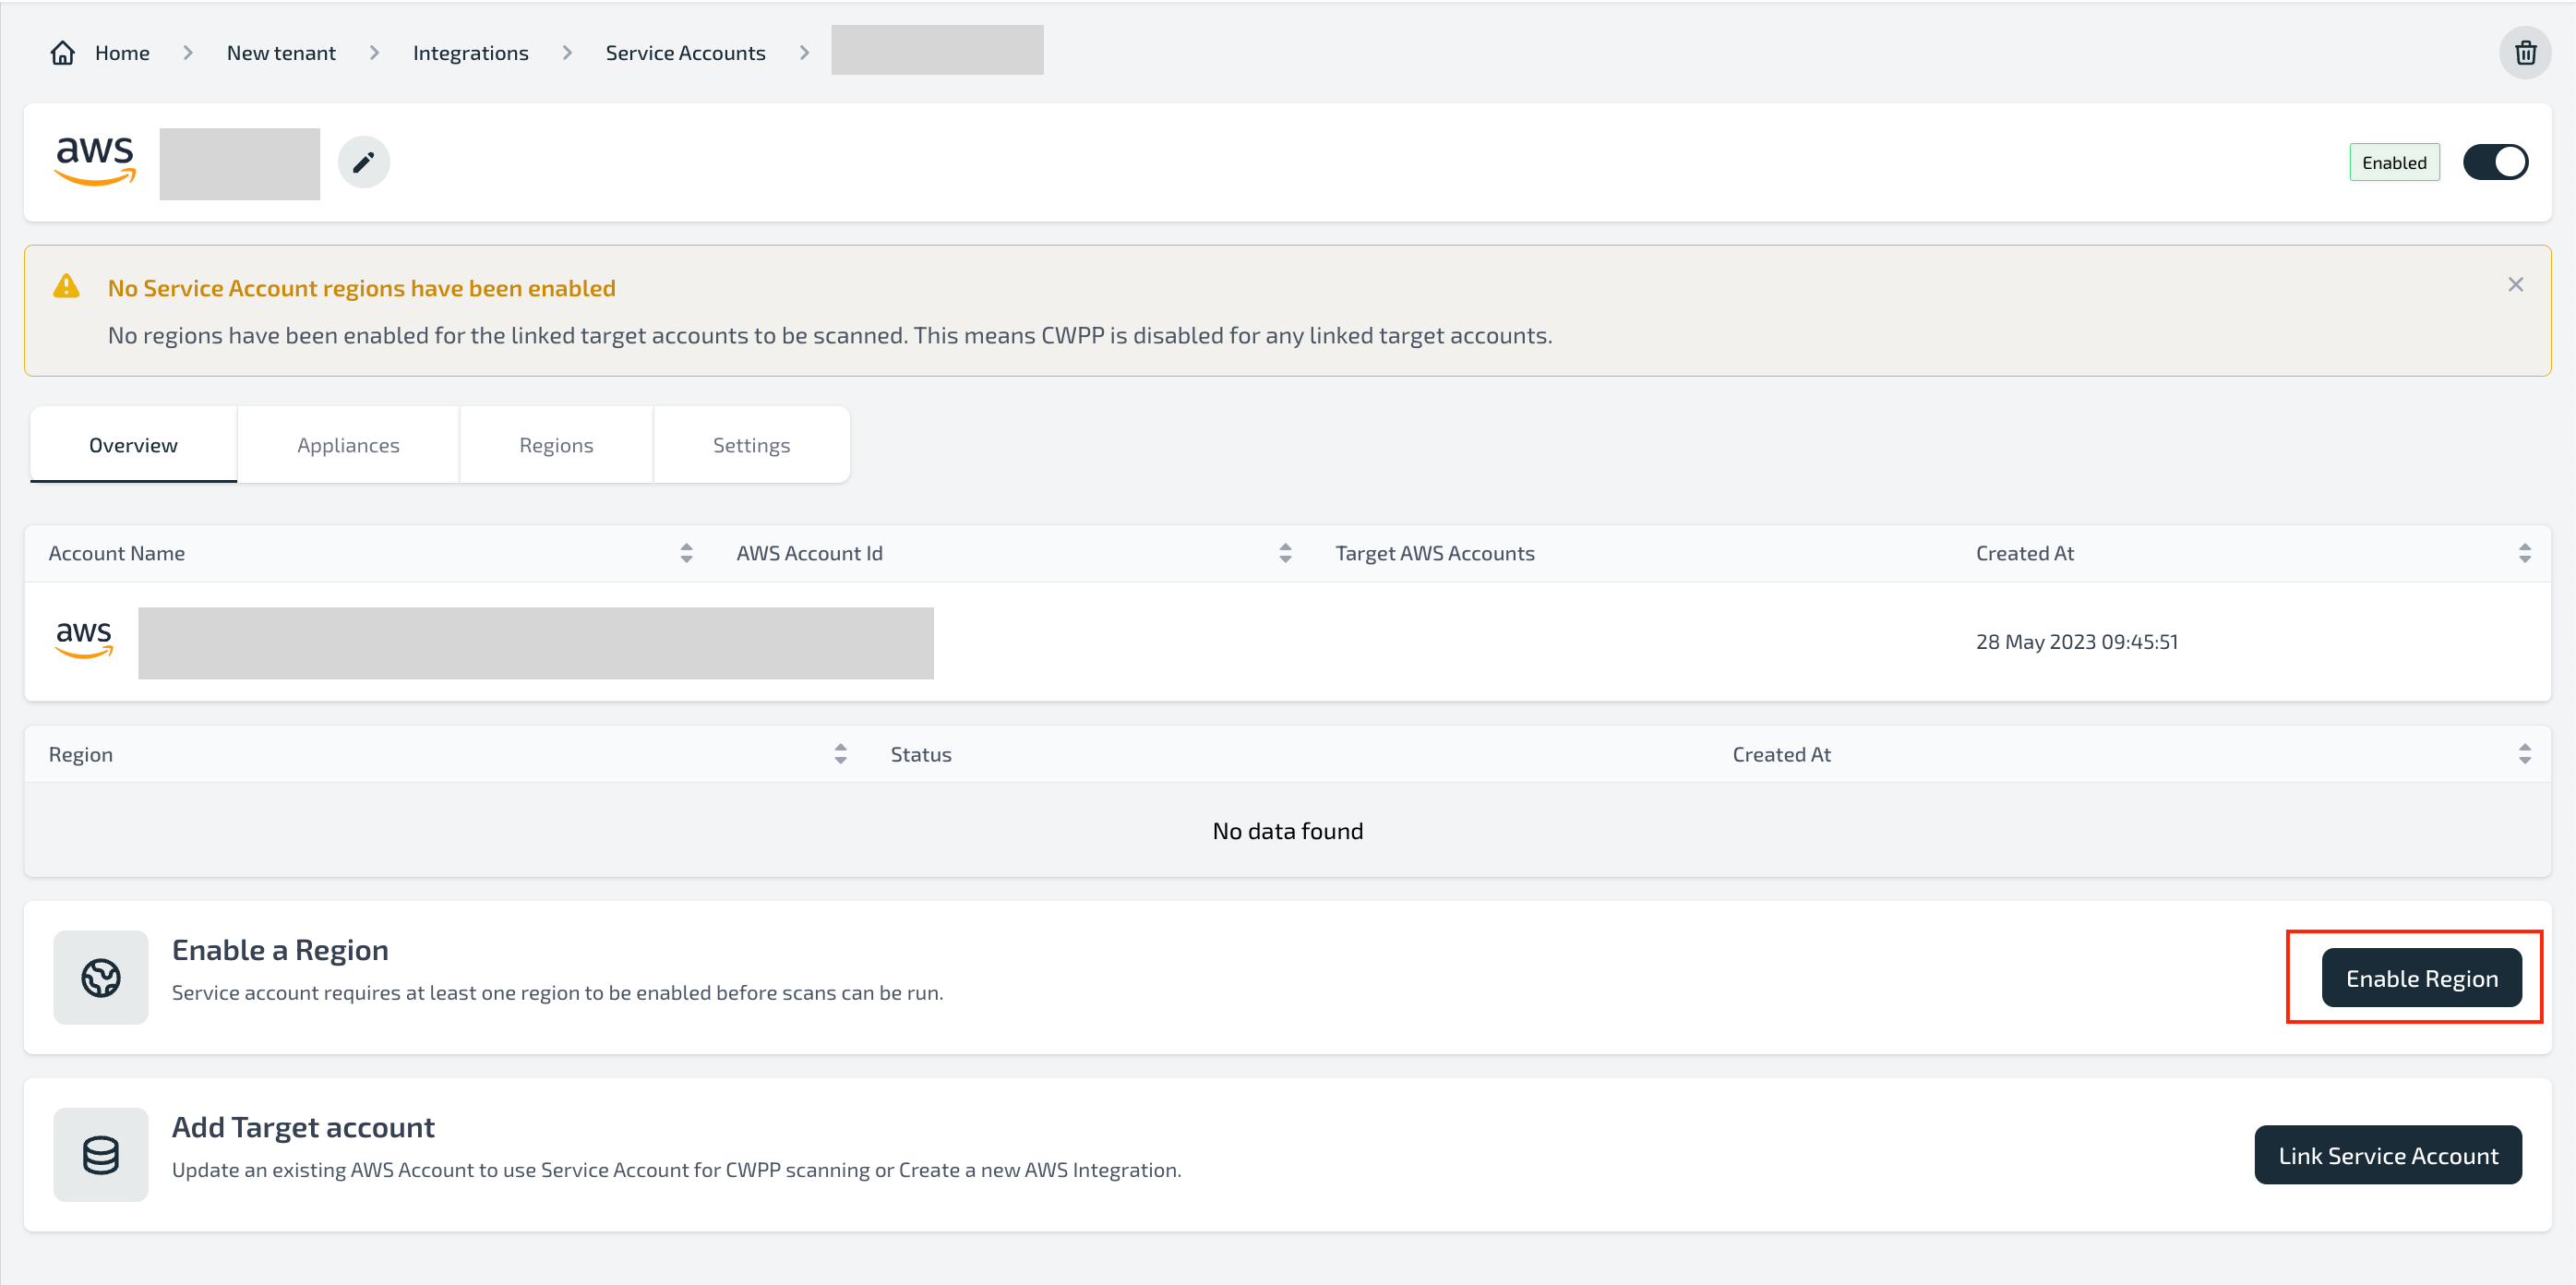
2
Launch the CloudFormation stack
Select the region where you want to install the Plerion infrastructure and click 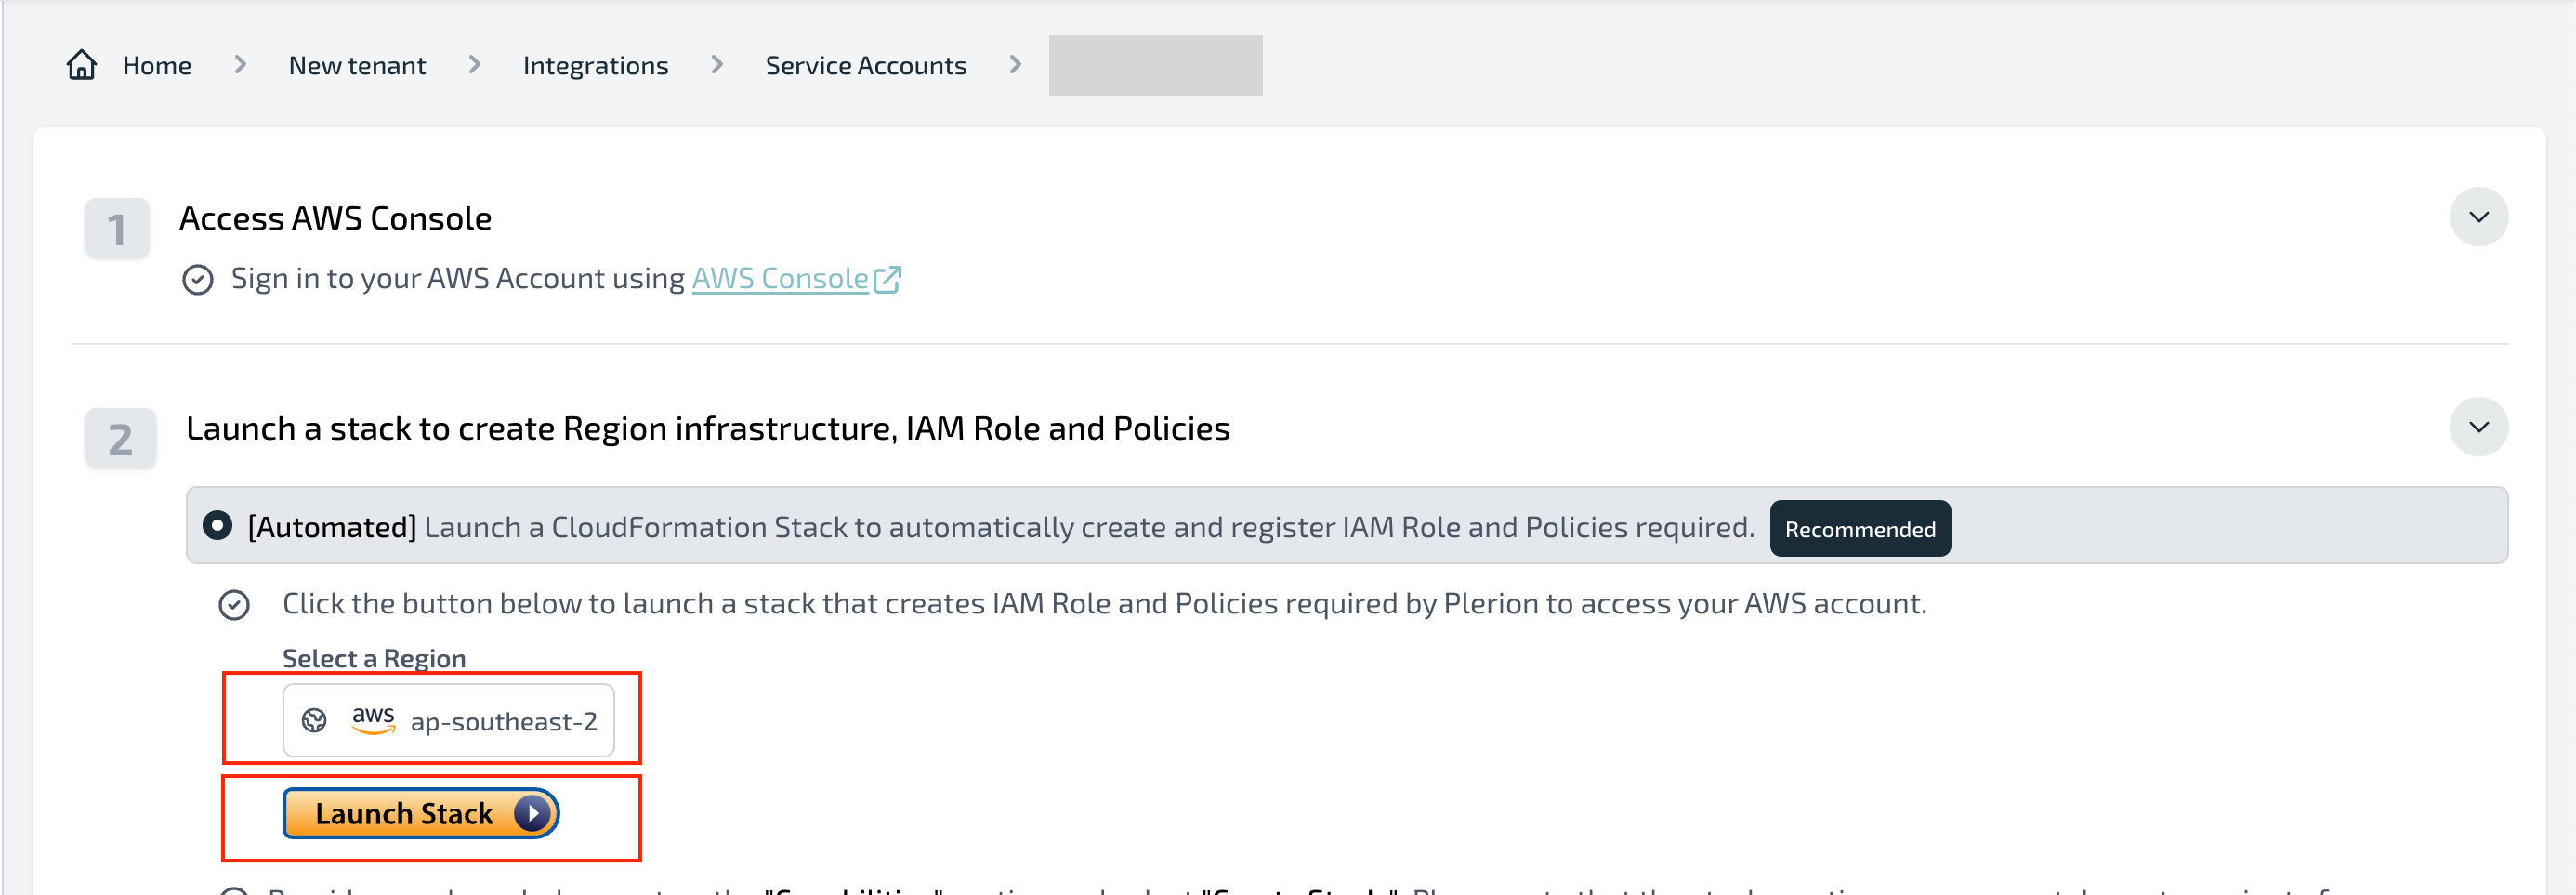
Launch Stack.3
Complete the AWS CloudFormation wizard
Follow the on-screen steps in AWS CloudFormation to deploy the infrastructure.
4
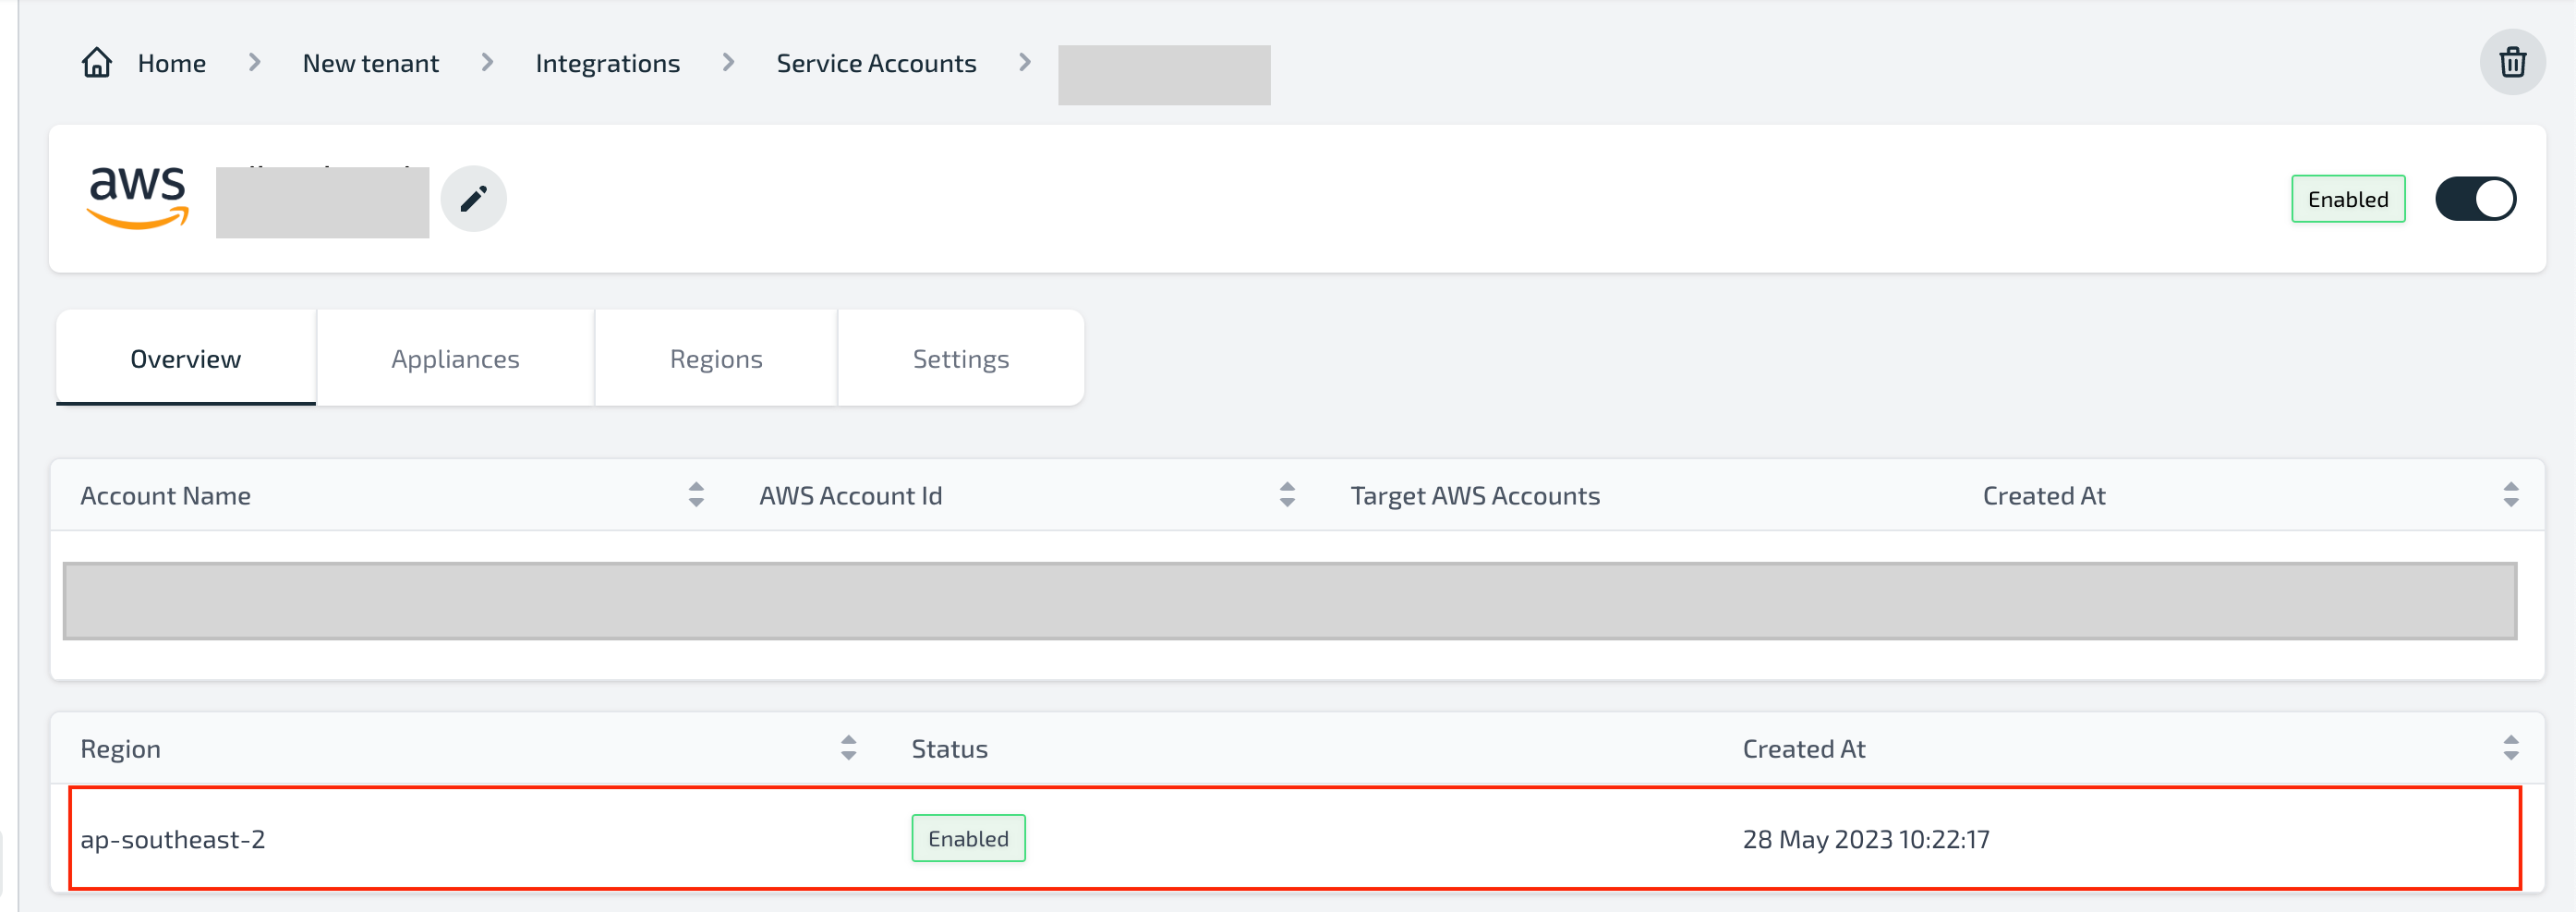
Confirm the region is enabled
- After the stack finishes, the region will appear as enabled in the service account dashboard.
- Enable and install infrastructure in all regions where you want to run workload scans.
5
Link target accounts to the service account
- After installing infrastructure in all required regions, link target accounts.
- See Linking target accounts to a service account.
Resources created
Installing the CloudFormation template will create the following resources in each region:Troubleshooting
Error:AWS::SQS::Queue with identifier plerion-appliance-scan-queue already existsCause: This occurs if Plerion infrastructure is already installed in that region.
Fix:
- Delete the existing infrastructure and retry; or
- Choose a different region
The Plerion service account for AWS account <account id> is awaiting approval. Approve it in the Plerion console, then relaunch this stack.Cause: The service account has not been approved yet. See Service account approval.
Fix: Approve the service account in Plerion, delete the failed stack, then launch the region stack again.