
Steps to enable Plerion-managed scanning
1
Go to Settings > Integrations
On the Plerion dashboard, go to 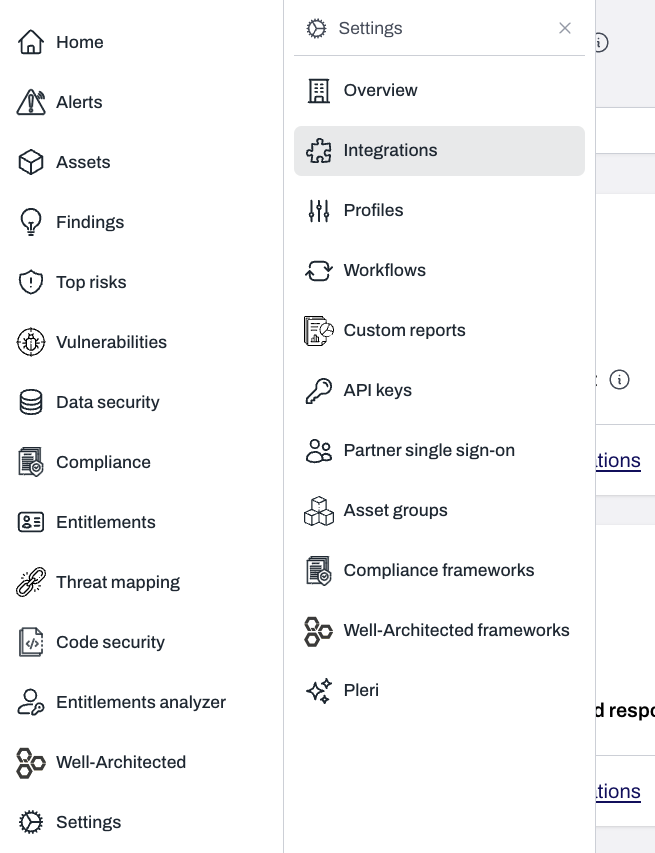
Settings > Integrations.2
Add a single AWS account
Find AWS account and click the 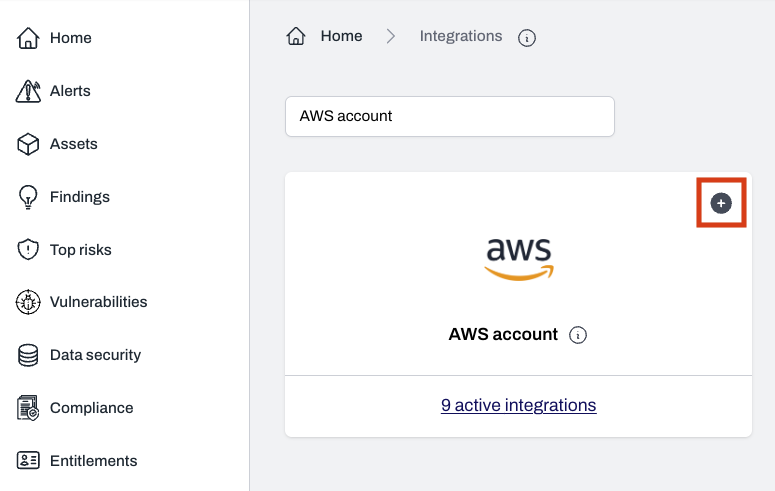
+ button, then click Add single AWS account.3
Select capabilities
On the Select capabilities page: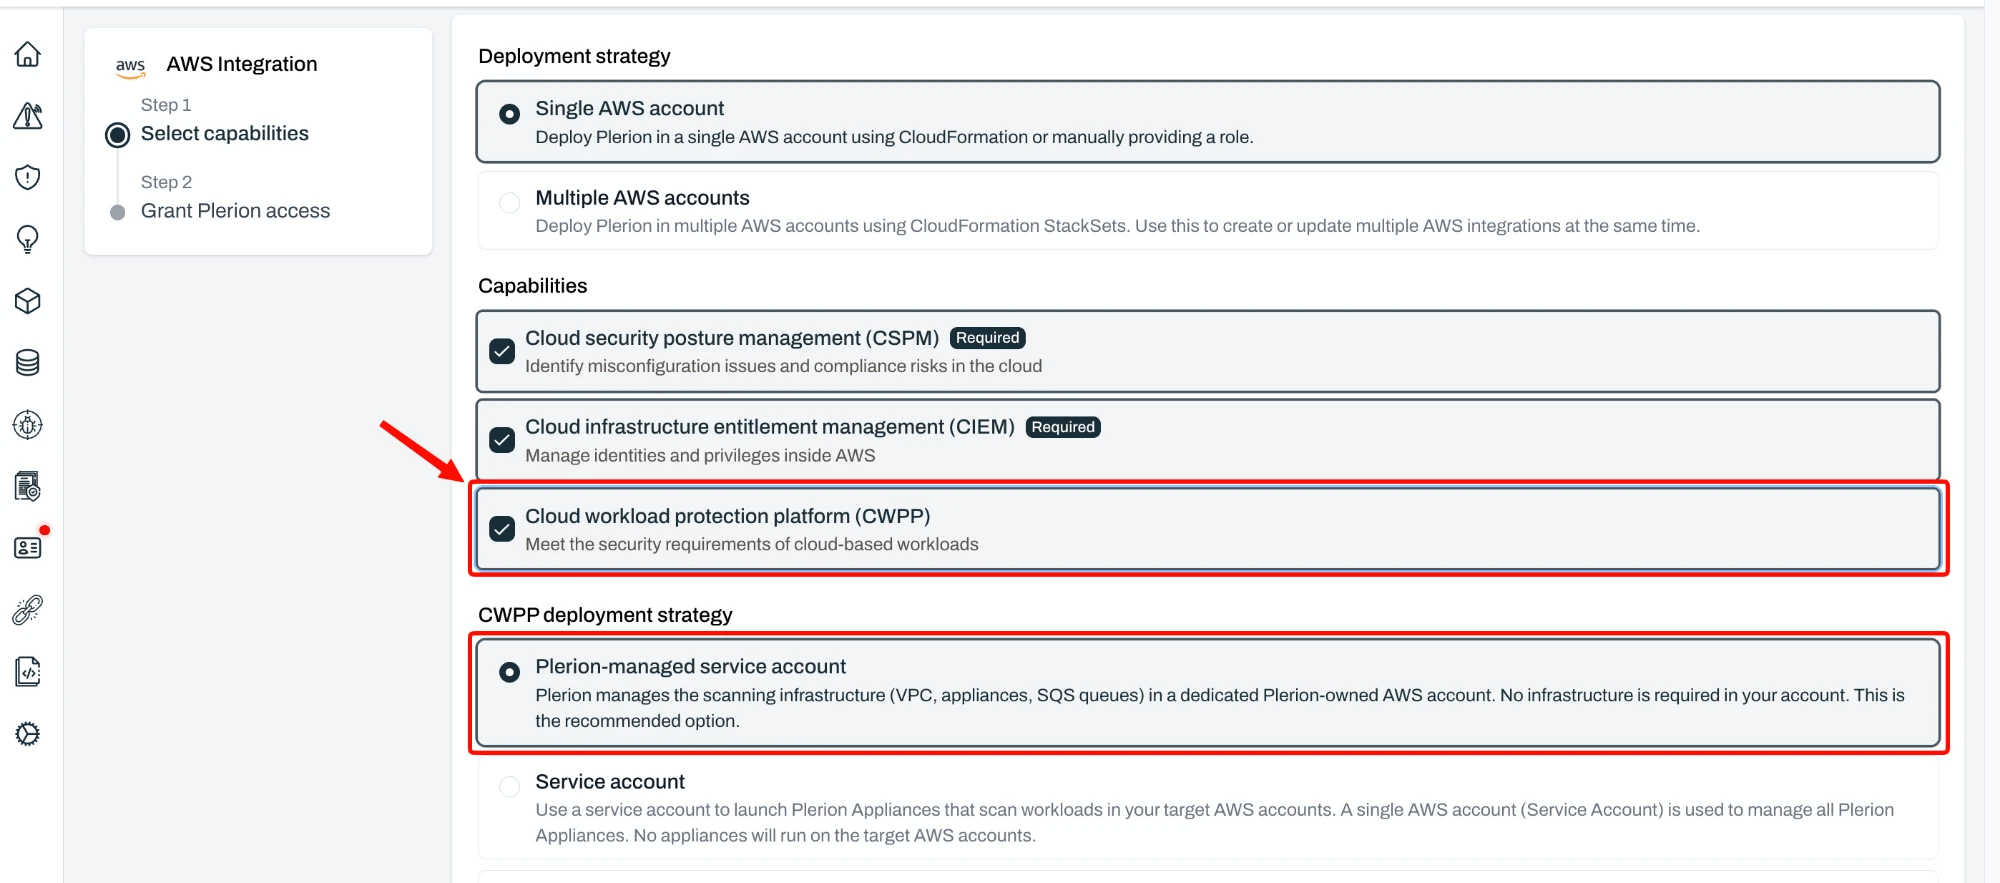
- CSPM and CIEM are required and selected by default. Also select Cloud workload protection platform (CWPP).
- When CWPP is selected, the CWPP deployment strategy section appears with Plerion-managed service account already selected as the default and recommended option. Keep it selected.
4
Grant Plerion access
Grant Plerion a cross-account role so it can read your AWS account.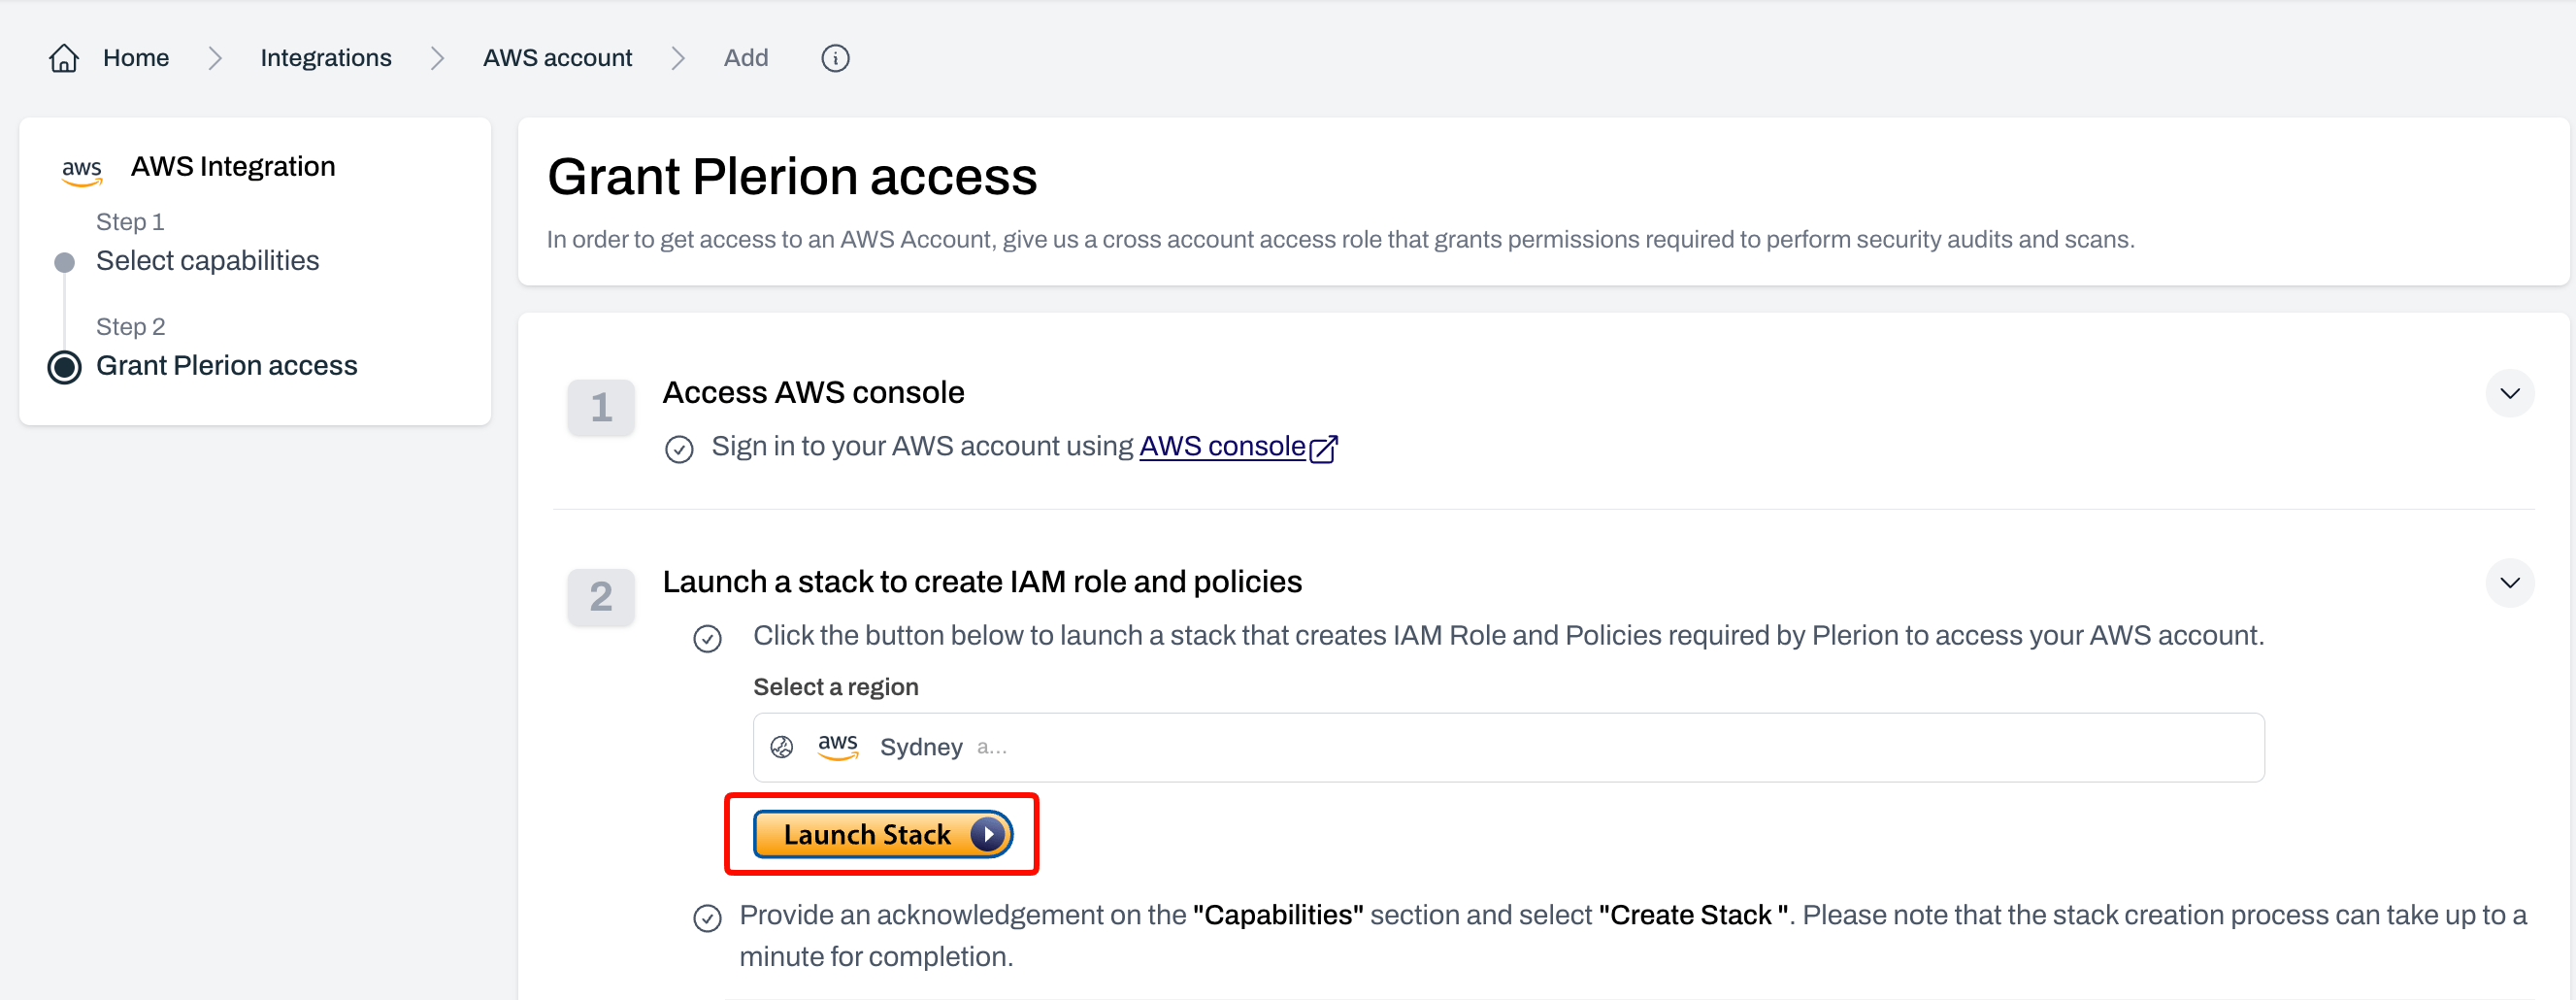
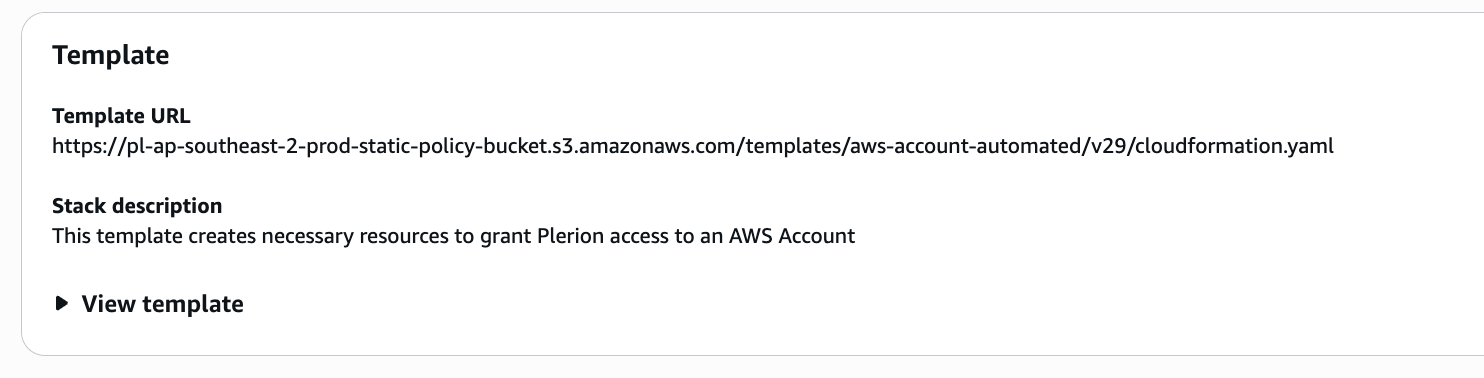
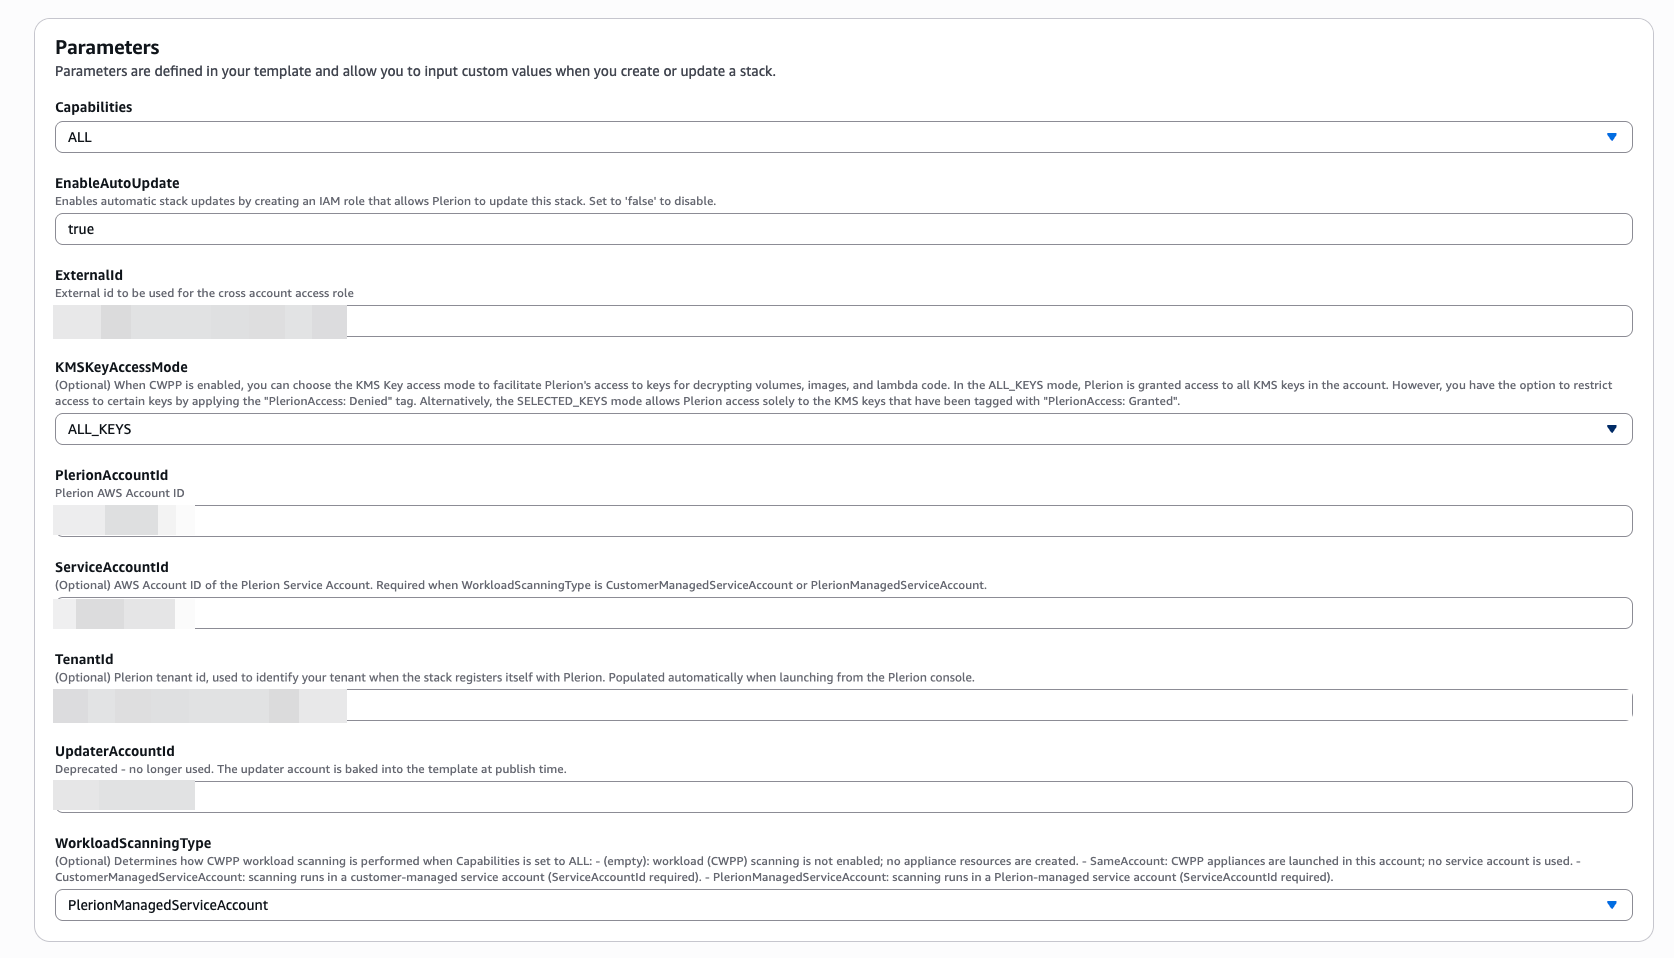
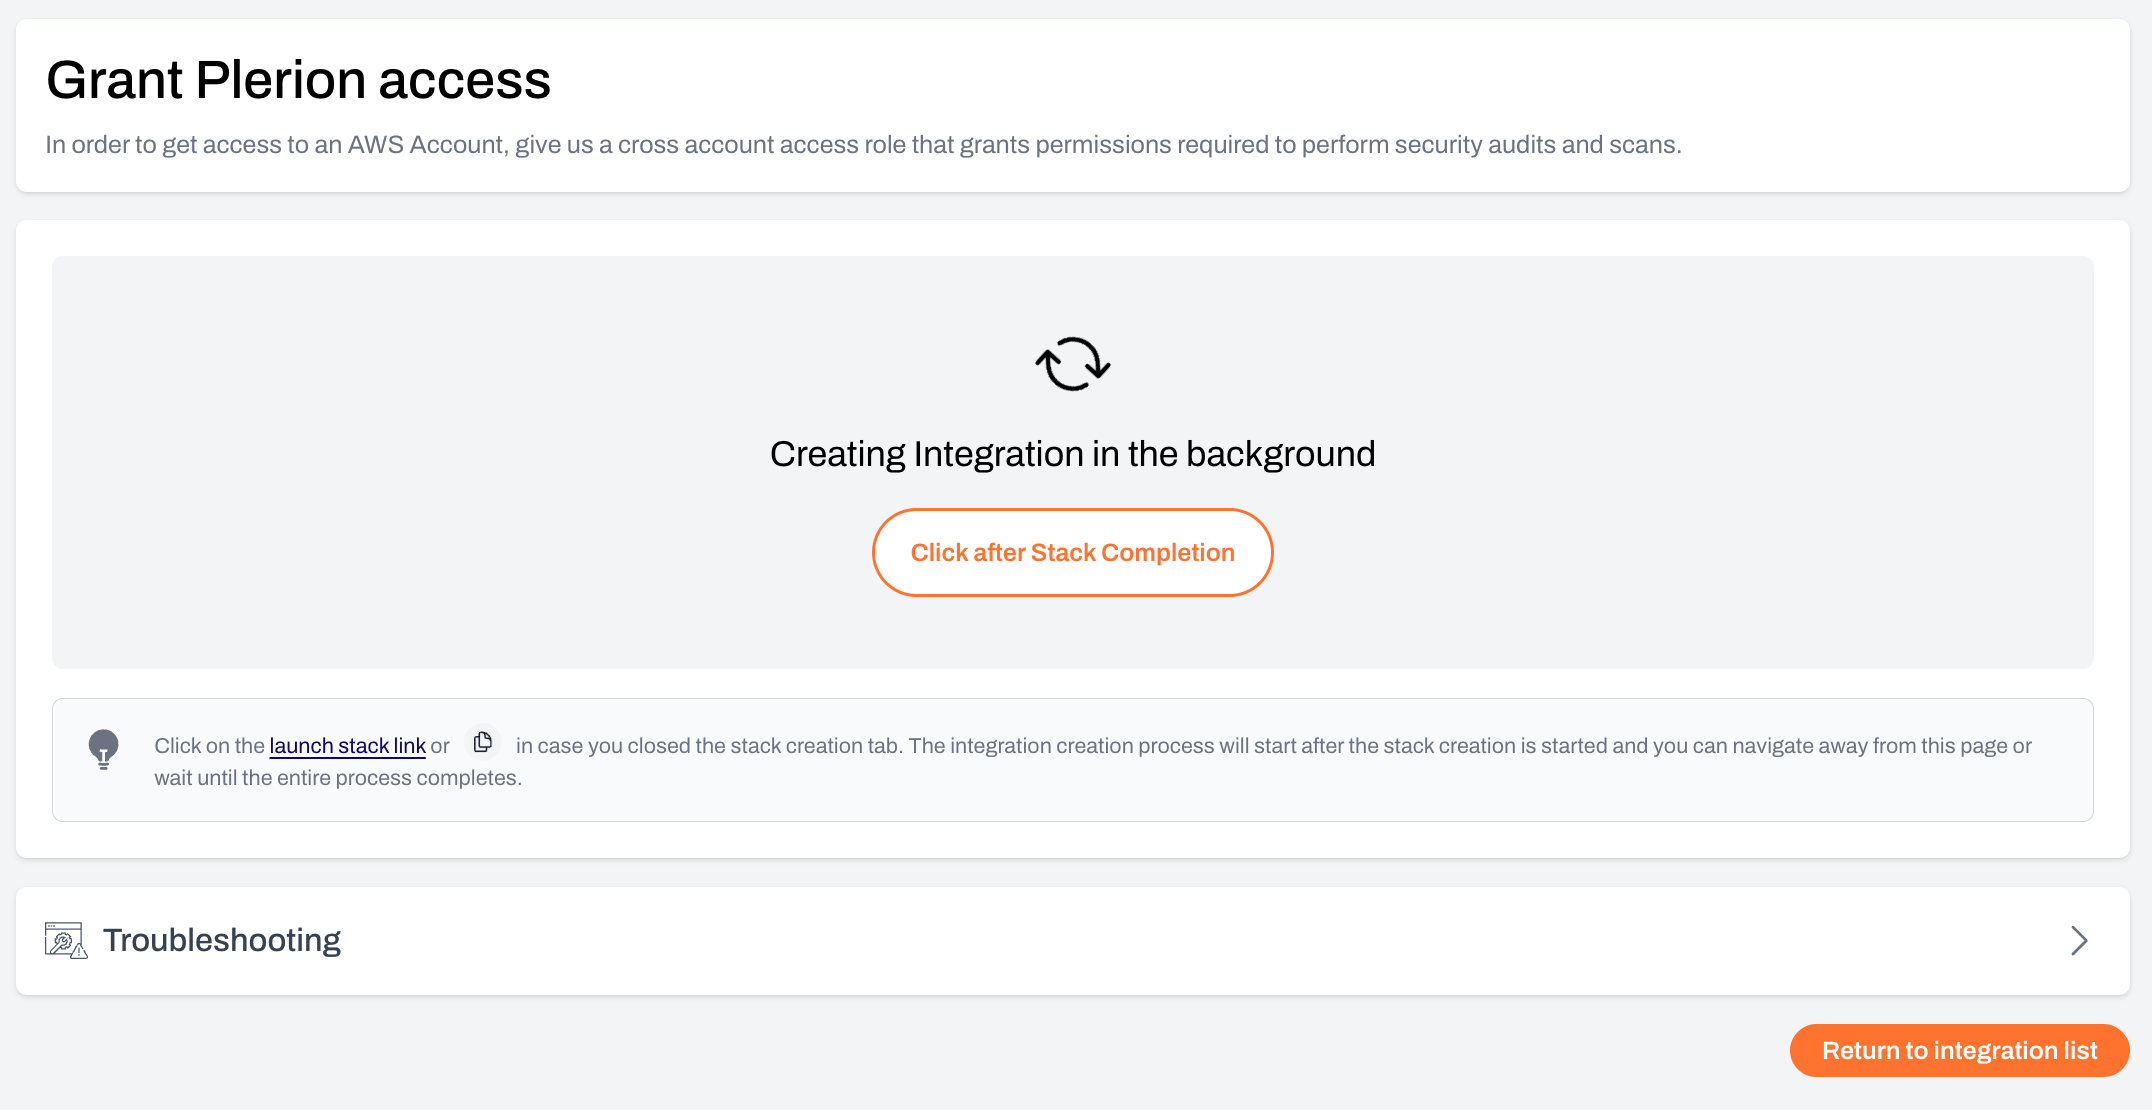
- Click
Launch stackto open the Quick create stack page in AWS CloudFormation.
- Keep the default parameters and acknowledge the required capabilities, then click
Create stack.
- Return to Plerion. While the stack is being created, you will see a loader screen. Once it completes, the integration is added.
5
Select workload types
Under Workload Types, select the workloads to scan. The available types are Amazon EC2 Instance, Amazon Machine Image (AMI), AWS Lambda, Amazon ECS, and Amazon ECR. All are selected by default.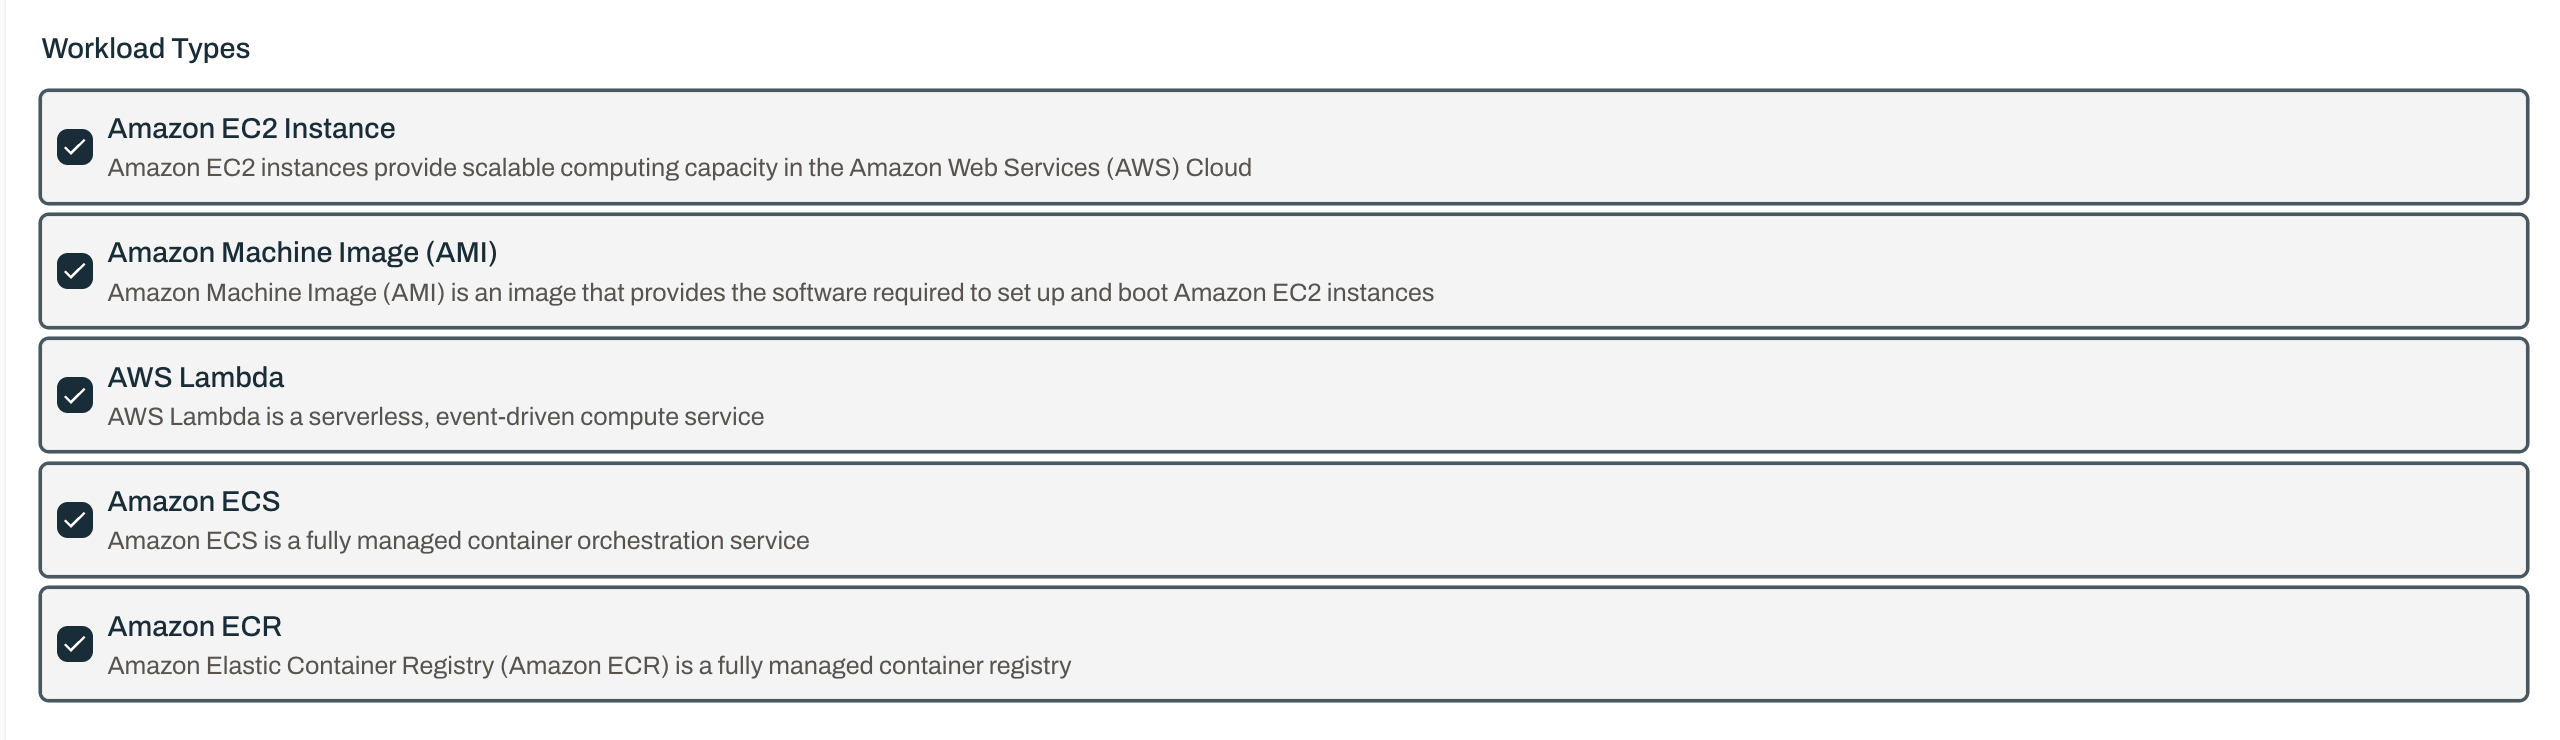
6
Select workload regions
Under Workload regions, Plerion lists the regions where it detected workloads, along with the Detected Workload types in each. Use each region’s toggle to set it to Enabled or Disabled. Use Advanced Settings to enable regions that do not currently have detected workloads.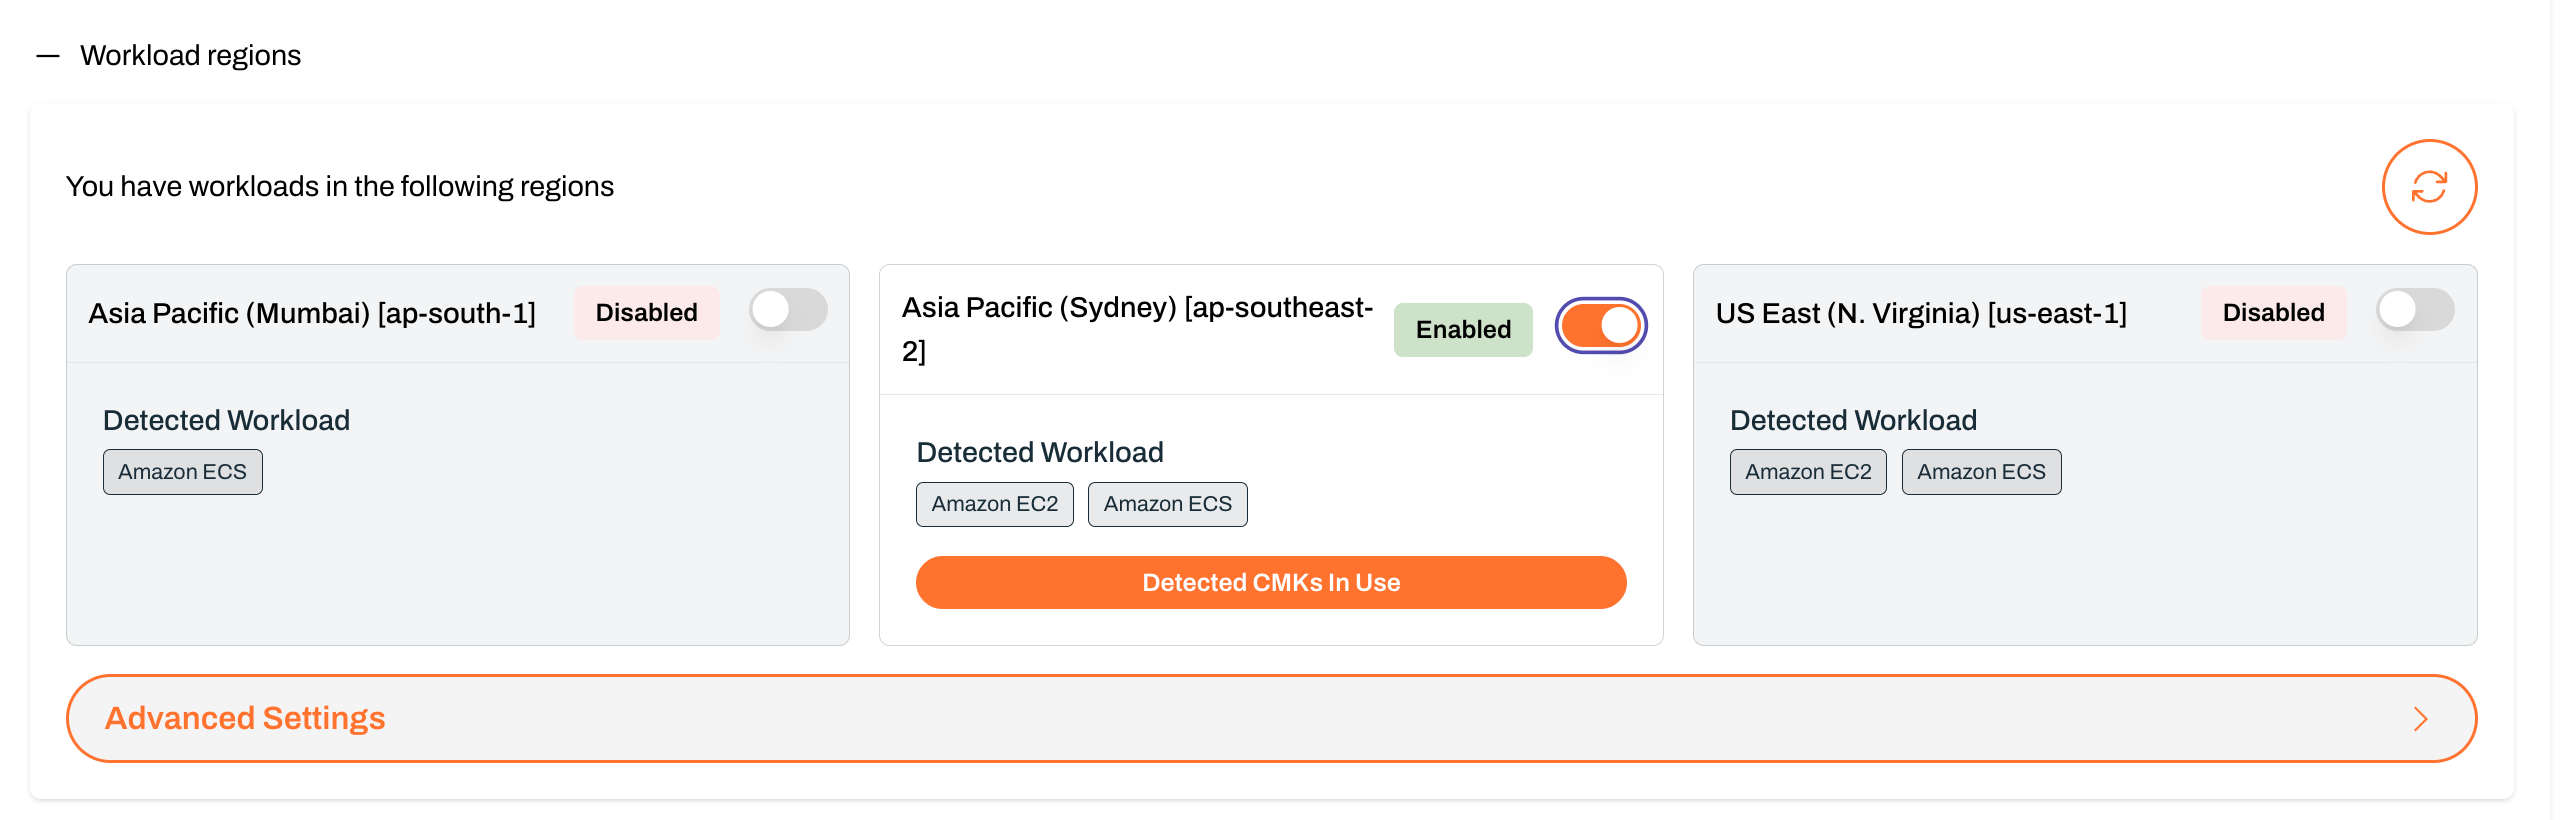
7
Review the first scan
Plerion triggers the first scan, which runs in Plerion-owned accounts.
- Track progress under
Settings>Integrations>Scans. - View results in the Findings dashboard once the scan completes.