Steps to enable CSPM and CIEM for your AWS account
1
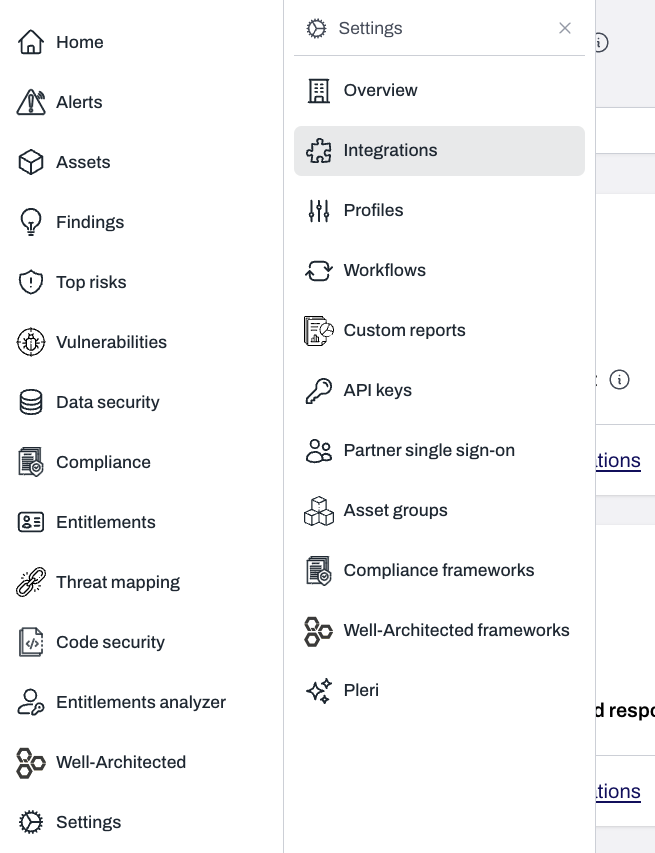
On the Plerion dashboard, go to Settings > Integrations
2
Find AWS account and click the + button
Click
Click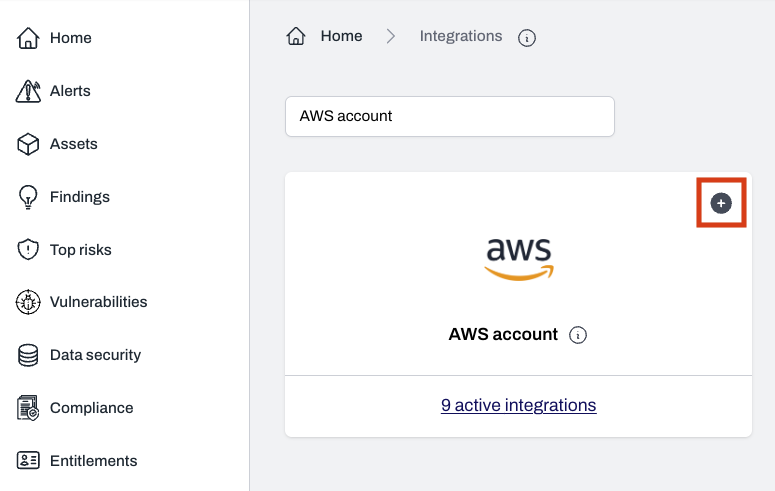
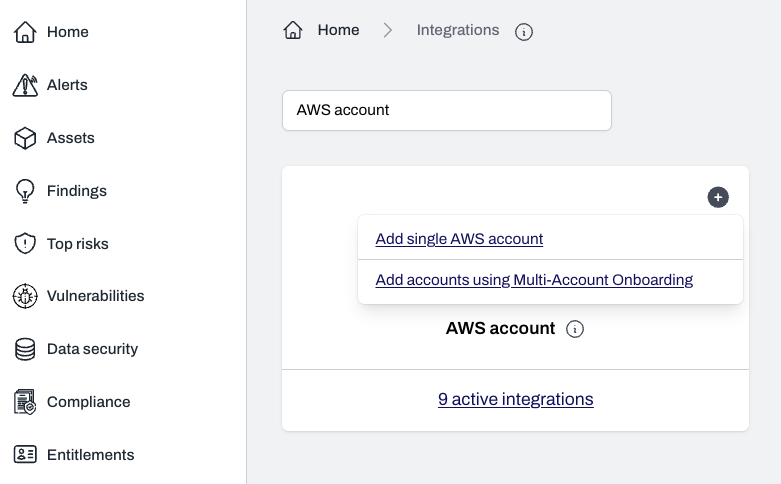
Add single AWS account to continue with onboarding a single AWS account.Click
Add accounts using Multi-Account Onbooarding to add mutiple AWS accounts at once.3
Select your desired capabilities
The CSPM and CIEM capabilities are selected by default.
Click
Click
Next to continue.4
Choose your setup mode
You can grant Plerion access using either Automated (recommended) or Manual mode:
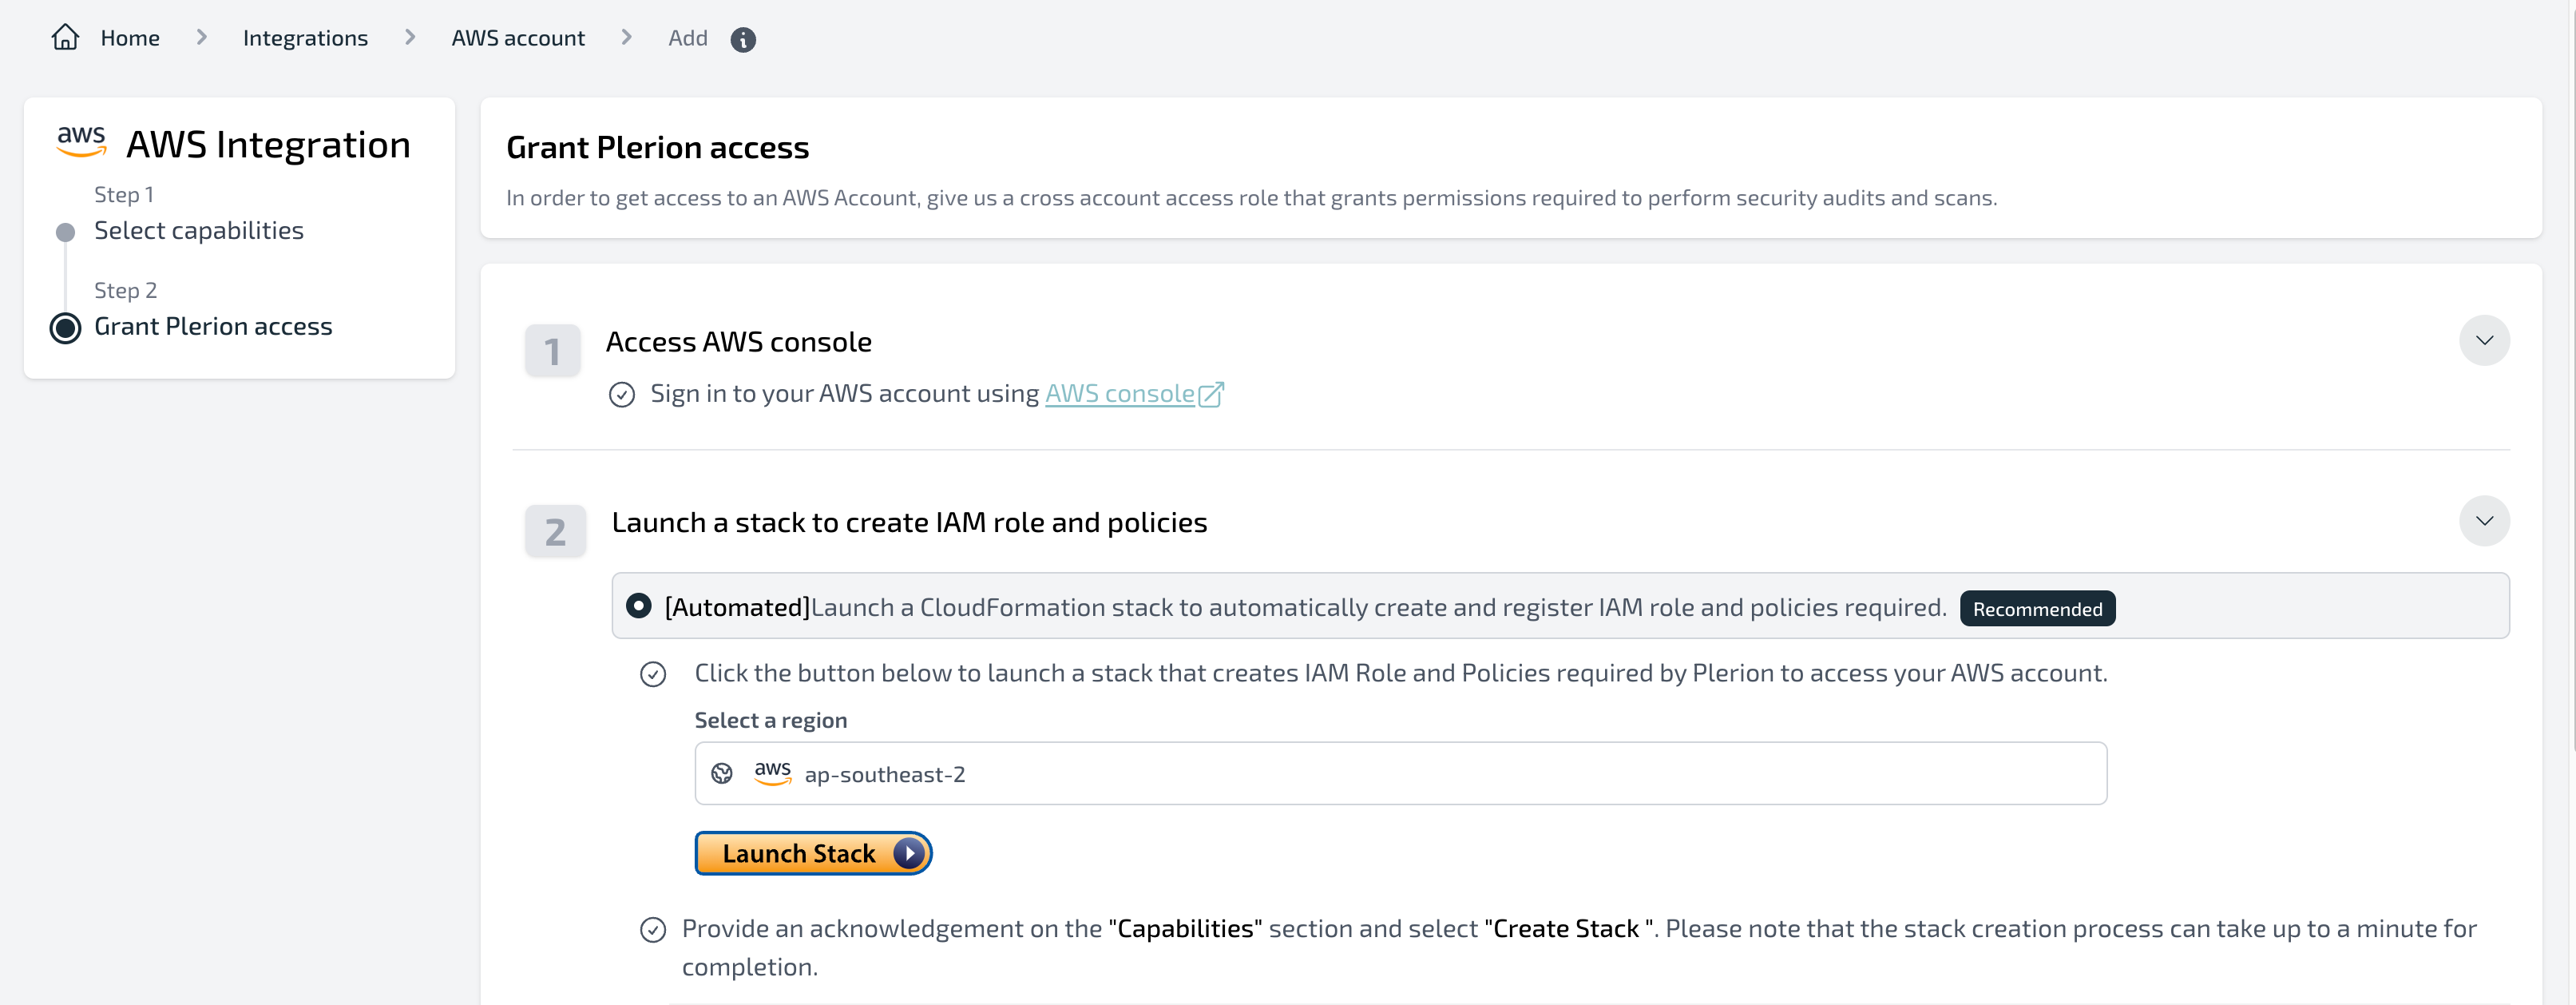
Automated mode (recommended)
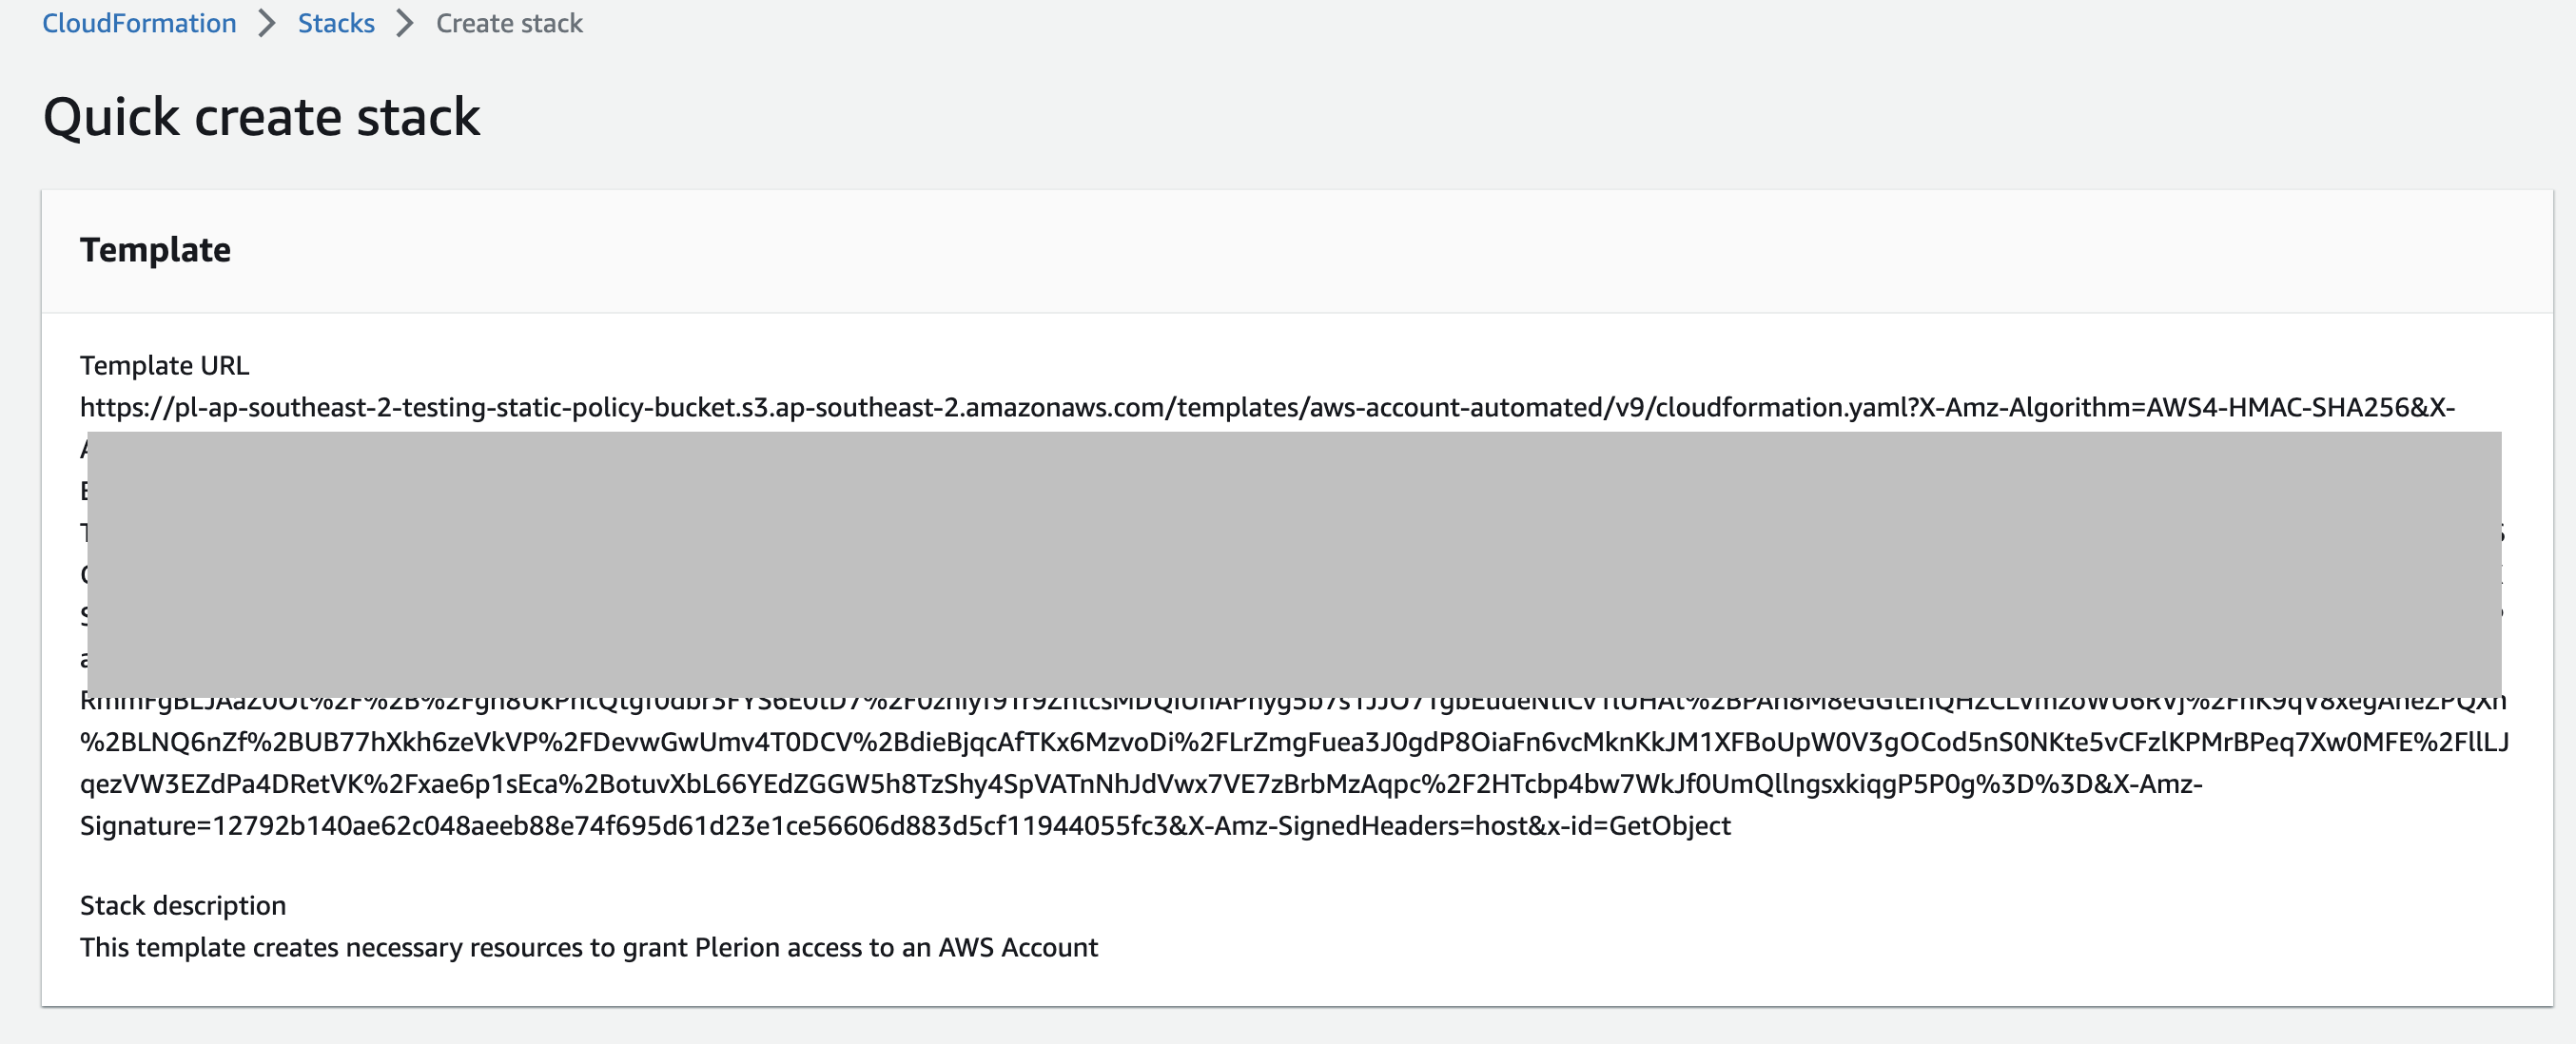
- Click
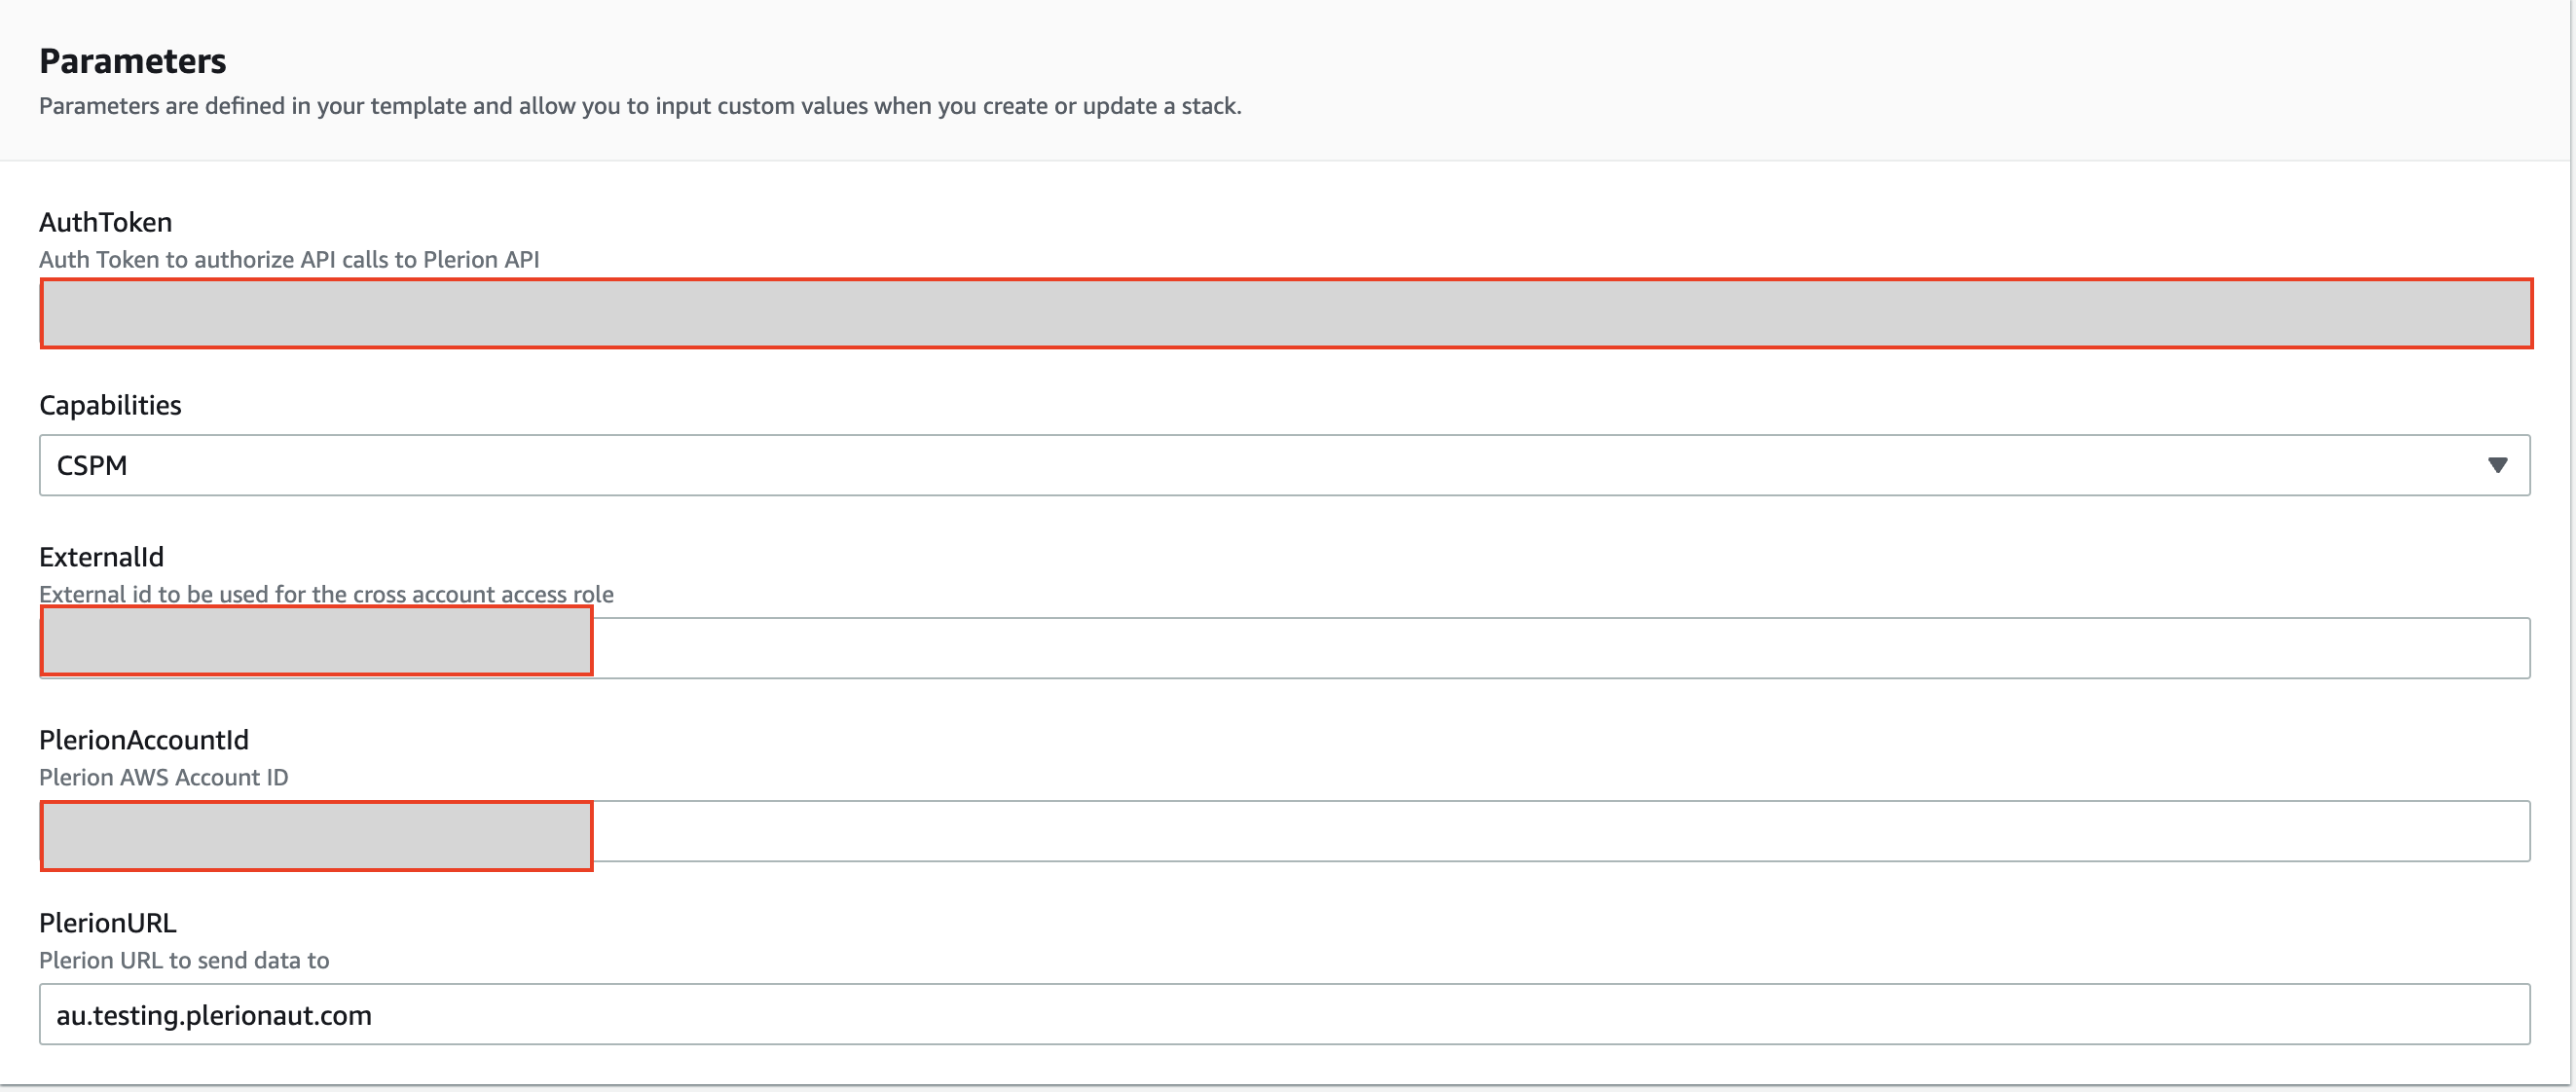
Launch stackto open the Quick create stack page in AWS CloudFormation. - Keep the default parameters and acknowledge required capabilities, then click
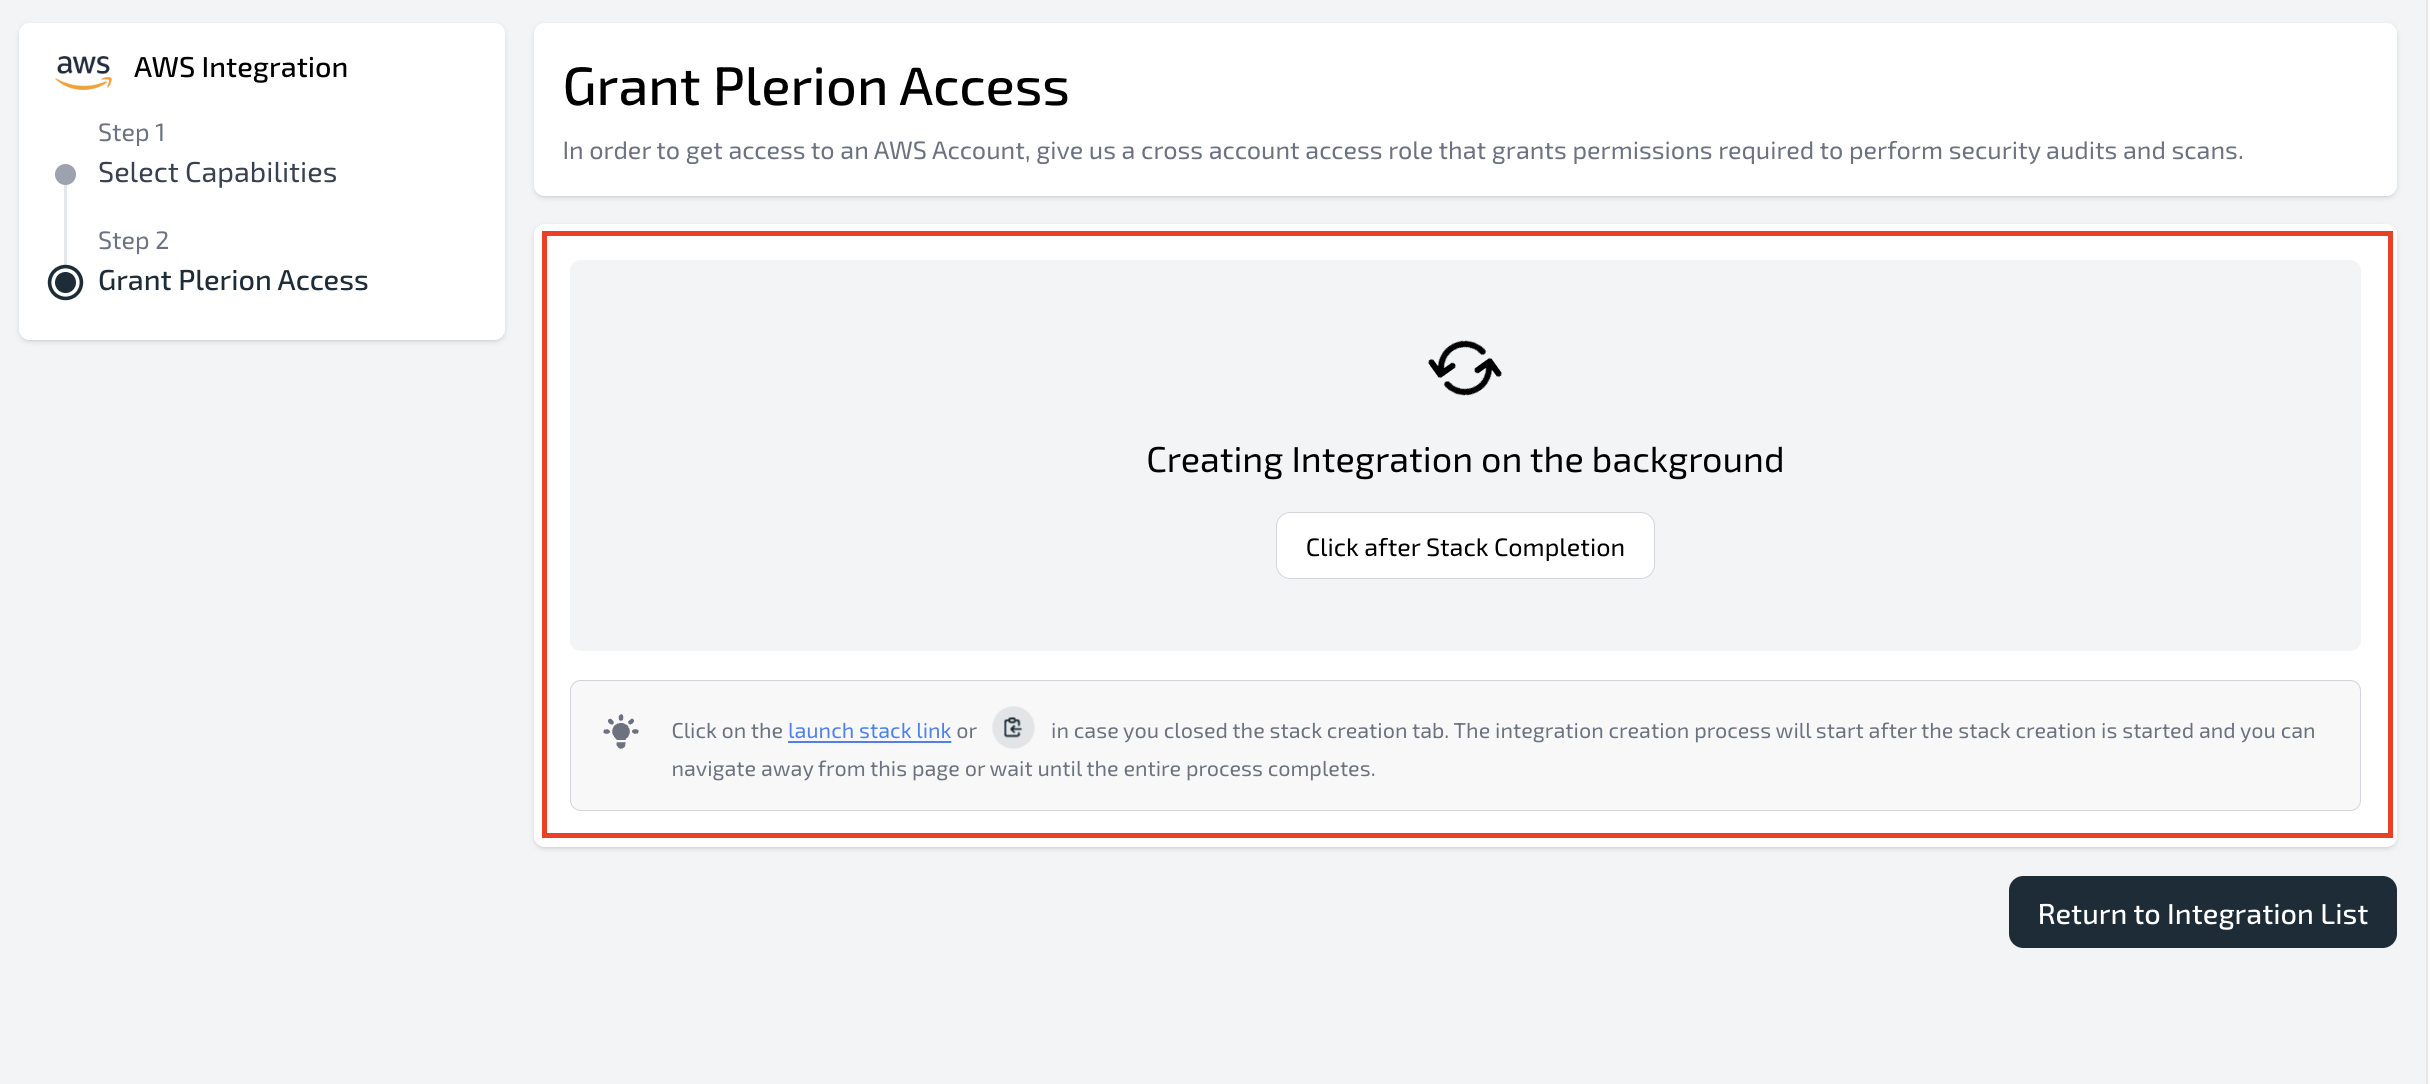
Create stack. - Return to Plerion. While the stack is being created, you’ll see a loader screen.
- Once the stack completes, Plerion will automatically finalize the integration and trigger the first scan.
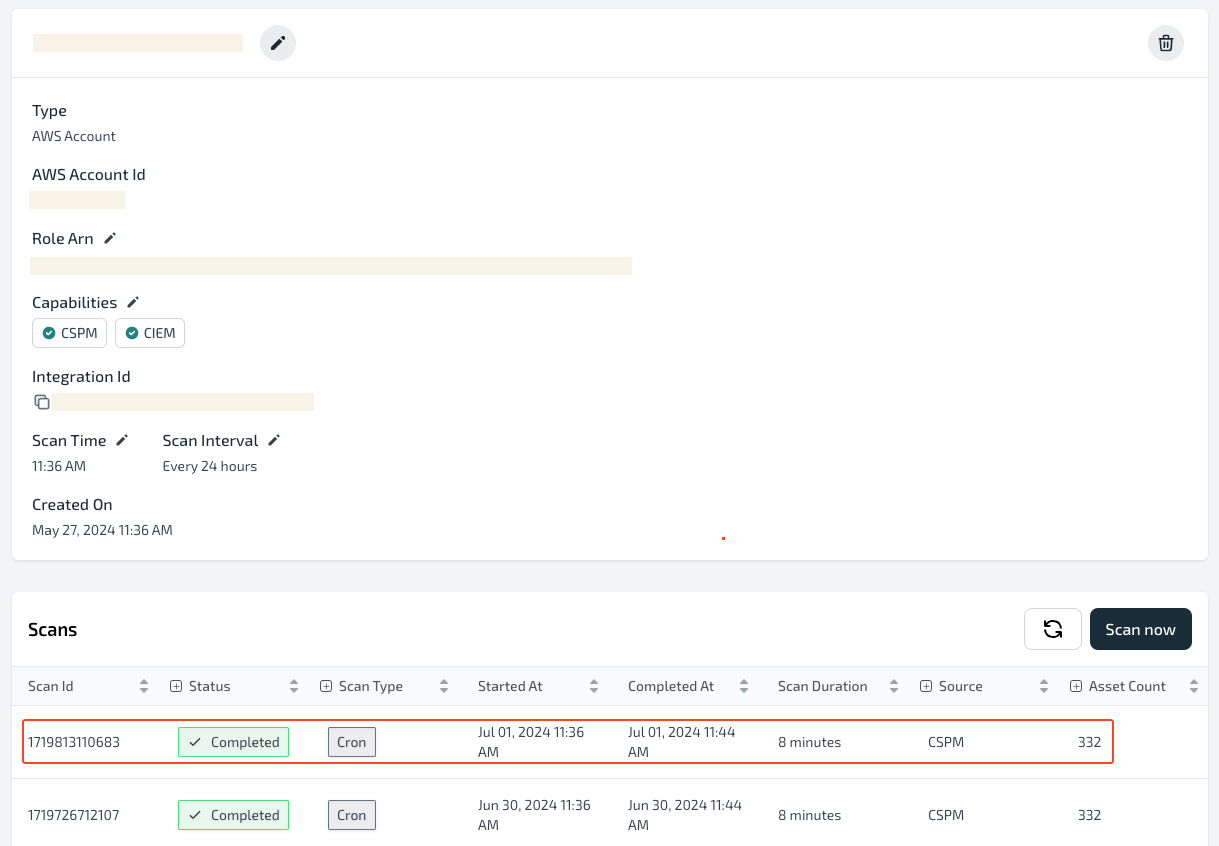
- The initial scan typically finishes in under 10 minutes for small accounts. You can track progress under
Settings→Integrations→Scans, and view results in the Compliance, Well-Architected, and Findings dashboards.
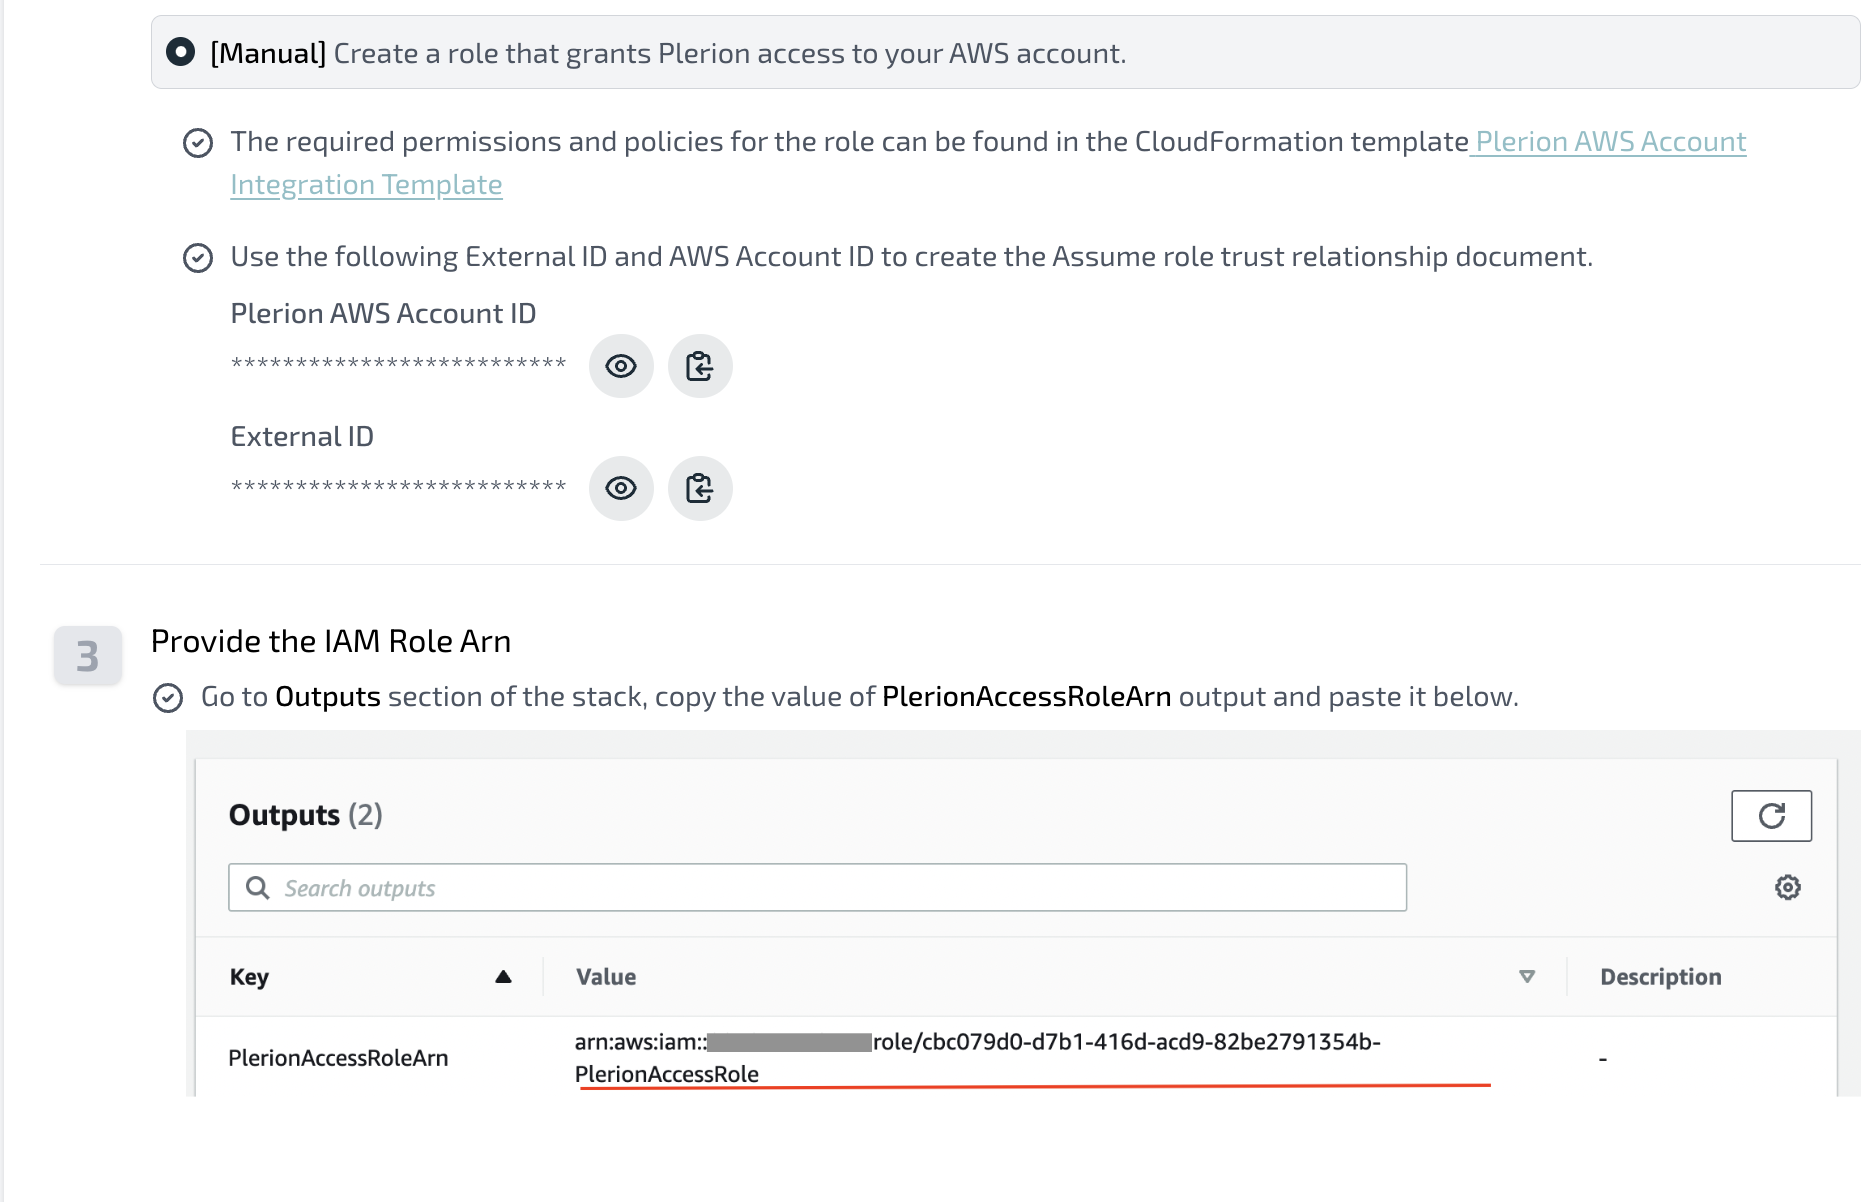
Manual mode
- Create an IAM role in your target AWS account that trusts Plerion.
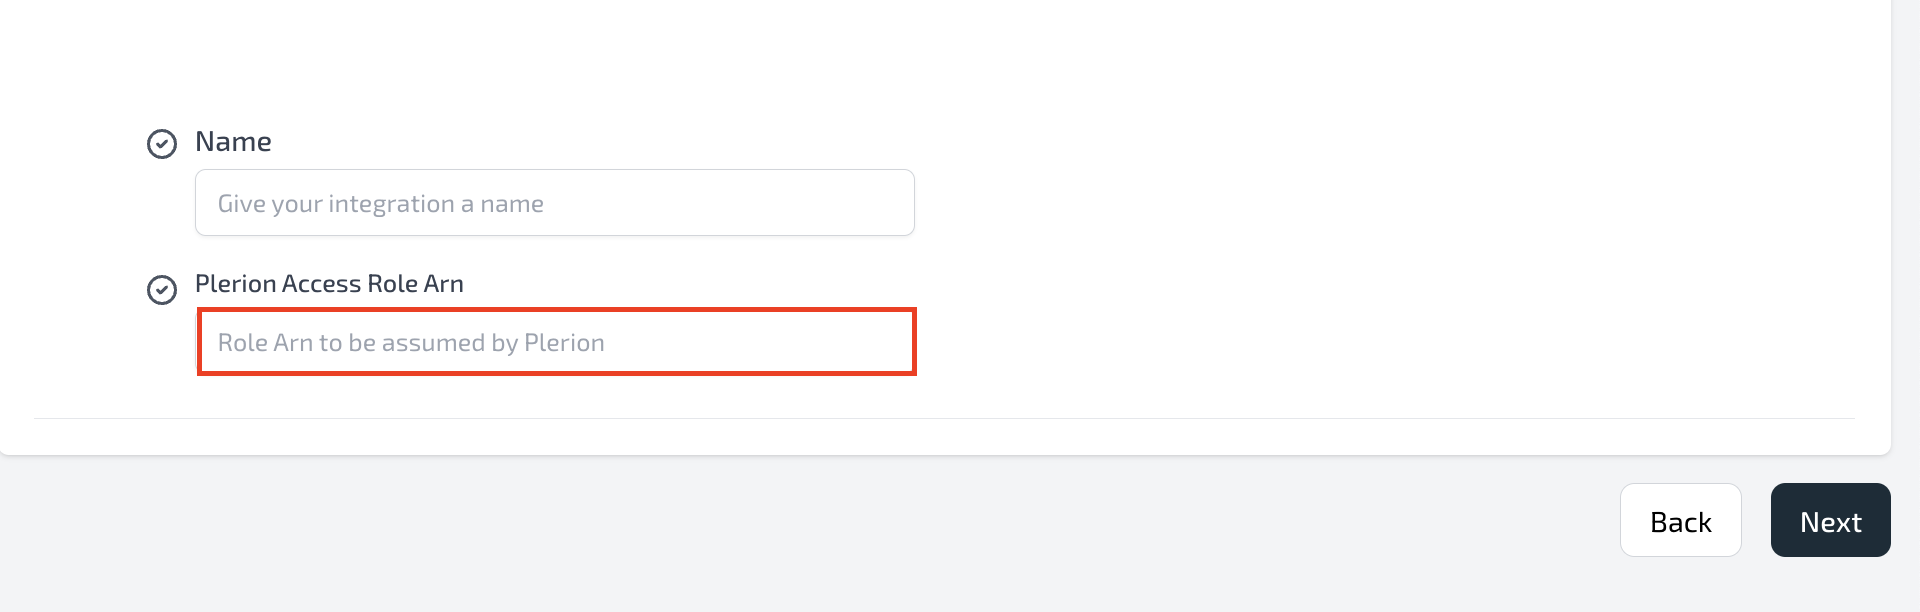
- Copy the Role ARN and paste it into the Plerion access role ARN field, then click
Next. - Plerion will verify permissions and start the initial CSPM/CIEM scan automatically.
- You can track progress under
Settings>Integrations>Scans. When complete, you can view results in Compliance, Well-Architected, and Findings.
Steps to enable CWPP for your AWS account (optional)
To enable CWPP during onboarding, choose one of the following deployment strategies:-
Plerion-managed scanning (recommended): Plerion runs the scanning appliances in its own AWS accounts.
- You only grant a cross-account role. There is no VPC or networking to configure.
- See Plerion-managed scanning for detailed steps.
-
Service account: Launches Plerion appliances from a dedicated service account.
- Best option for ongoing customer-hosted workload protection at scale.
- See AWS service account setup for detailed steps.
-
Same account: Launches Plerion appliances directly in the AWS account being onboarded.
- Requires networking configuration (VPC, Subnet, and Security Groups) to allow appliance traffic.
- Use the provided CloudFormation template to simplify setup.
1
Select CWPP while onboarding an AWS account
On the Select capabilities page, select Cloud Workload Protection Platform (CWPP) and click 
Next.2
Choose IAM role creation mode
Make sure you are signed in to the target AWS account. Choose either Automated (recommended) or Manual to create the IAM role that grants Plerion access.
3
Configure workloads
- On the Workload configuration page, select which workloads to protect.
- Supported options are Amazon Elastic Compute Cloud (EC2), AWS Lambda, Amazon Elastic Container Service (ECS), Amazon Elastic Container Registry (ECR), Amazon Machine Images (AMI)
4
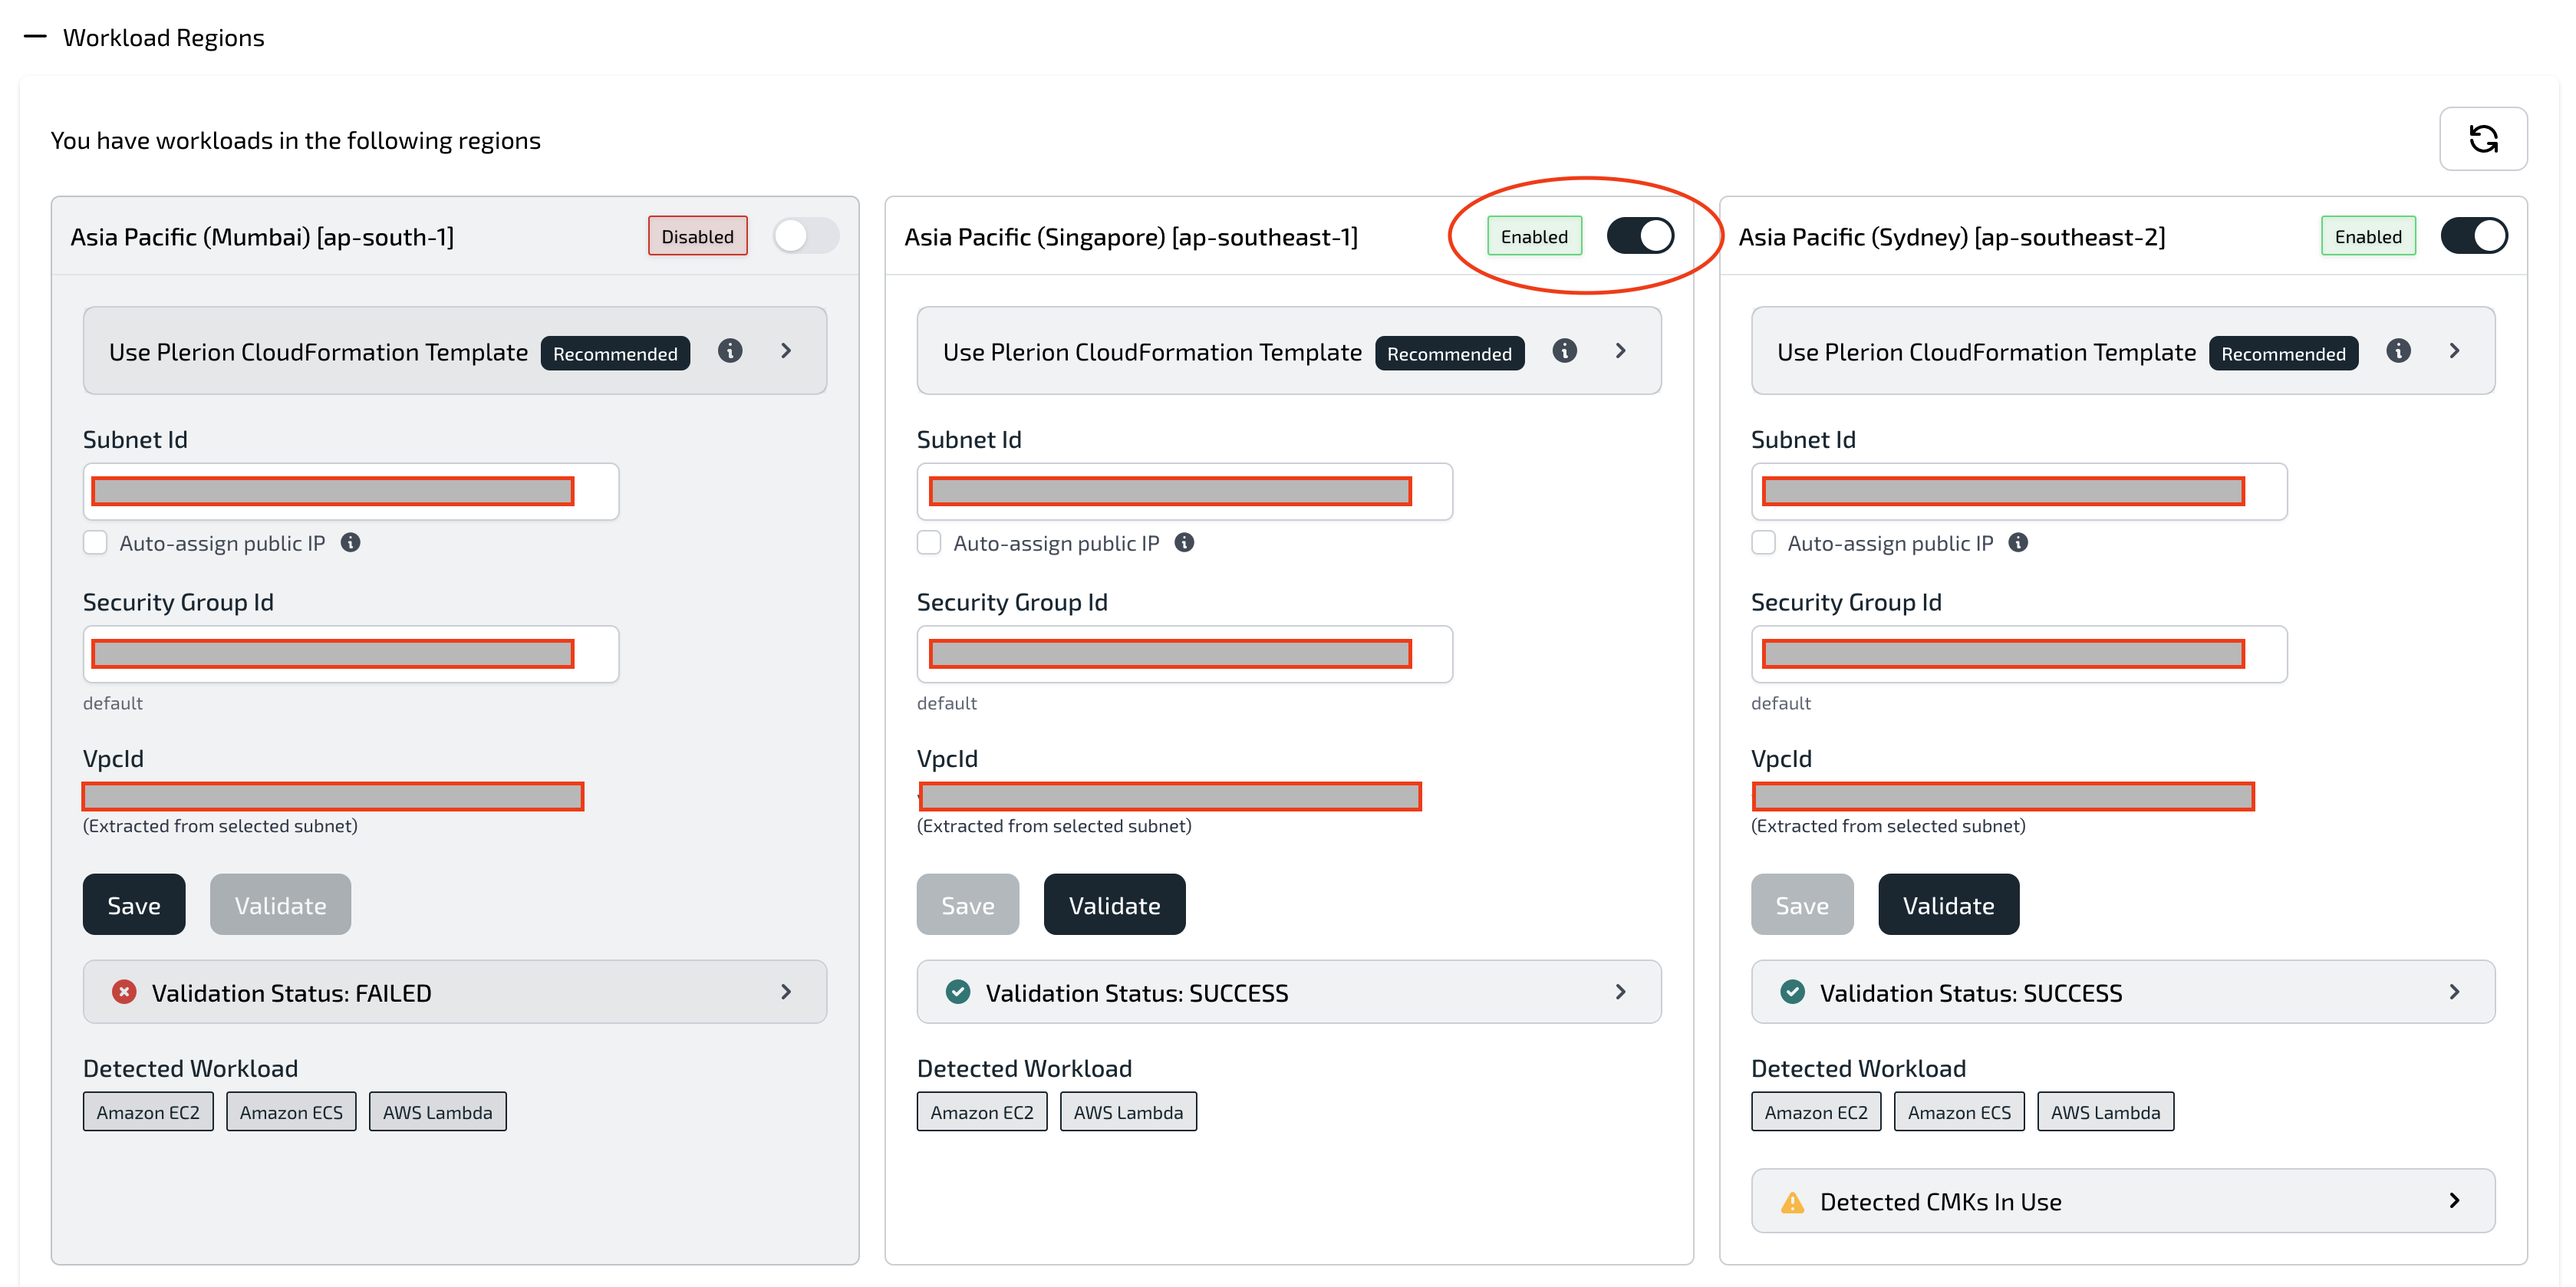
Configure appliances and networking
-
On the Appliance configuration page, regions containing the selected workloads are displayed. For each region:
- Provide networking details (VPC, Subnet, and Security Group) that allow outbound access to the internet.
- Use the
Validatebutton to test connectivity.
You can:- Use the example CloudFormation template to create the required networking components (VPC, Subnet, Internet Gateway, Route Table, and Network ACL).
- Delegate to Plerion: Use a Plerion-managed template to automatically configure a single region. Multi-region delegation will be supported in a future update, but for now, use StackSets for multi-region deployments.
5
Review advanced settings
In Advanced settings, you can enable additional AWS regions that don’t currently have workloads.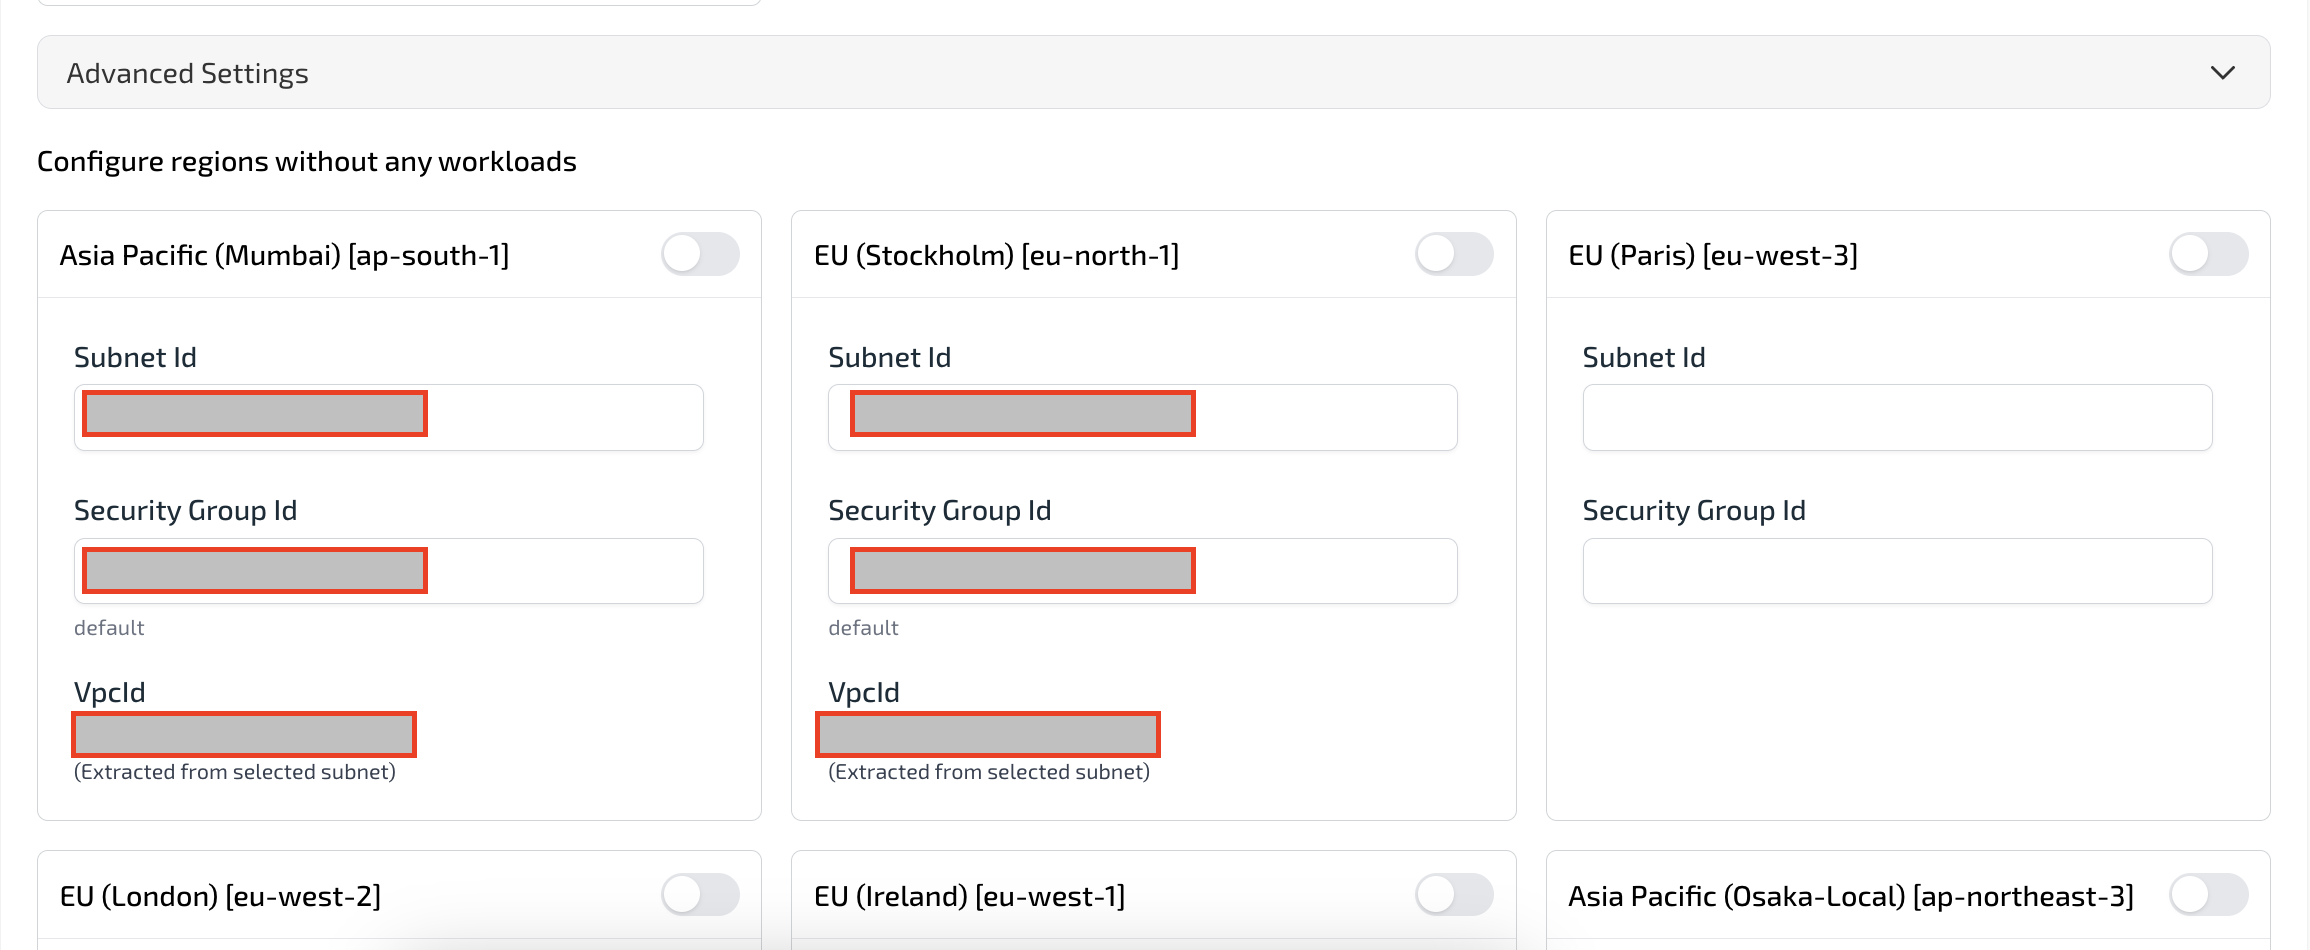
6
Trigger scans and review appliances
Each CWPP integration first triggers a CSPM scan, followed by a CWPP scan. For every CWPP scan:
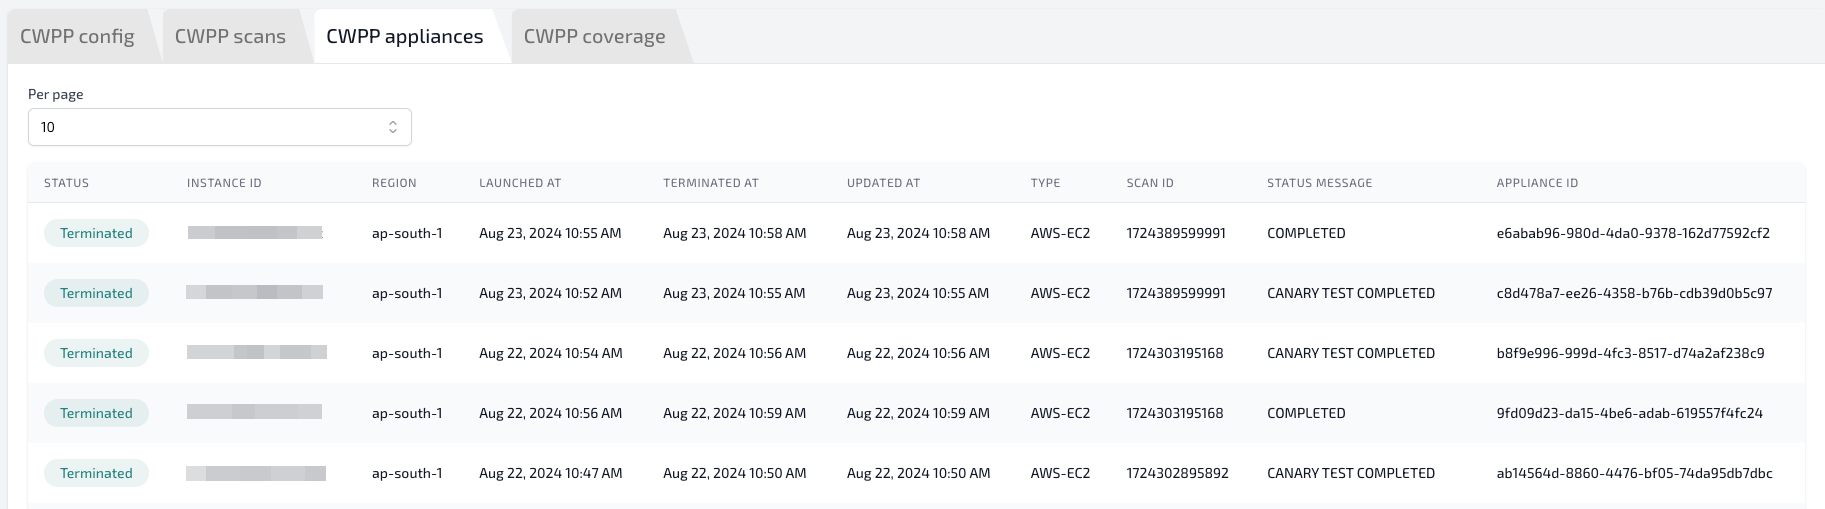
- An appliance EC2 instance is launched in each enabled region.
- The appliance scans workloads and then terminates automatically.
Example CloudFormation template for network configuration
The following is an example CloudFormation template for network configuration. This template can be used to create a VPC, Subnet, Internet Gateway, Route Table, and Network ACL. Users can create a Stack following Creating a Stack or deploy to multiple regions using StackSets. Copy the following template and save it as a YAML filecopy