> ## Documentation Index
> Fetch the complete documentation index at: https://docs.plerion.com/llms.txt
> Use this file to discover all available pages before exploring further.
# Vanta
> Integrate Plerion with Vanta to automatically send vulnerabilities into your compliance workflows.
With the [Vanta integration](https://app.plerion.com/settings/integrations/add/Vanta/Vanta), you can automatically send vulnerabilities from Plerion into your Vanta environment, ensuring your compliance workflows reflect the current security posture of your cloud infrastructure.
**Note:** This is a one-way outbound integration. Vulnerabilities created or updated in Plerion will appear in Vanta, but changes made directly in Vanta will not sync back to Plerion.
## What Plerion sends to Vanta
Plerion syncs vulnerability data into your connected Vanta instance based on your selected workflow conditions.
This integration allows you to:
* Stay aligned with compliance requirements by ensuring vulnerabilities are visible in your Vanta instance
* Focus on the most impactful vulnerabilities
* Plerion will only sync the 10,000 most severe issues or up to 10MB of data per tenant, in line with Vanta's API limits
* Perform manual syncs using the Sync now button, or wait for the daily scheduled syncs for automatic updates
## Steps to integrate Vanta with Plerion
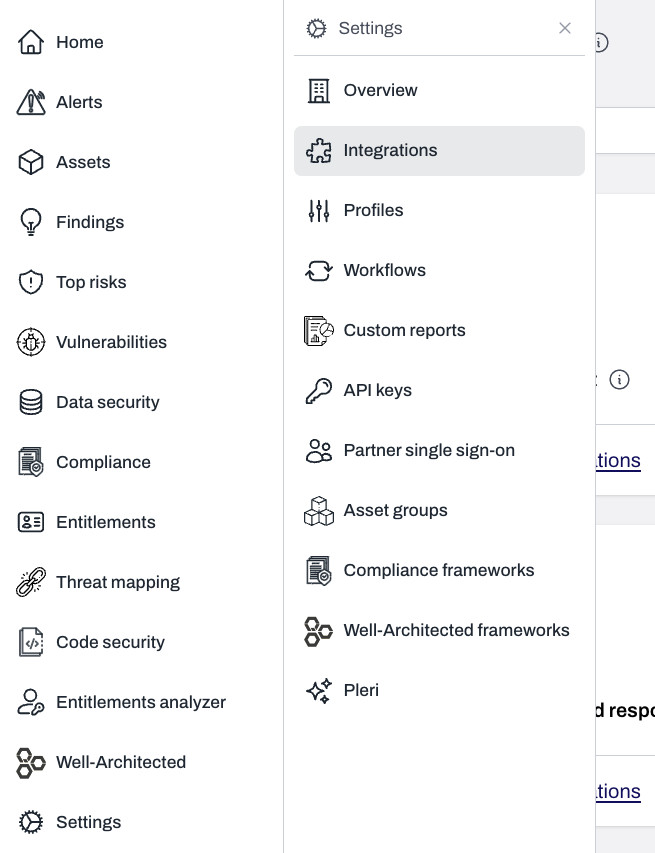
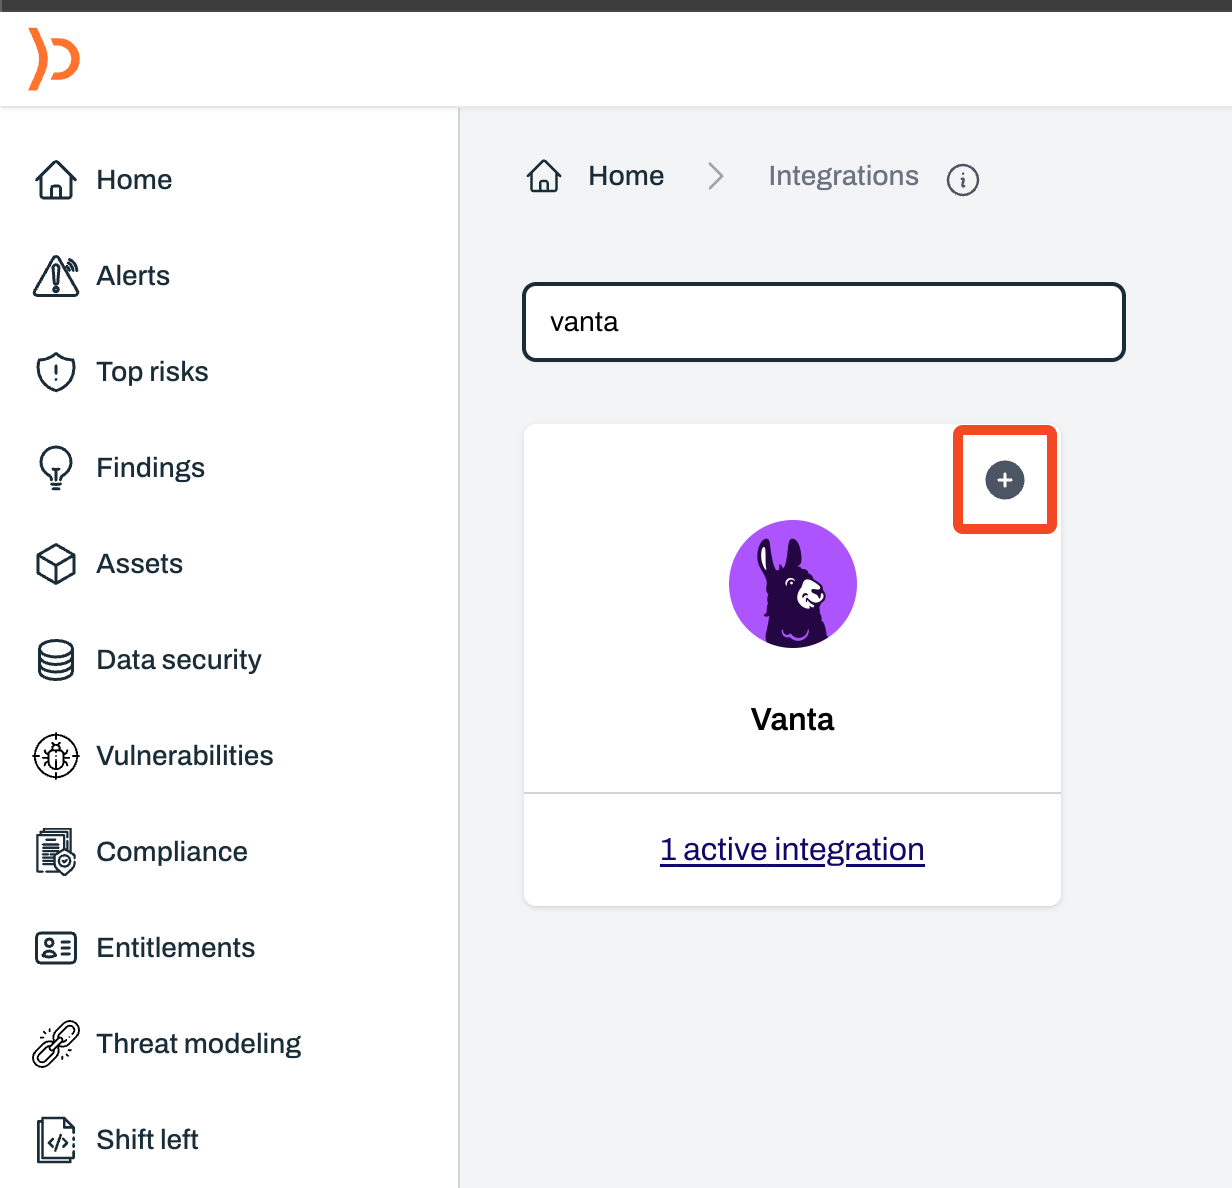
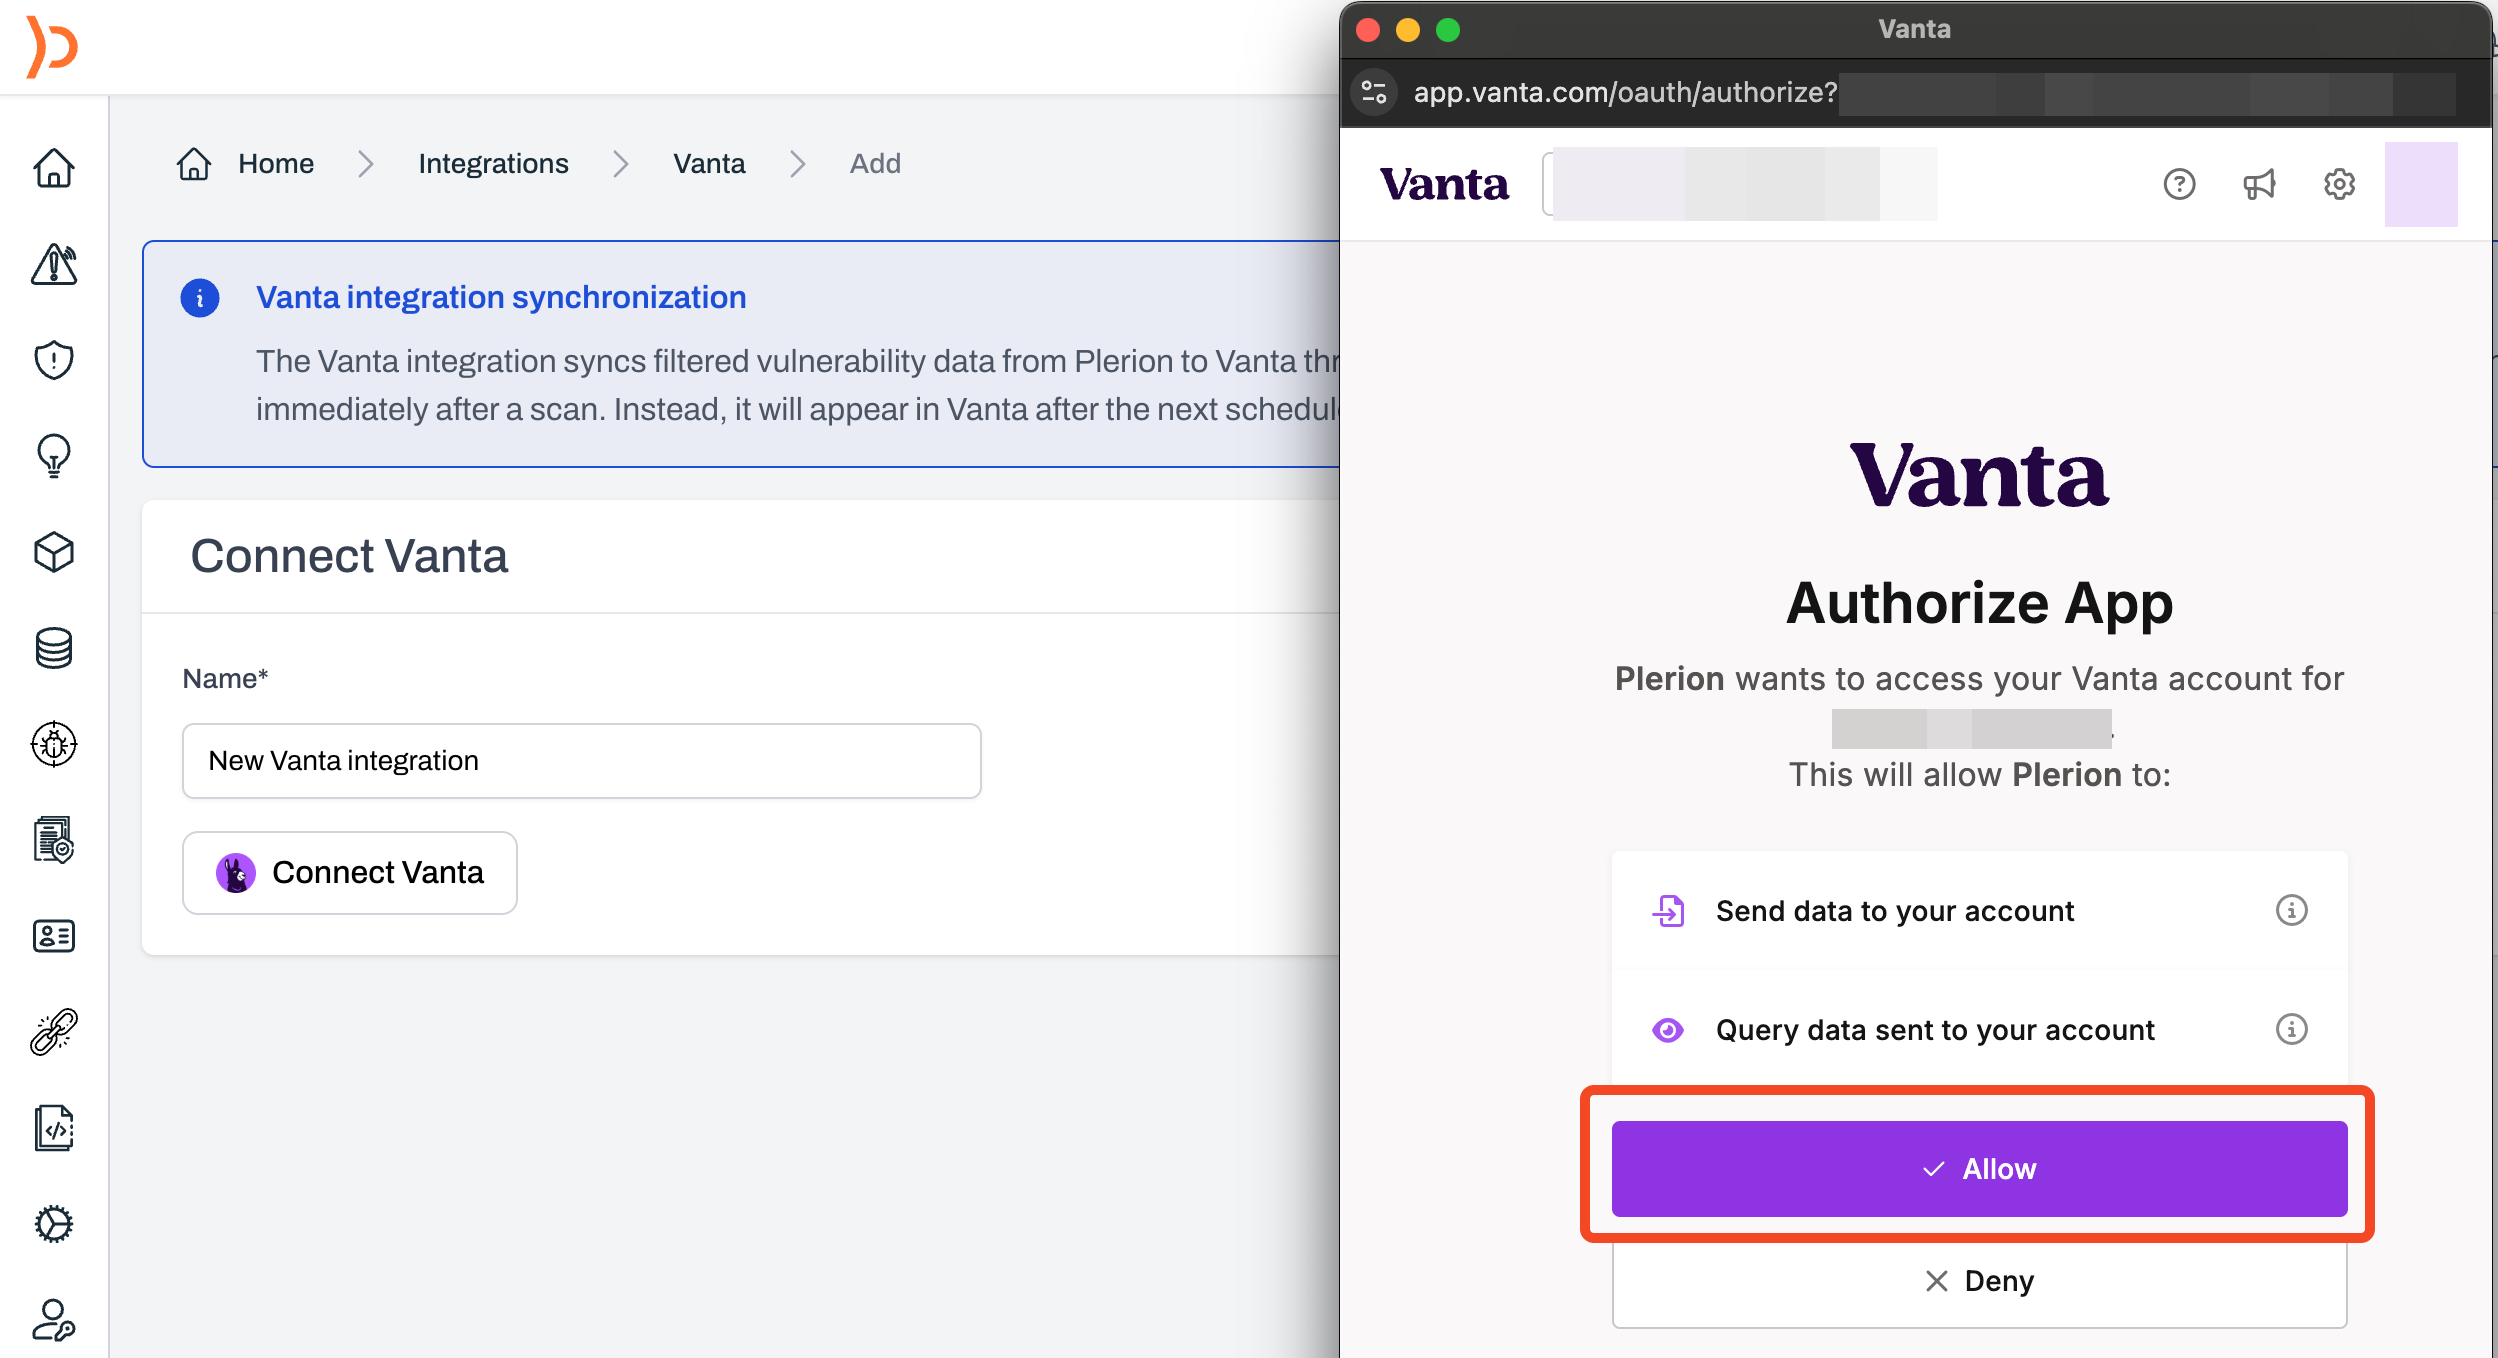
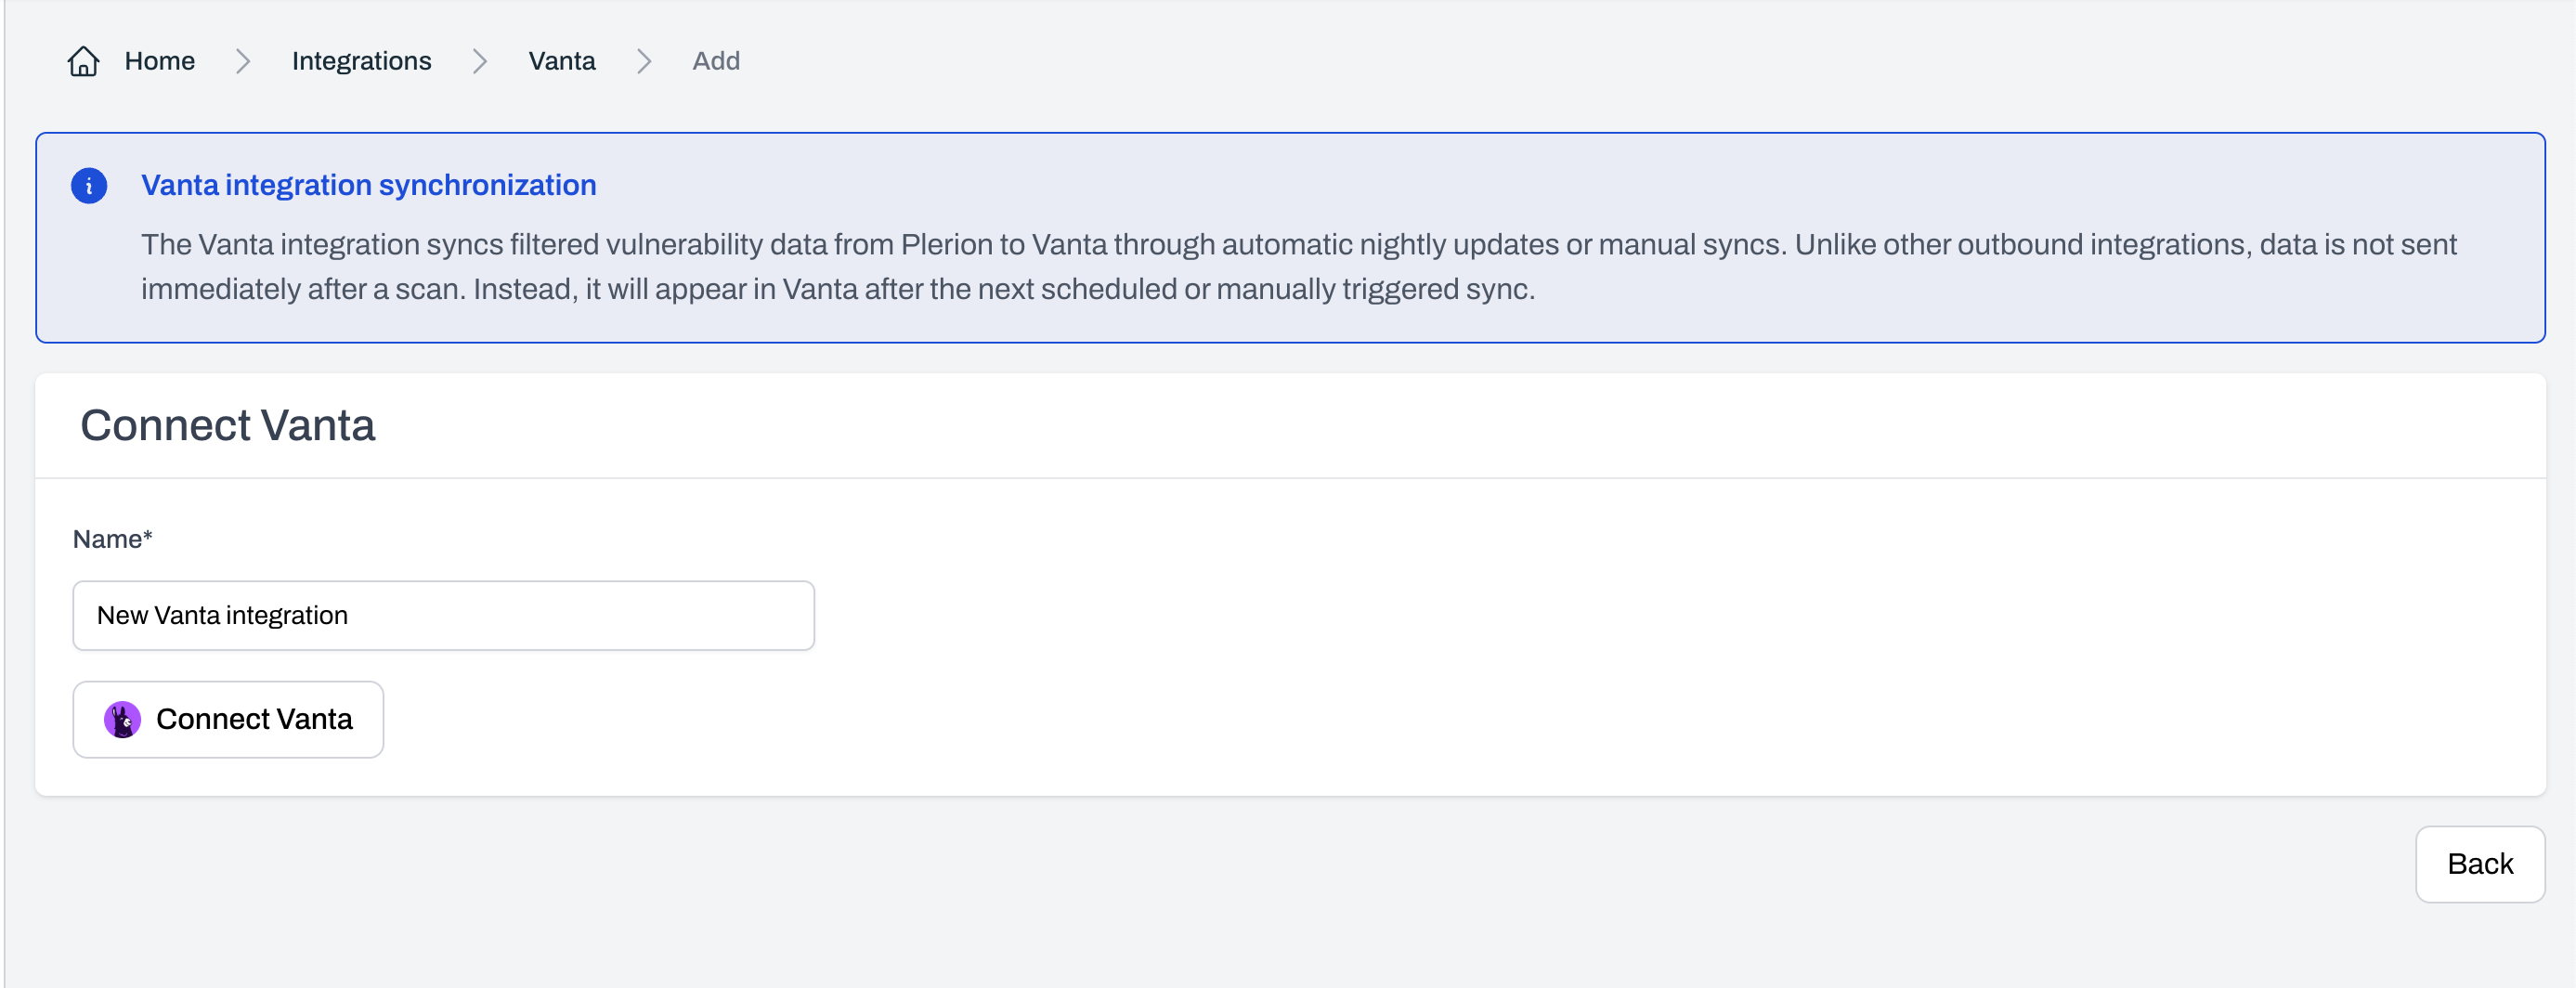 Review the requested permissions and click `Allow` to authorize the connection.
Only one Vanta integration is permitted per tenant.
Review the requested permissions and click `Allow` to authorize the connection.
Only one Vanta integration is permitted per tenant.
 ## Create a workflow on Plerion
Once you have added your Vanta integration, you will need to set up the corresponding workflow.
Make sure the Enabled toggle is turned on.
Click `Add conditions` > `Add vulnerability conditions`.
Click `Add action` and select your connected Vanta integration.
## Create a workflow on Plerion
Once you have added your Vanta integration, you will need to set up the corresponding workflow.
Make sure the Enabled toggle is turned on.
Click `Add conditions` > `Add vulnerability conditions`.
Click `Add action` and select your connected Vanta integration.