> ## Documentation Index
> Fetch the complete documentation index at: https://docs.plerion.com/llms.txt
> Use this file to discover all available pages before exploring further.
# Jira
> Integrate Plerion with Jira to automatically create and track findings, vulnerabilities, and risks, helping your team manage work in Atlassian’s project management platform.
With the [Jira integration](https://app.plerion.com/settings/integrations/add/Jira/Jira), you can send alerts from Plerion directly into your chosen Jira project, allowing your team to prioritize and resolve issues within your existing workflows.
**Note:** This is a one-way outbound integration. Issues created or updated in Plerion will appear in Jira, but changes made directly in Jira will not sync back to Plerion.
## Steps for adding a Jira integration
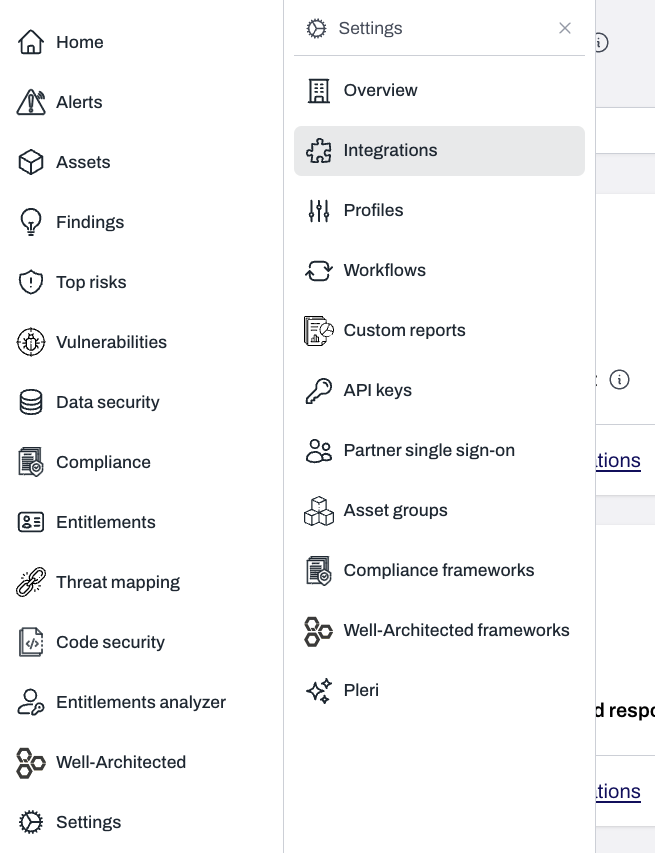
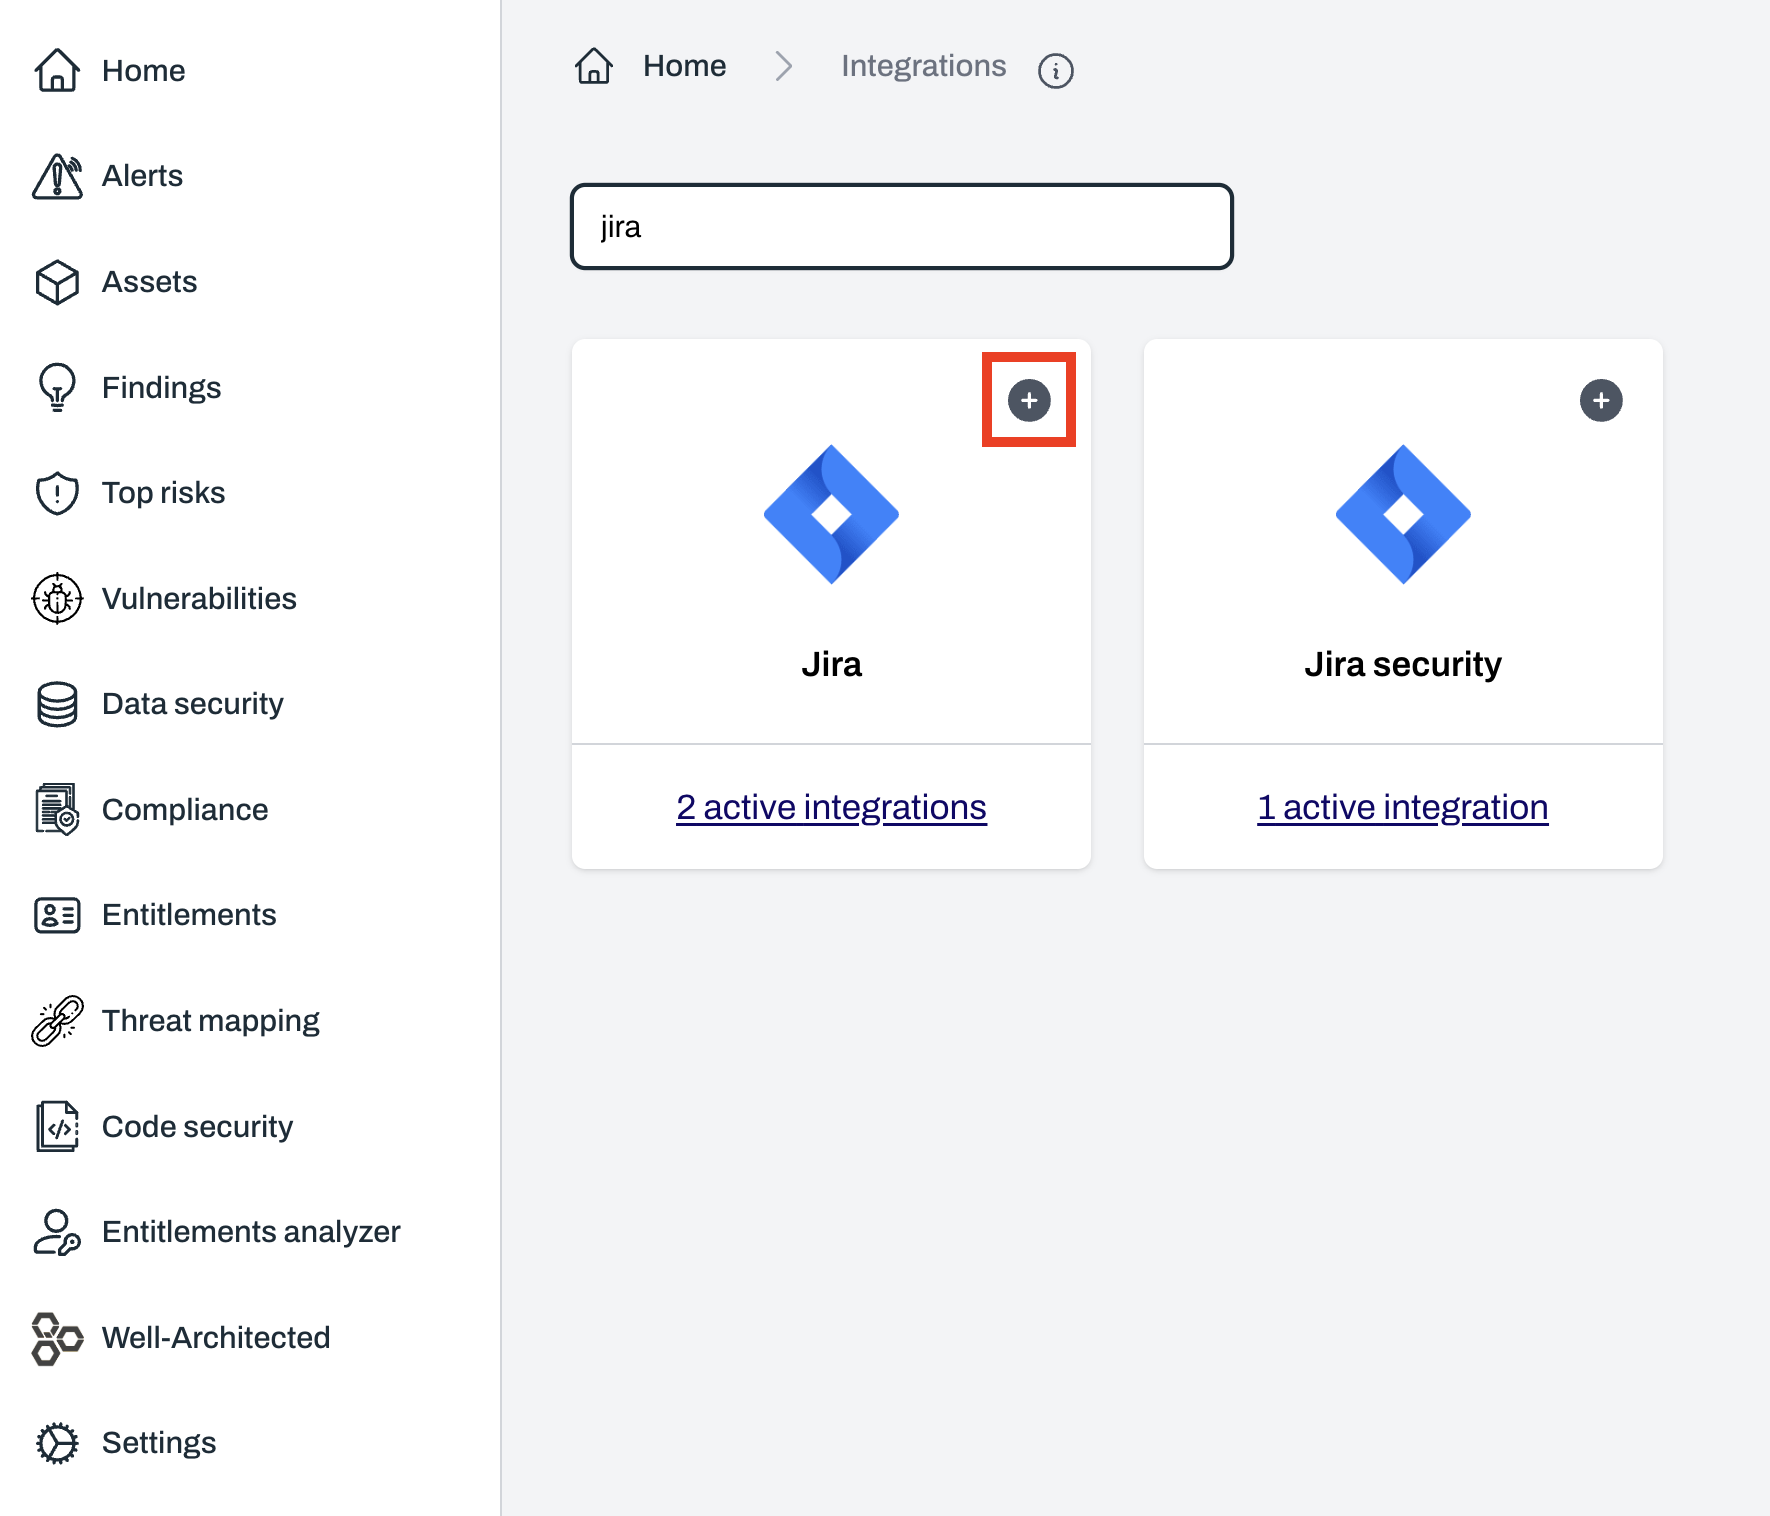
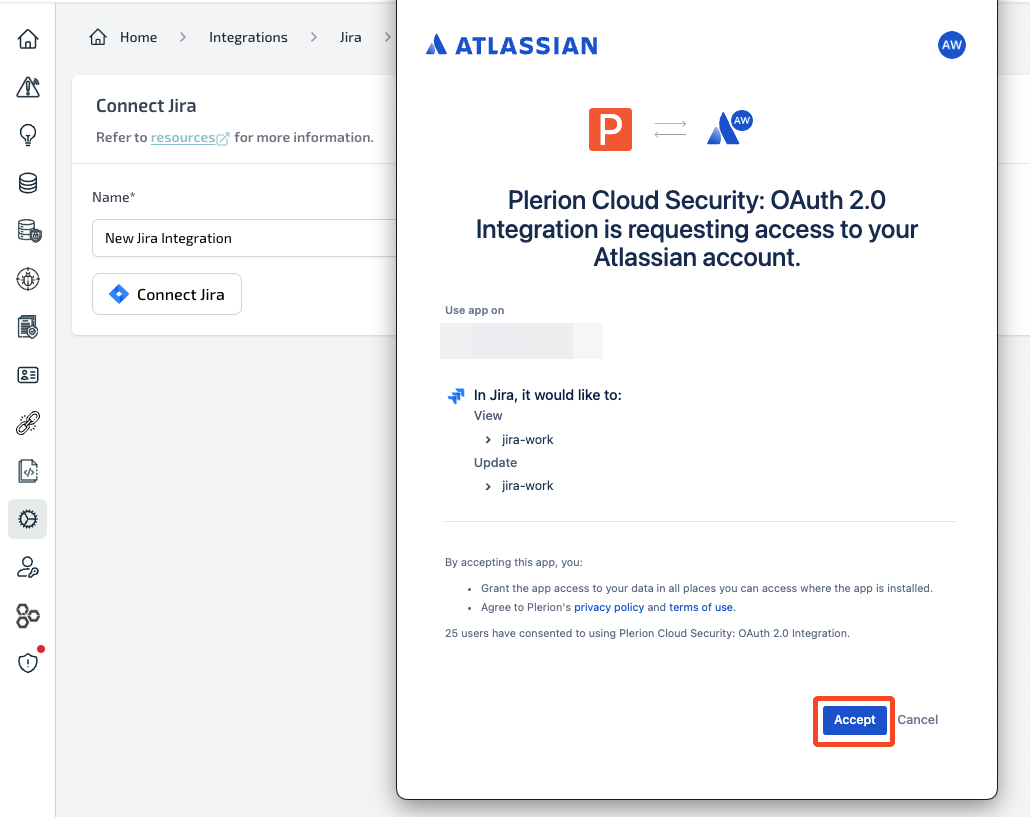
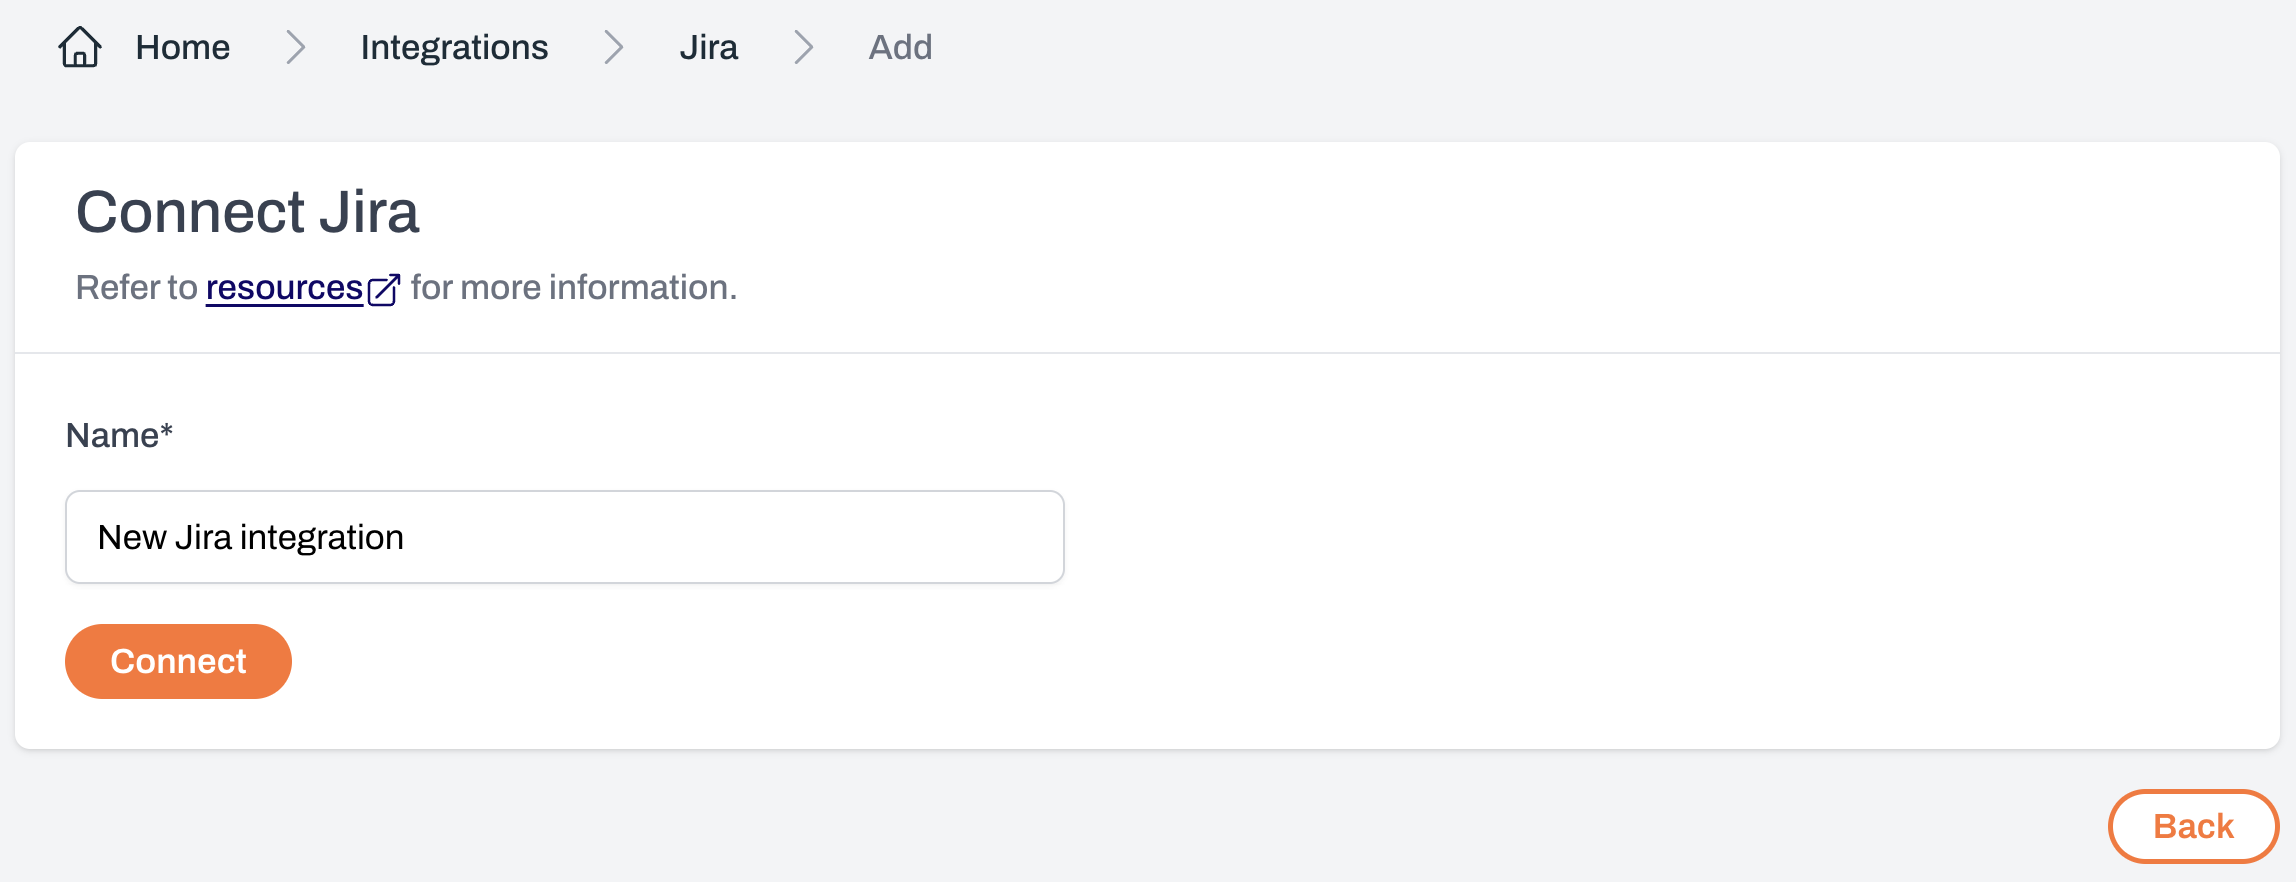 Review the requested permissions and click `Accept` to authorize the connection.
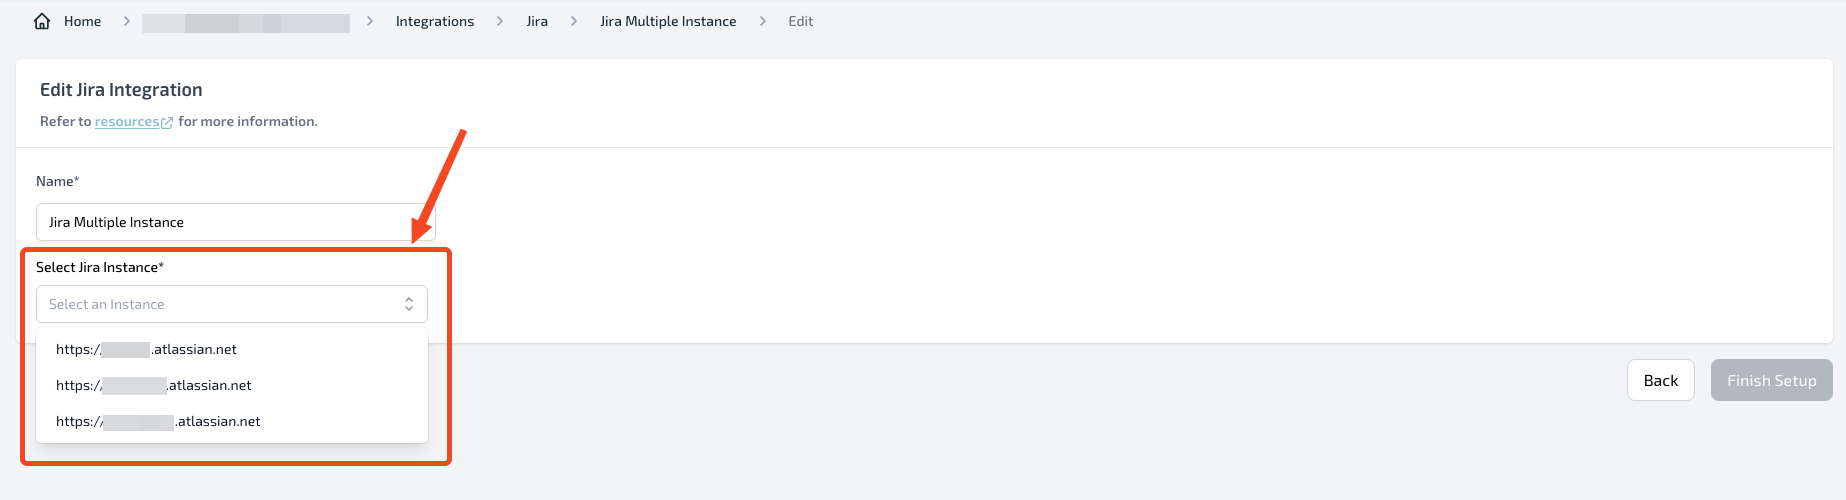
 If you have access to multiple Jira instances, carefully select the correct one.
This choice can only be made once.
If you select the wrong instance, you must delete the Jira integration and set it up again. If you skip this step, the integration status will remain as **'Pending'** and cannot be used in workflows.
If you have access to multiple Jira instances, carefully select the correct one.
This choice can only be made once.
If you select the wrong instance, you must delete the Jira integration and set it up again. If you skip this step, the integration status will remain as **'Pending'** and cannot be used in workflows.
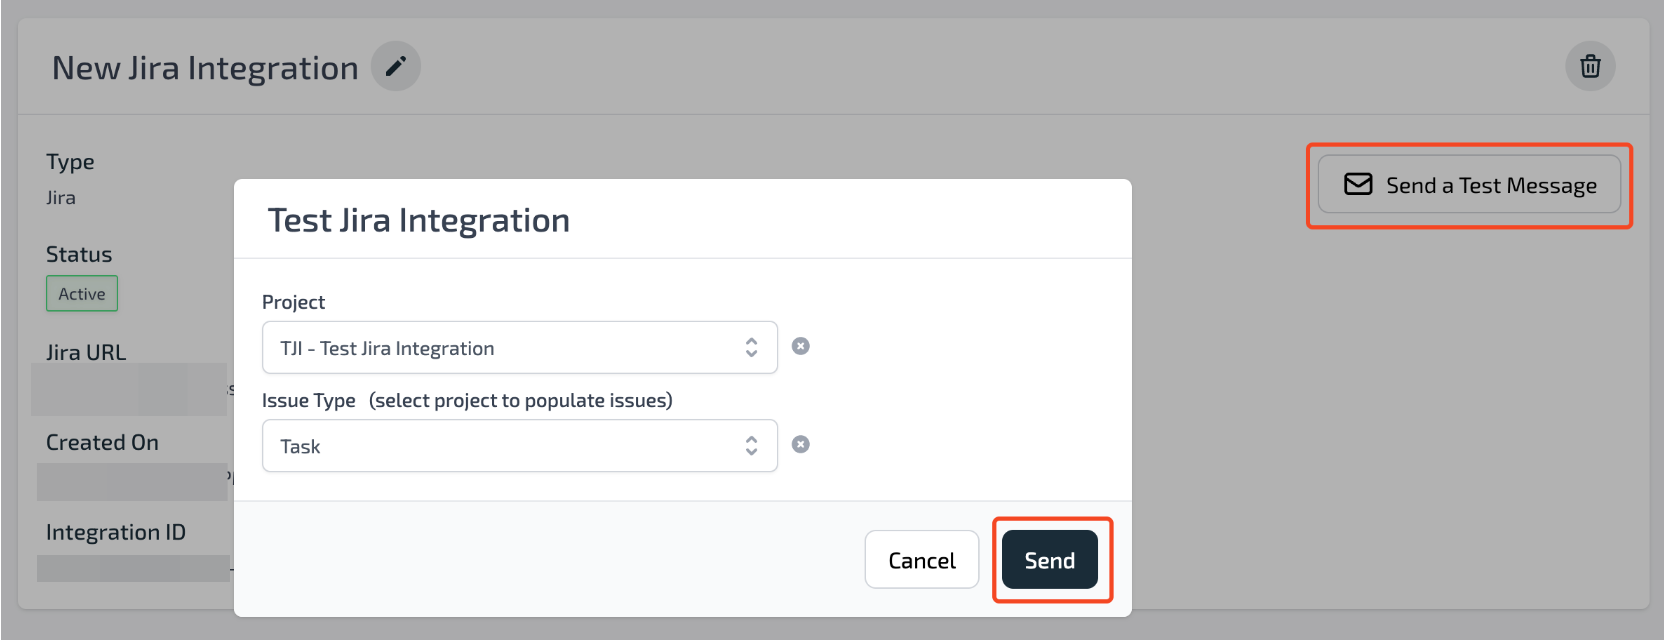
 After adding Jira, you can send a test issue to confirm the setup.\
Choose the Jira project and issue type for the test issue.
After adding Jira, you can send a test issue to confirm the setup.\
Choose the Jira project and issue type for the test issue.
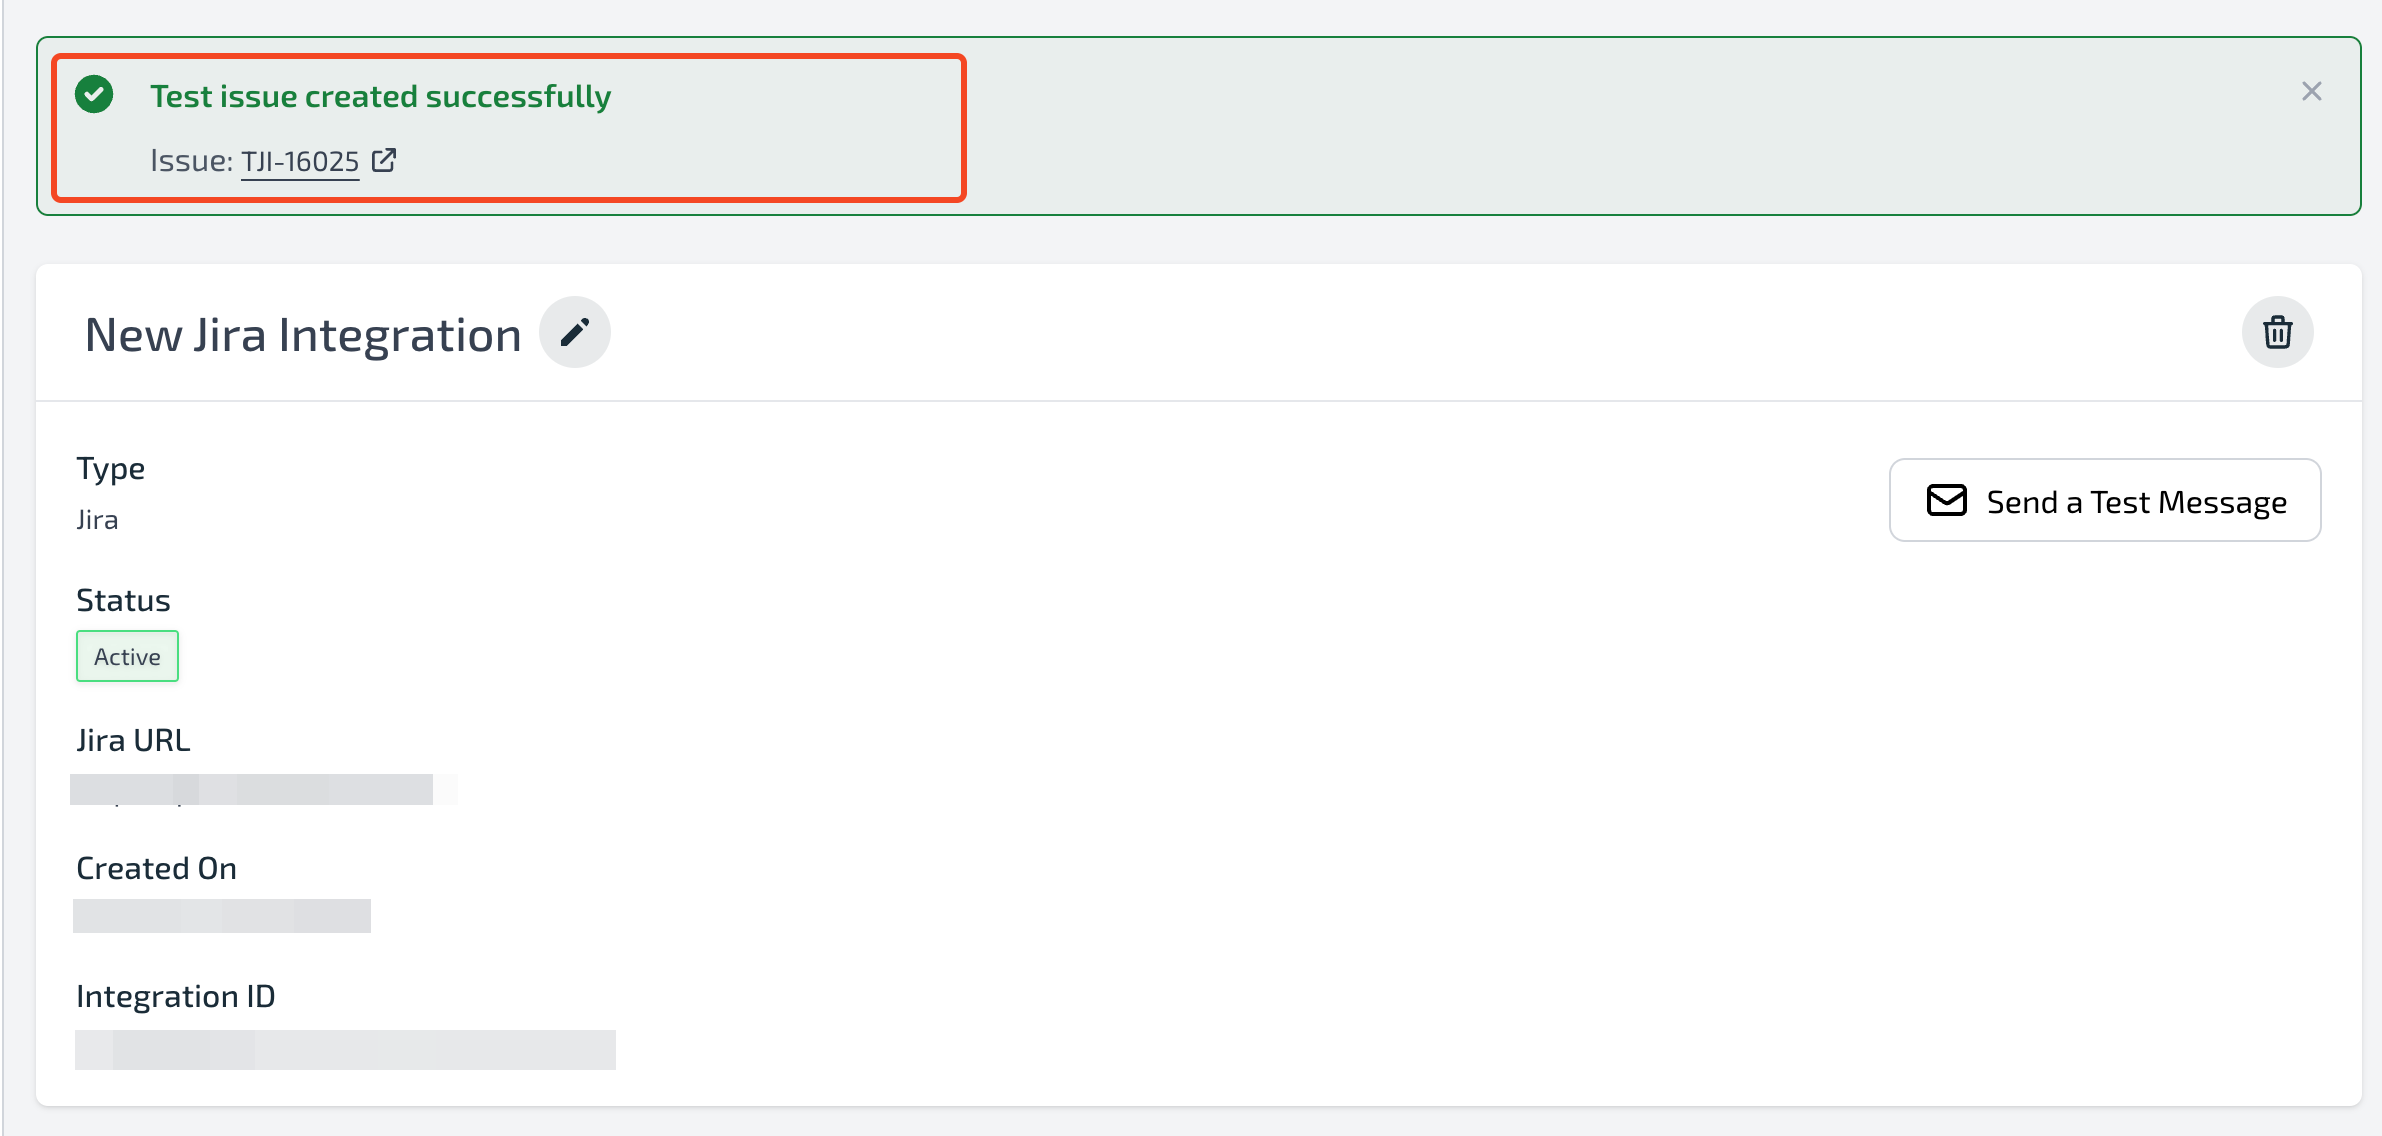
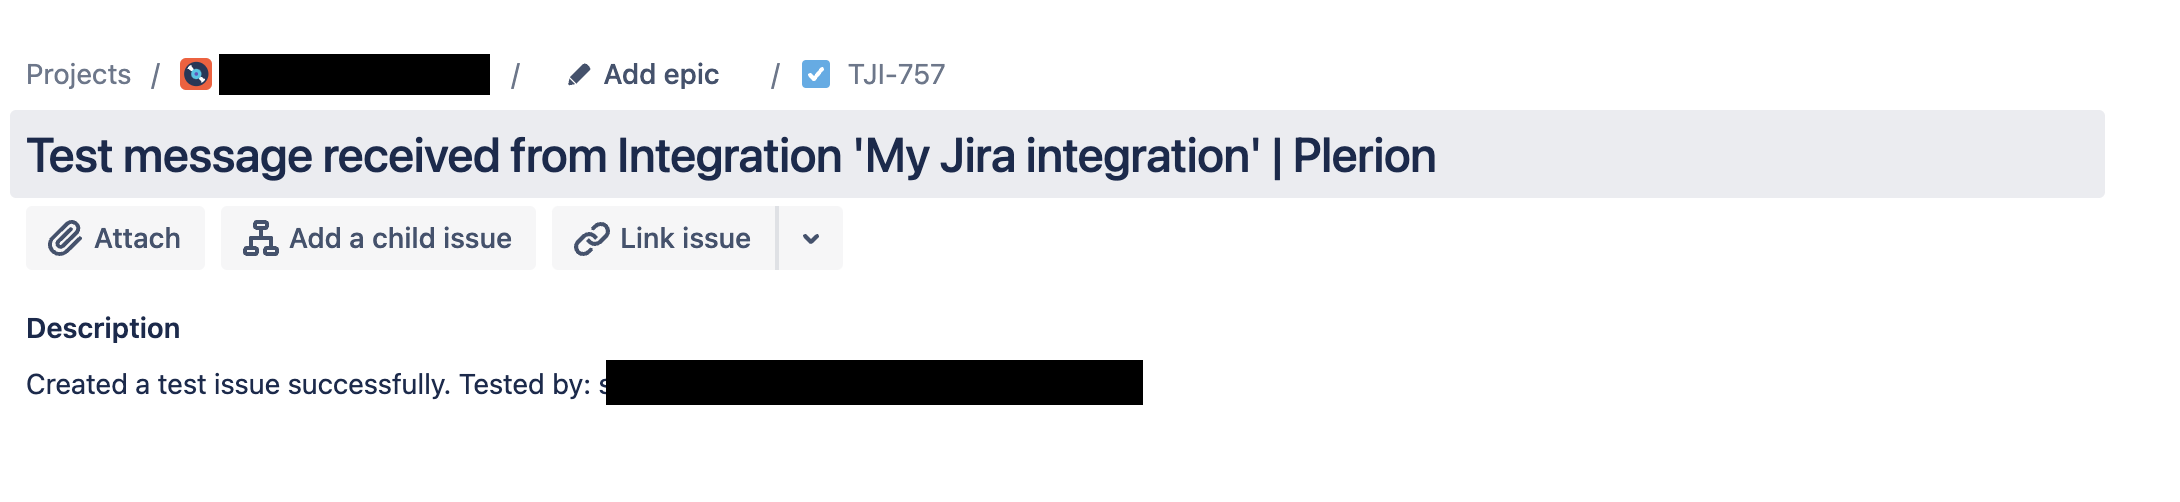
 If the test is successful, Plerion will display a link to the created Jira issue, as shown below.
 ***
## Create a workflow on Plerion
After adding the Jira integration, you must create a workflow for any alerts to be sent to Jira.
Enter a workflow name and ensure the Enabled toggle is turned on.
* Under **Conditions**, you can build the workflow using any of the three available condition categories:
* **Asset**
* **Findings**
* **Vulnerabilities**
Under **Actions**, click `Add action` and select your Jira integration.\
Add your Jira project, issue type and resolved status.
Click `Save` to finish setting up your workflow.
***
## Create a workflow on Plerion
After adding the Jira integration, you must create a workflow for any alerts to be sent to Jira.
Enter a workflow name and ensure the Enabled toggle is turned on.
* Under **Conditions**, you can build the workflow using any of the three available condition categories:
* **Asset**
* **Findings**
* **Vulnerabilities**
Under **Actions**, click `Add action` and select your Jira integration.\
Add your Jira project, issue type and resolved status.
Click `Save` to finish setting up your workflow.