> ## Documentation Index
> Fetch the complete documentation index at: https://docs.plerion.com/llms.txt
> Use this file to discover all available pages before exploring further.
# SCIM provisioning with Okta
> Configure the Okta SCIM connector to provision Plerion users and user groups automatically
With **Okta SCIM provisioning**, you can have Okta create, update, and deactivate Plerion users as people are assigned to and removed from your Plerion application, and push Okta groups to Plerion as user groups. Okta pushes each change as it happens, so Plerion reflects your directory in near real time.
Before you start, enable SCIM in Plerion and copy the SCIM base URL and a **readWrite** organization API key. See [SCIM provisioning](/guides/administration/scim/overview#steps-to-enable-scim-in-plerion). You also need the SAML application you created in the [Okta single sign-on](/guides/administration/sso/okta) guide, because SCIM provisions users while SAML is used for authentication only.
***
## Steps to configure Okta provisioning
* Sign in to the Okta admin console and open your Plerion app under `Applications`.
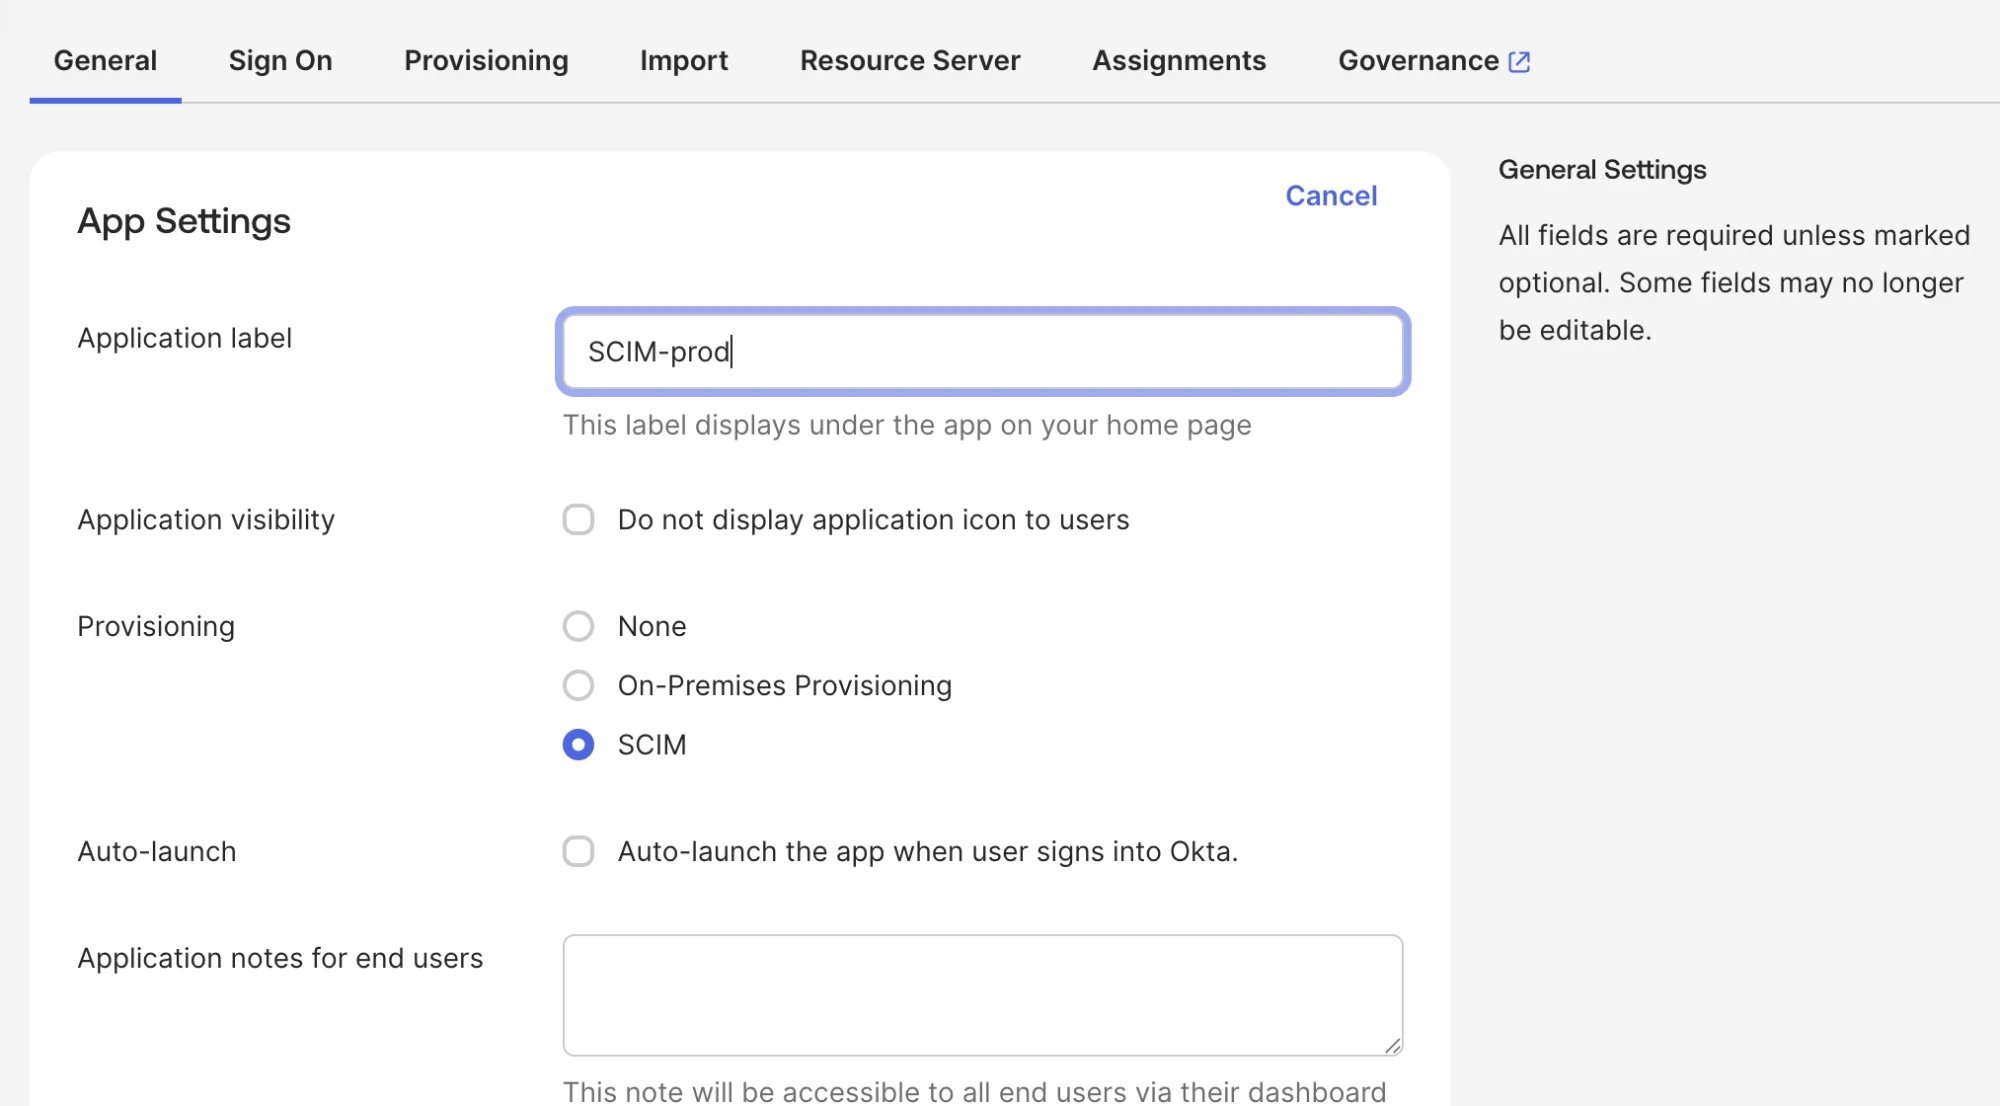
* On the `General` tab, under `App Settings`, click `Edit`.
* Set `Provisioning` to **SCIM** and save.
The app is the one you created earlier for SAML single sign-on. Setting `Provisioning` to **SCIM** adds the `Provisioning` tab you need for the next step.
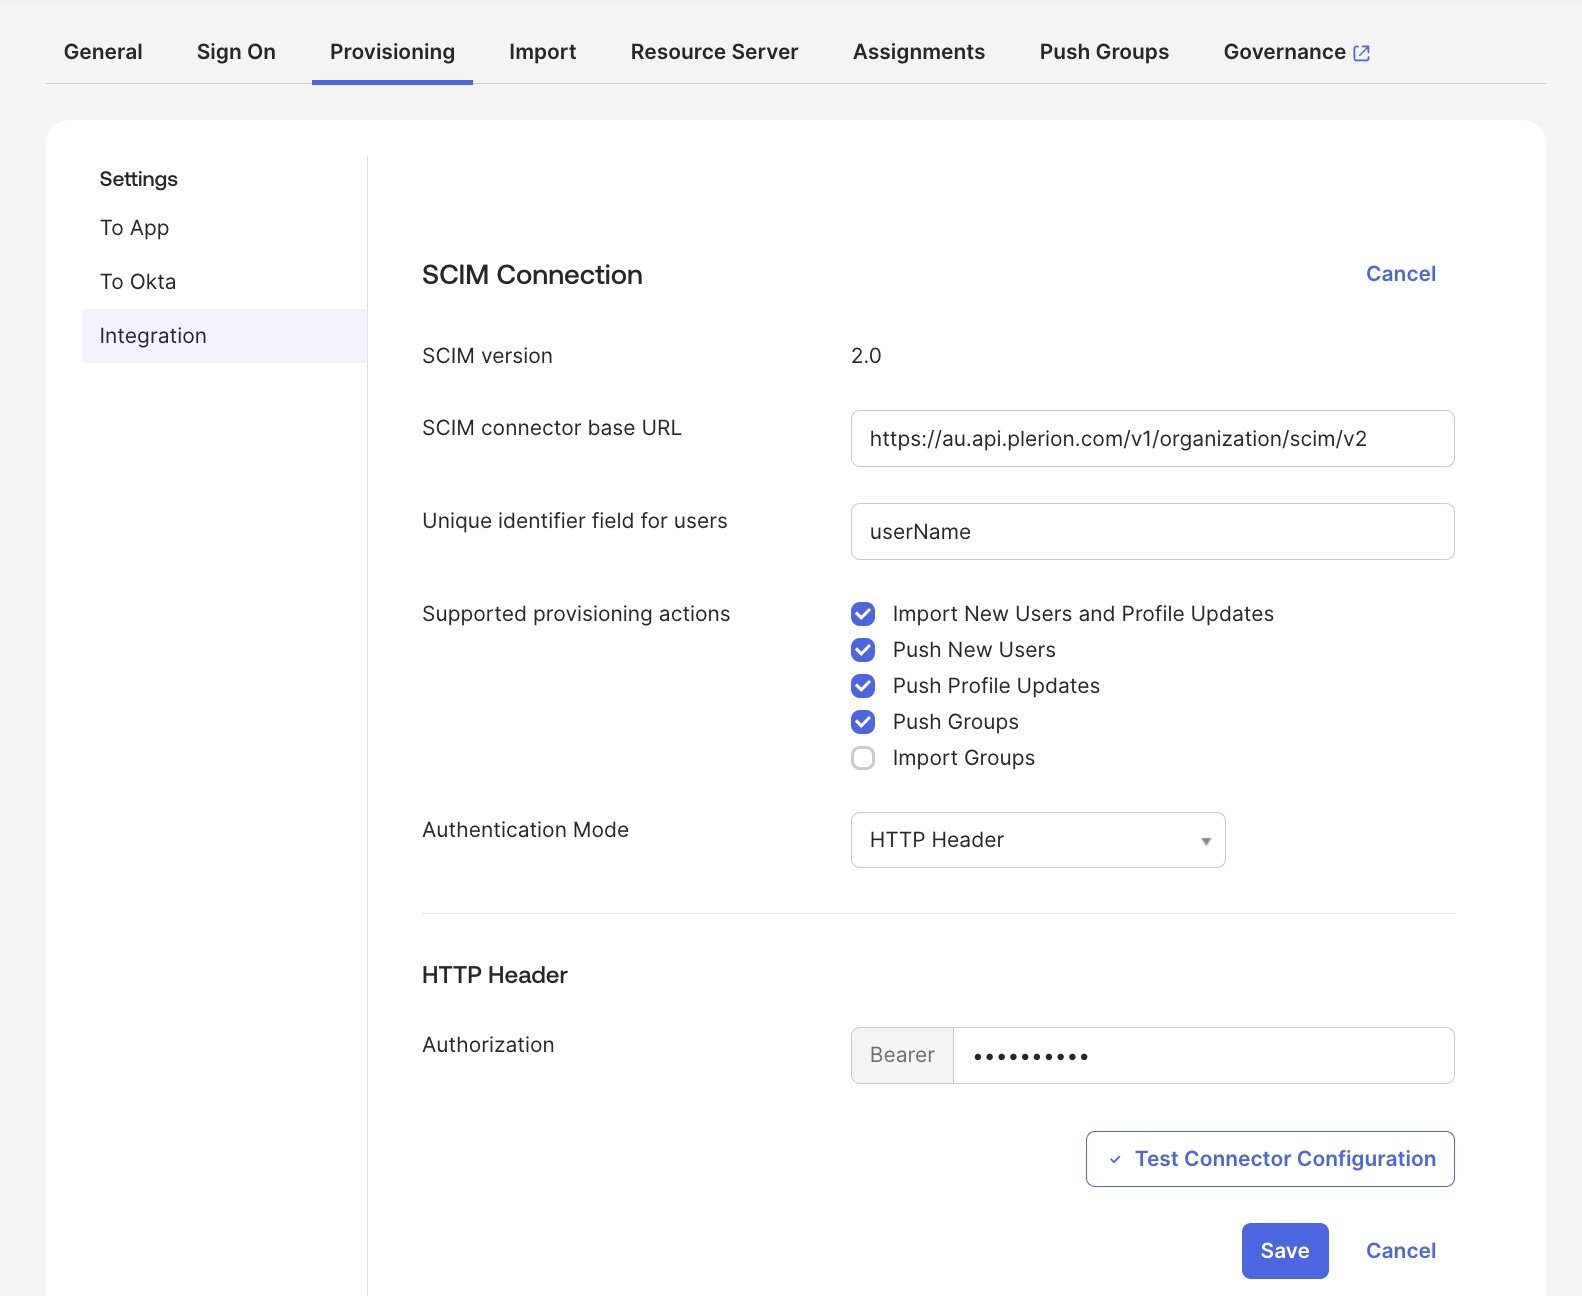
 * Open the `Provisioning` tab, which shows the `Integration` settings, and click `Edit`.
* Fill in the connection details:
| Setting | Value |
| --------------------------------- | ---------------------------------------------------------------------------------------------------------------- |
| SCIM connector base URL | The SCIM base URL you copied from Plerion, under `Admin` > `Security` > `Single sign-on` > `SCIM provisioning` |
| Unique identifier field for users | `userName` |
| Supported provisioning actions | Tick **Push New Users**, **Push Profile Updates**, **Push Groups**, and **Import New Users and Profile Updates** |
| Authentication Mode | **HTTP Header** |
| Authorization | Paste a **readWrite** organization API key as the bearer value |
* Click `Test Connector Configuration` and confirm it passes, then click `Save`.
* Open the `Provisioning` tab, which shows the `Integration` settings, and click `Edit`.
* Fill in the connection details:
| Setting | Value |
| --------------------------------- | ---------------------------------------------------------------------------------------------------------------- |
| SCIM connector base URL | The SCIM base URL you copied from Plerion, under `Admin` > `Security` > `Single sign-on` > `SCIM provisioning` |
| Unique identifier field for users | `userName` |
| Supported provisioning actions | Tick **Push New Users**, **Push Profile Updates**, **Push Groups**, and **Import New Users and Profile Updates** |
| Authentication Mode | **HTTP Header** |
| Authorization | Paste a **readWrite** organization API key as the bearer value |
* Click `Test Connector Configuration` and confirm it passes, then click `Save`.
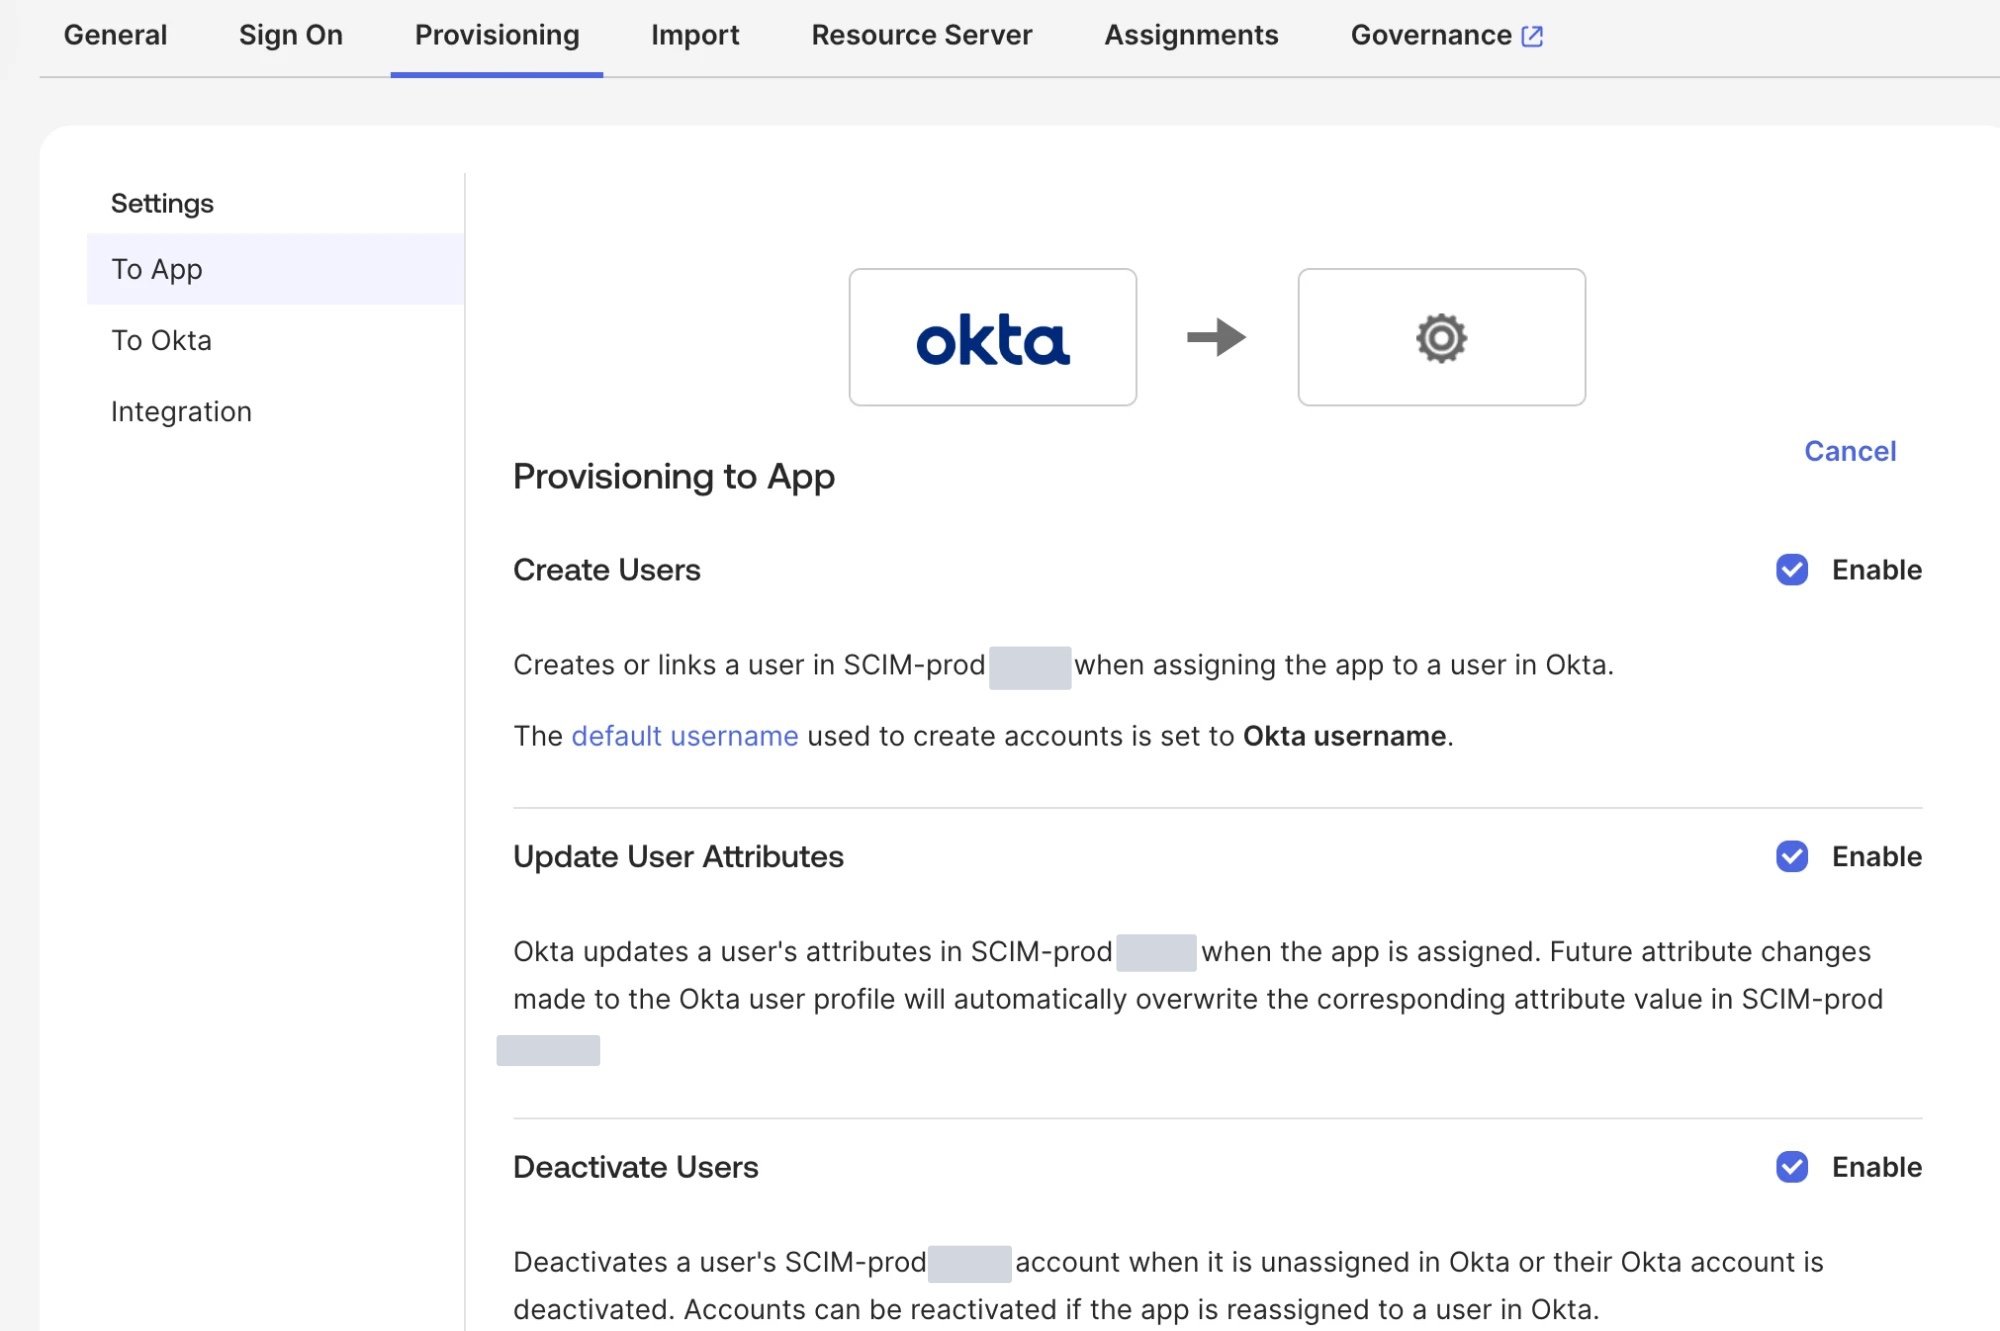
 * Still on the `Provisioning` tab, select `To App` in the left sidebar and click `Edit`.
* Enable **Create Users**, **Update User Attributes**, and **Deactivate Users**.
* Click `Save`.
These three are off by default, and nothing provisions until you enable them. A user you assigned before this shows `Matching user not found`, or a `provision user` task, in Okta until provisioning is enabled and the task is retried.
* Still on the `Provisioning` tab, select `To App` in the left sidebar and click `Edit`.
* Enable **Create Users**, **Update User Attributes**, and **Deactivate Users**.
* Click `Save`.
These three are off by default, and nothing provisions until you enable them. A user you assigned before this shows `Matching user not found`, or a `provision user` task, in Okta until provisioning is enabled and the task is retried.
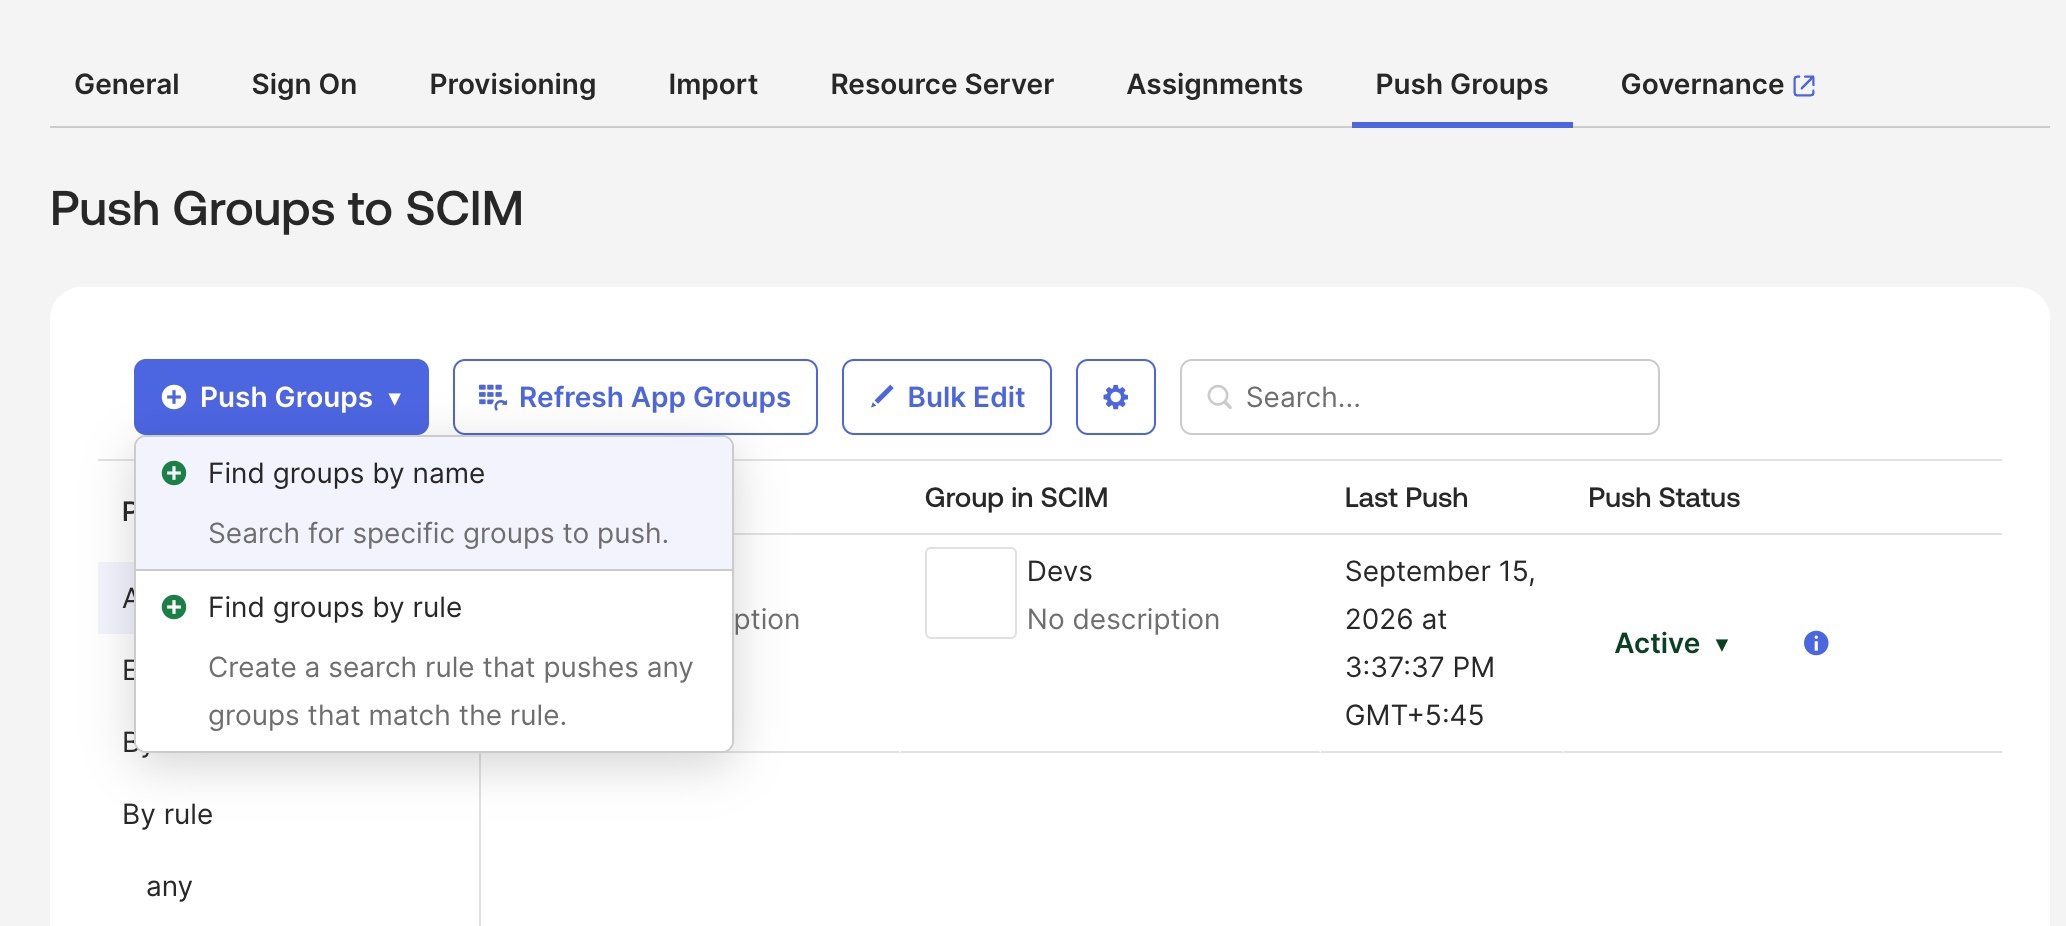
 * Open the `Push Groups` tab, click `Push Groups` > `Find groups by rule`, and create a rule that matches the Okta groups whose members should have Plerion access.
* Each matching group appears in Plerion under `Admin` > `Directory` > `User groups`, where you grant it roles. See [User groups](/guides/administration/user-groups).
* Open the `Push Groups` tab, click `Push Groups` > `Find groups by rule`, and create a rule that matches the Okta groups whose members should have Plerion access.
* Each matching group appears in Plerion under `Admin` > `Directory` > `User groups`, where you grant it roles. See [User groups](/guides/administration/user-groups).
 * Go to the `Assignments` tab, click `Assign` > `Assign to Groups`, and assign a pushed group, or assign a test user who belongs to one.
* In Plerion, go to `Admin` > `Directory` > `Users` and confirm the user appears with the roles their group grants.
* Sign in as that user through Okta to confirm the end-to-end flow.
Assigning a user, or pushing a profile update, is what provisions them to Plerion. A user who already existed in Plerion with the same email address is adopted rather than created again.
***
For the full user lifecycle and the break-glass rules that apply whatever your IdP, see [SCIM provisioning](/guides/administration/scim/overview).
* Go to the `Assignments` tab, click `Assign` > `Assign to Groups`, and assign a pushed group, or assign a test user who belongs to one.
* In Plerion, go to `Admin` > `Directory` > `Users` and confirm the user appears with the roles their group grants.
* Sign in as that user through Okta to confirm the end-to-end flow.
Assigning a user, or pushing a profile update, is what provisions them to Plerion. A user who already existed in Plerion with the same email address is adopted rather than created again.
***
For the full user lifecycle and the break-glass rules that apply whatever your IdP, see [SCIM provisioning](/guides/administration/scim/overview).